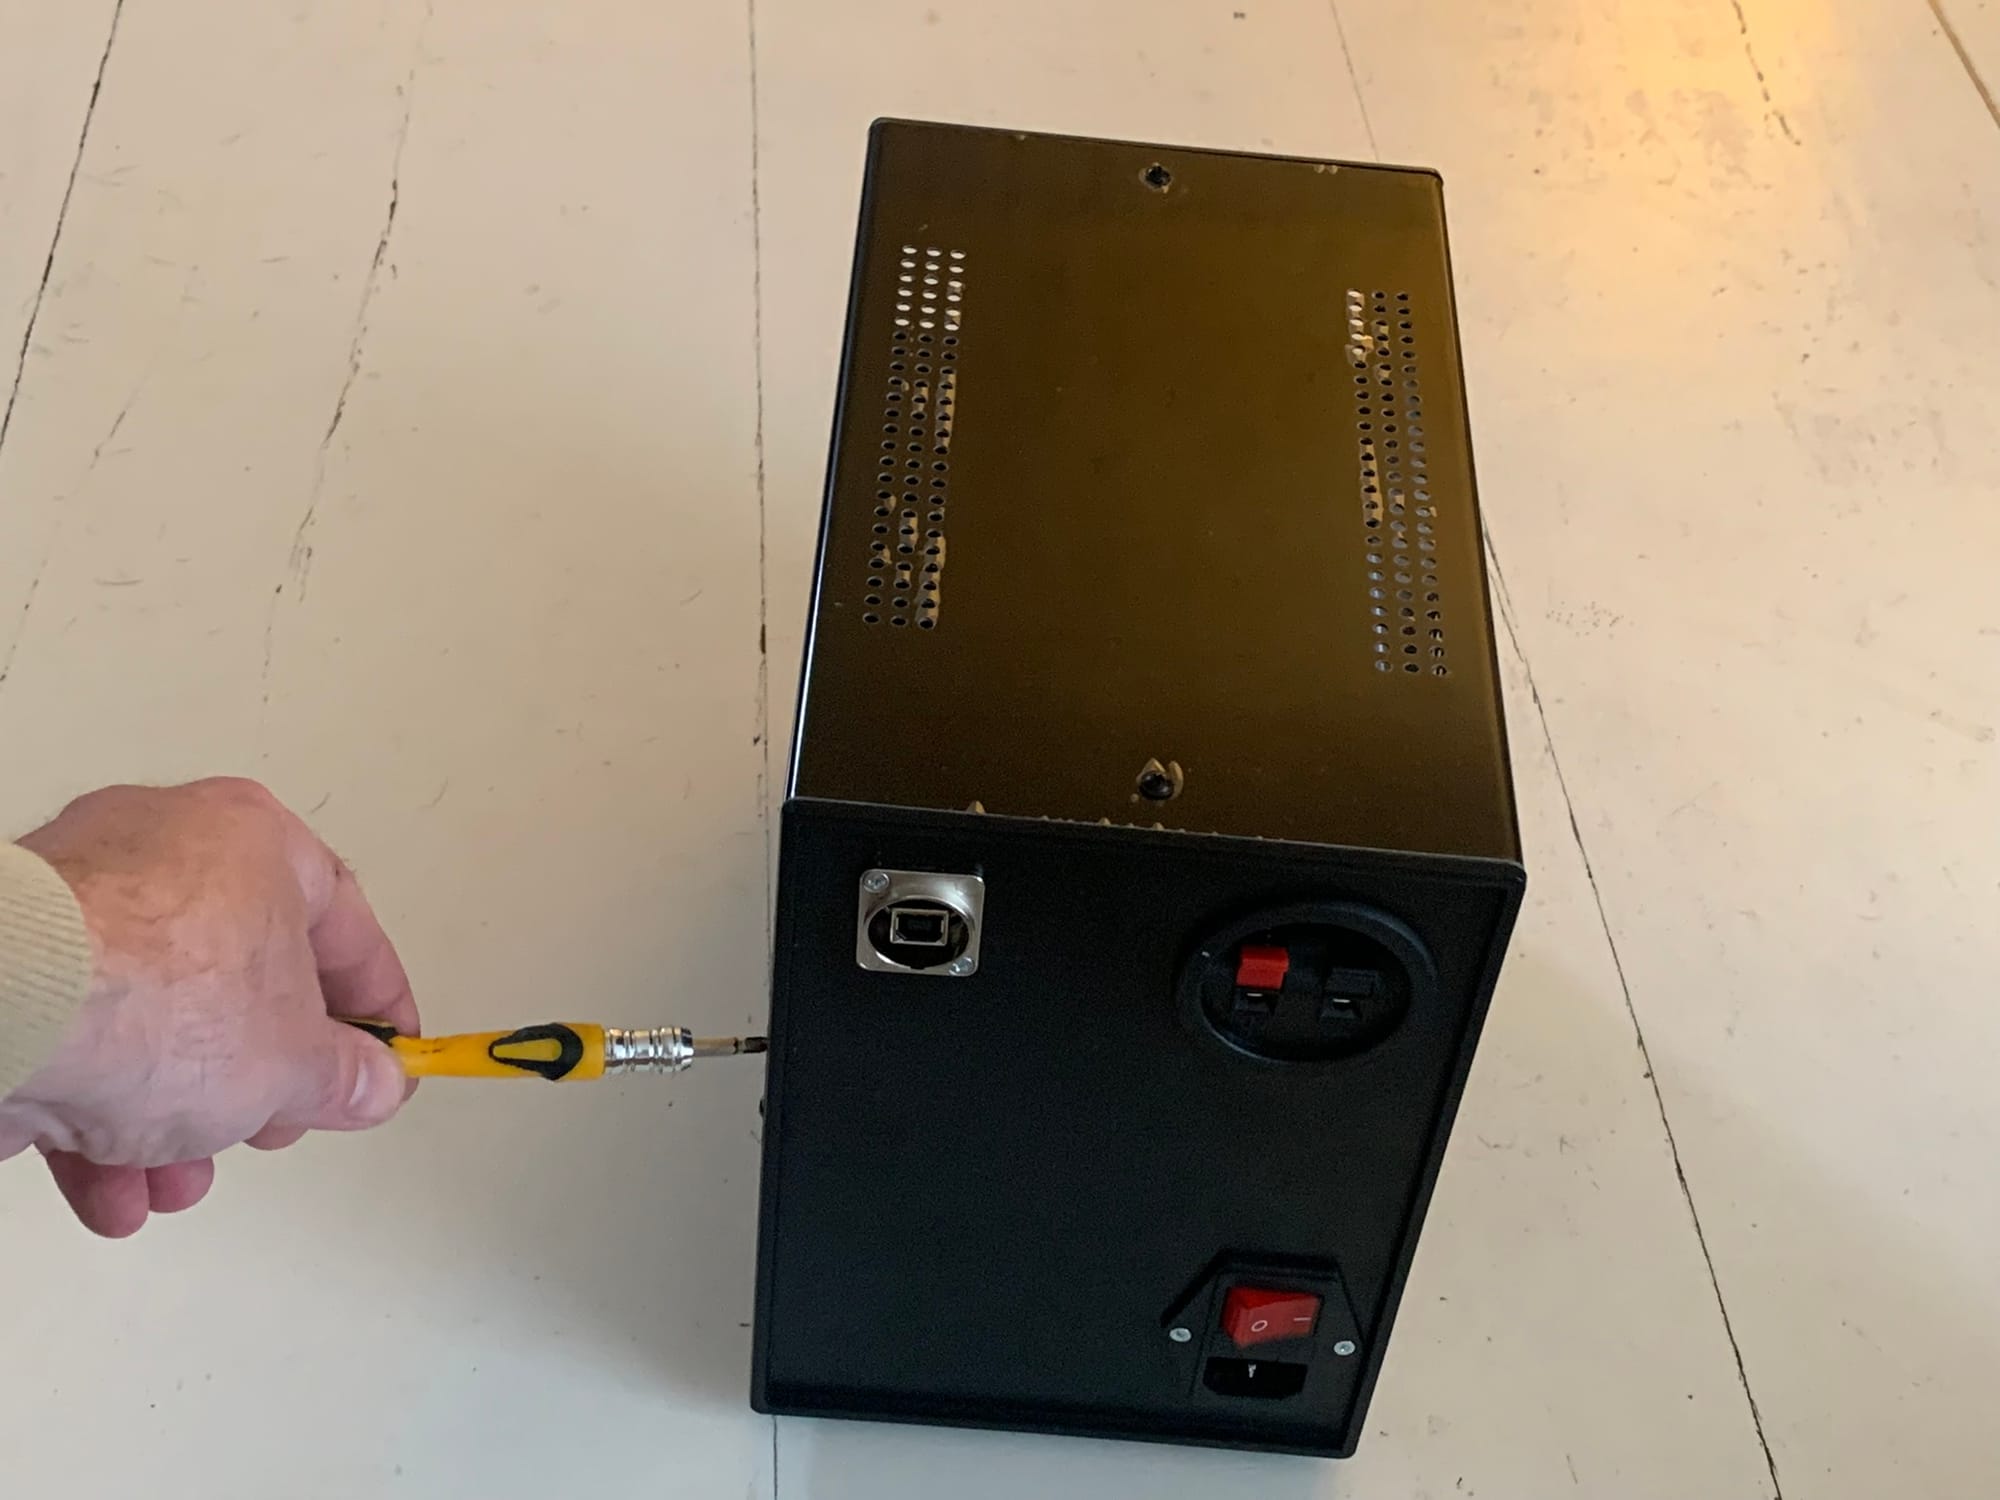
Step 1 - Enclosure and Brackets
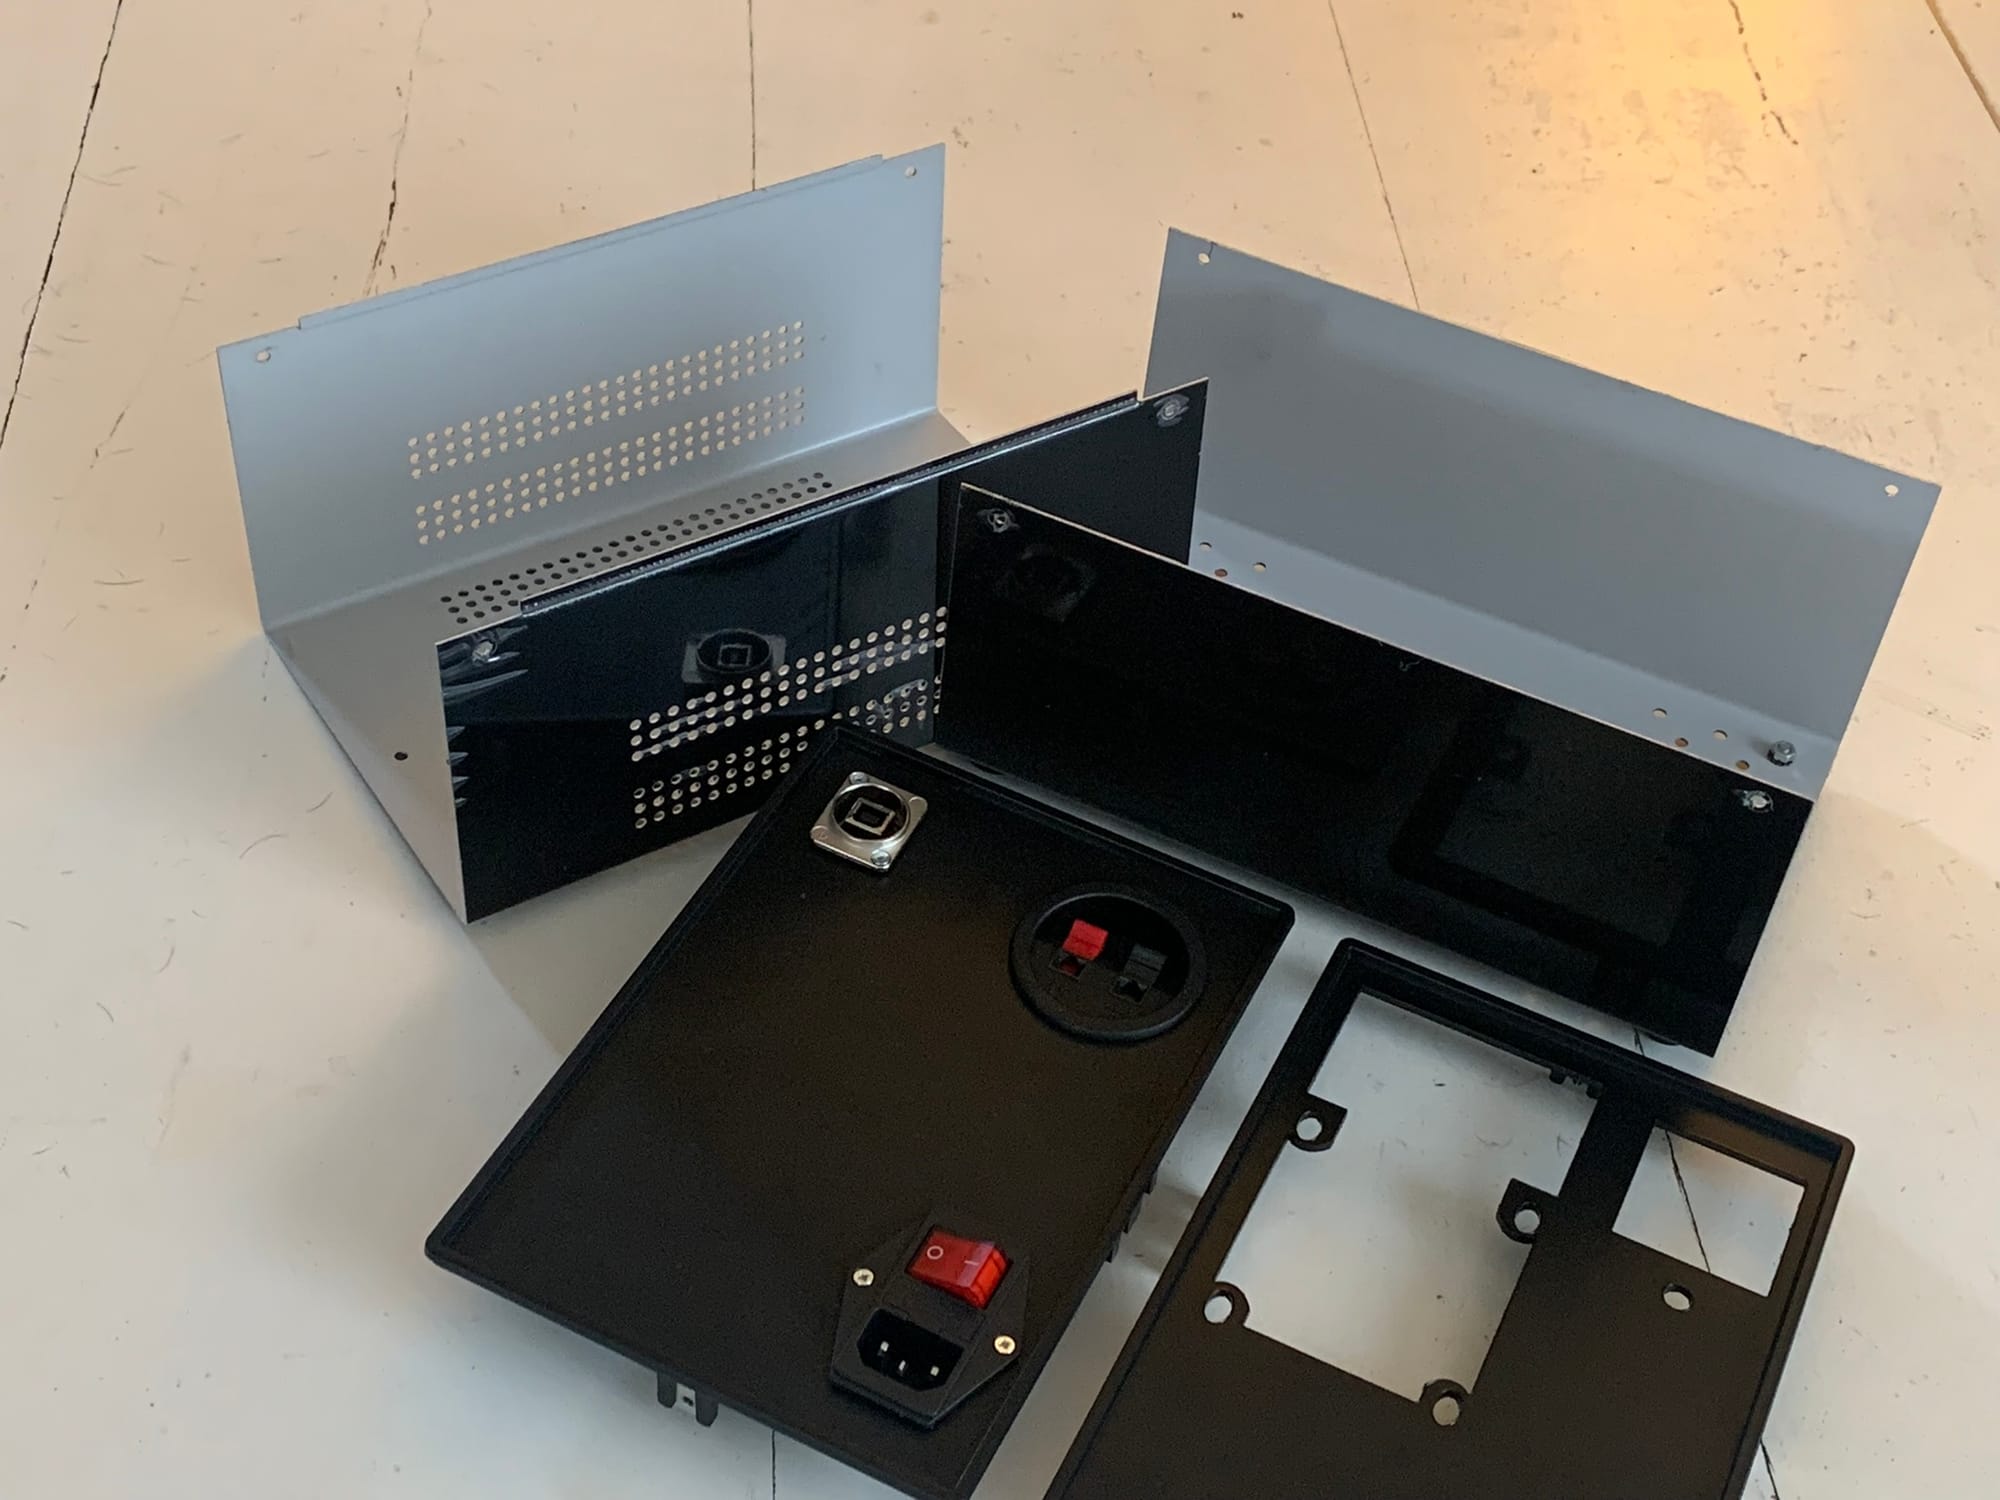
Remove the 12 screws holding the metal enclosure together to dismount the front and back plates. Keep the screws a safe place - you'll need them later.
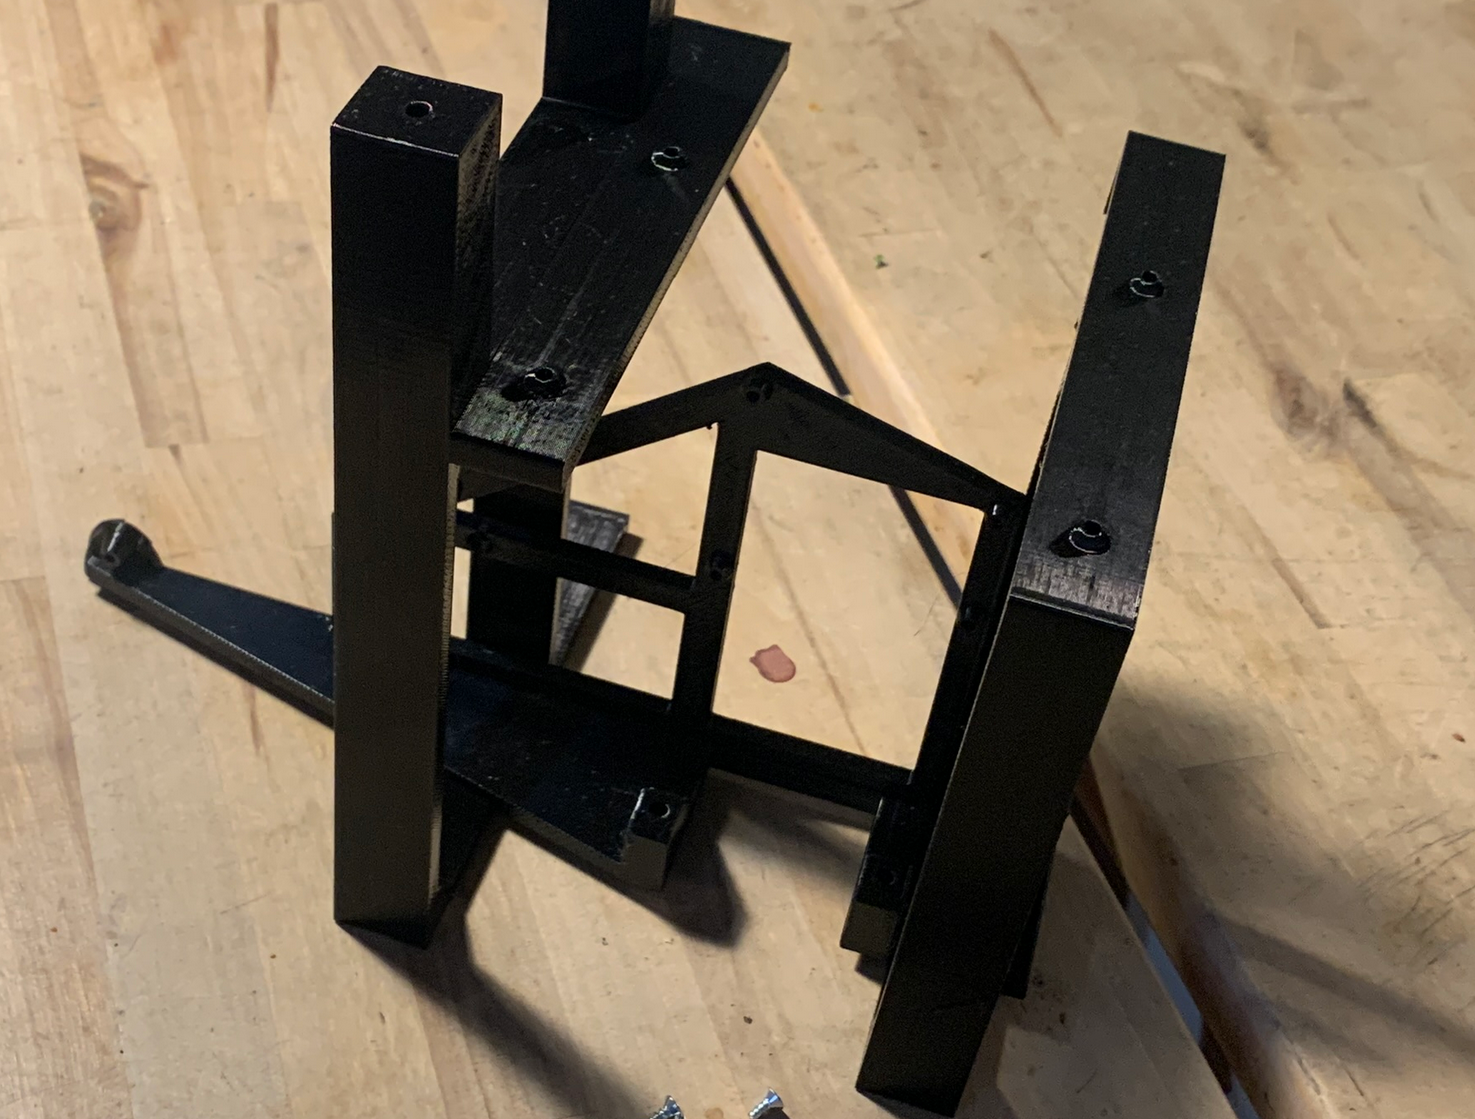
Locate the 3 brackets for mounting power supplys, controller board and solid state relay.
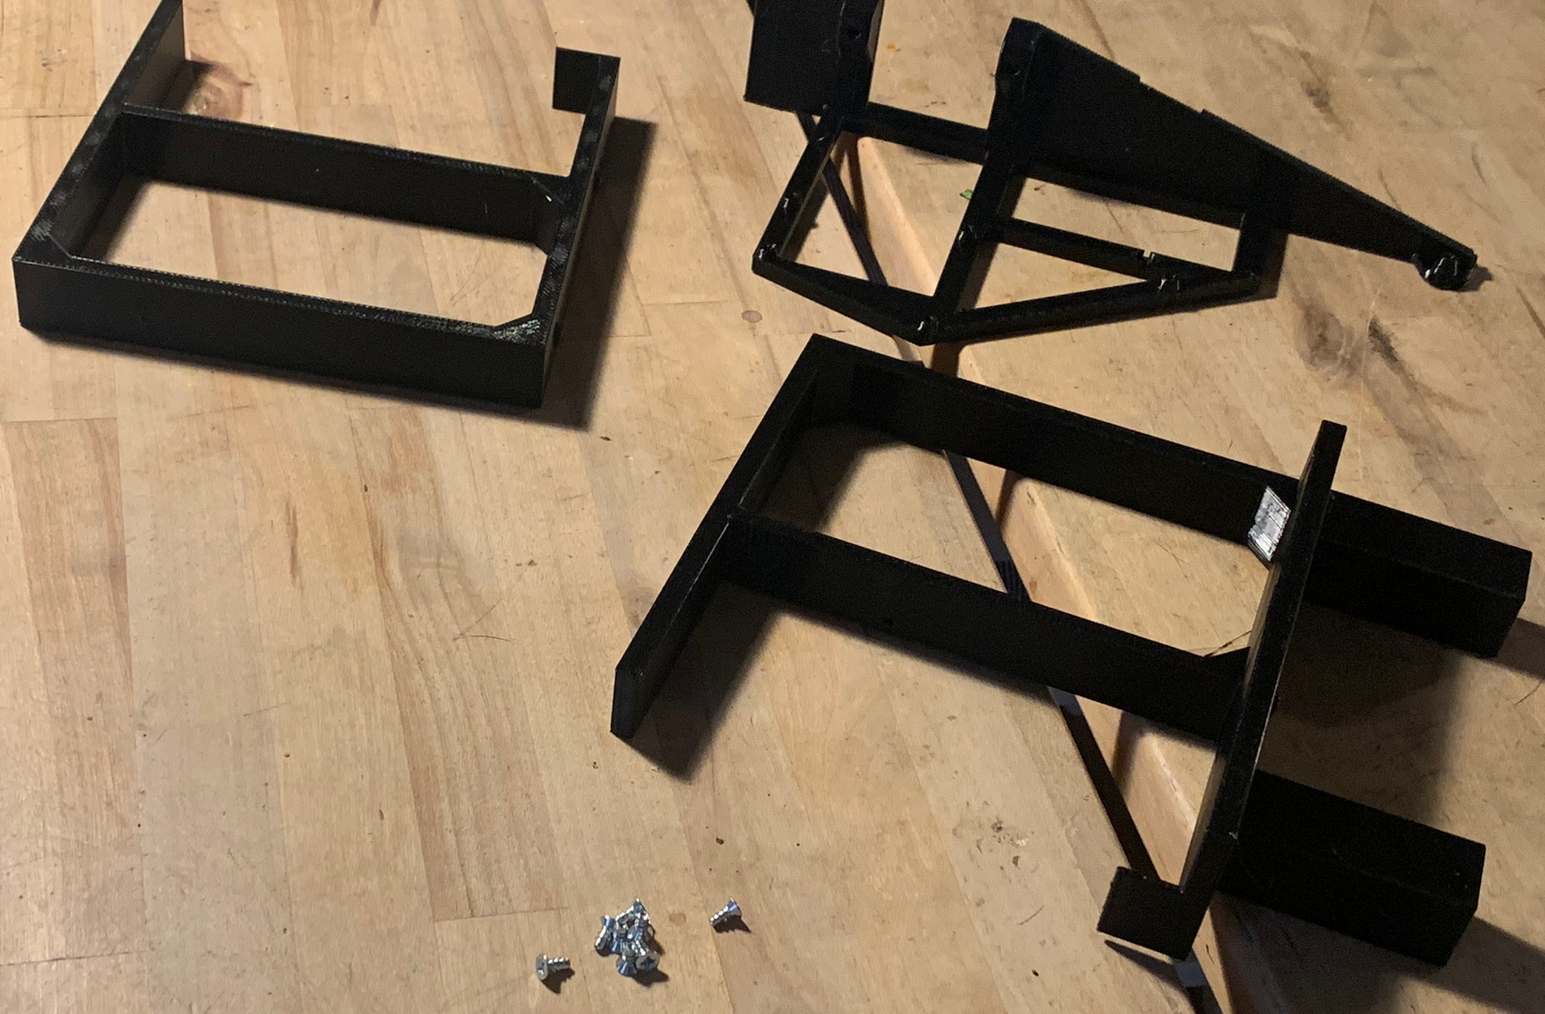
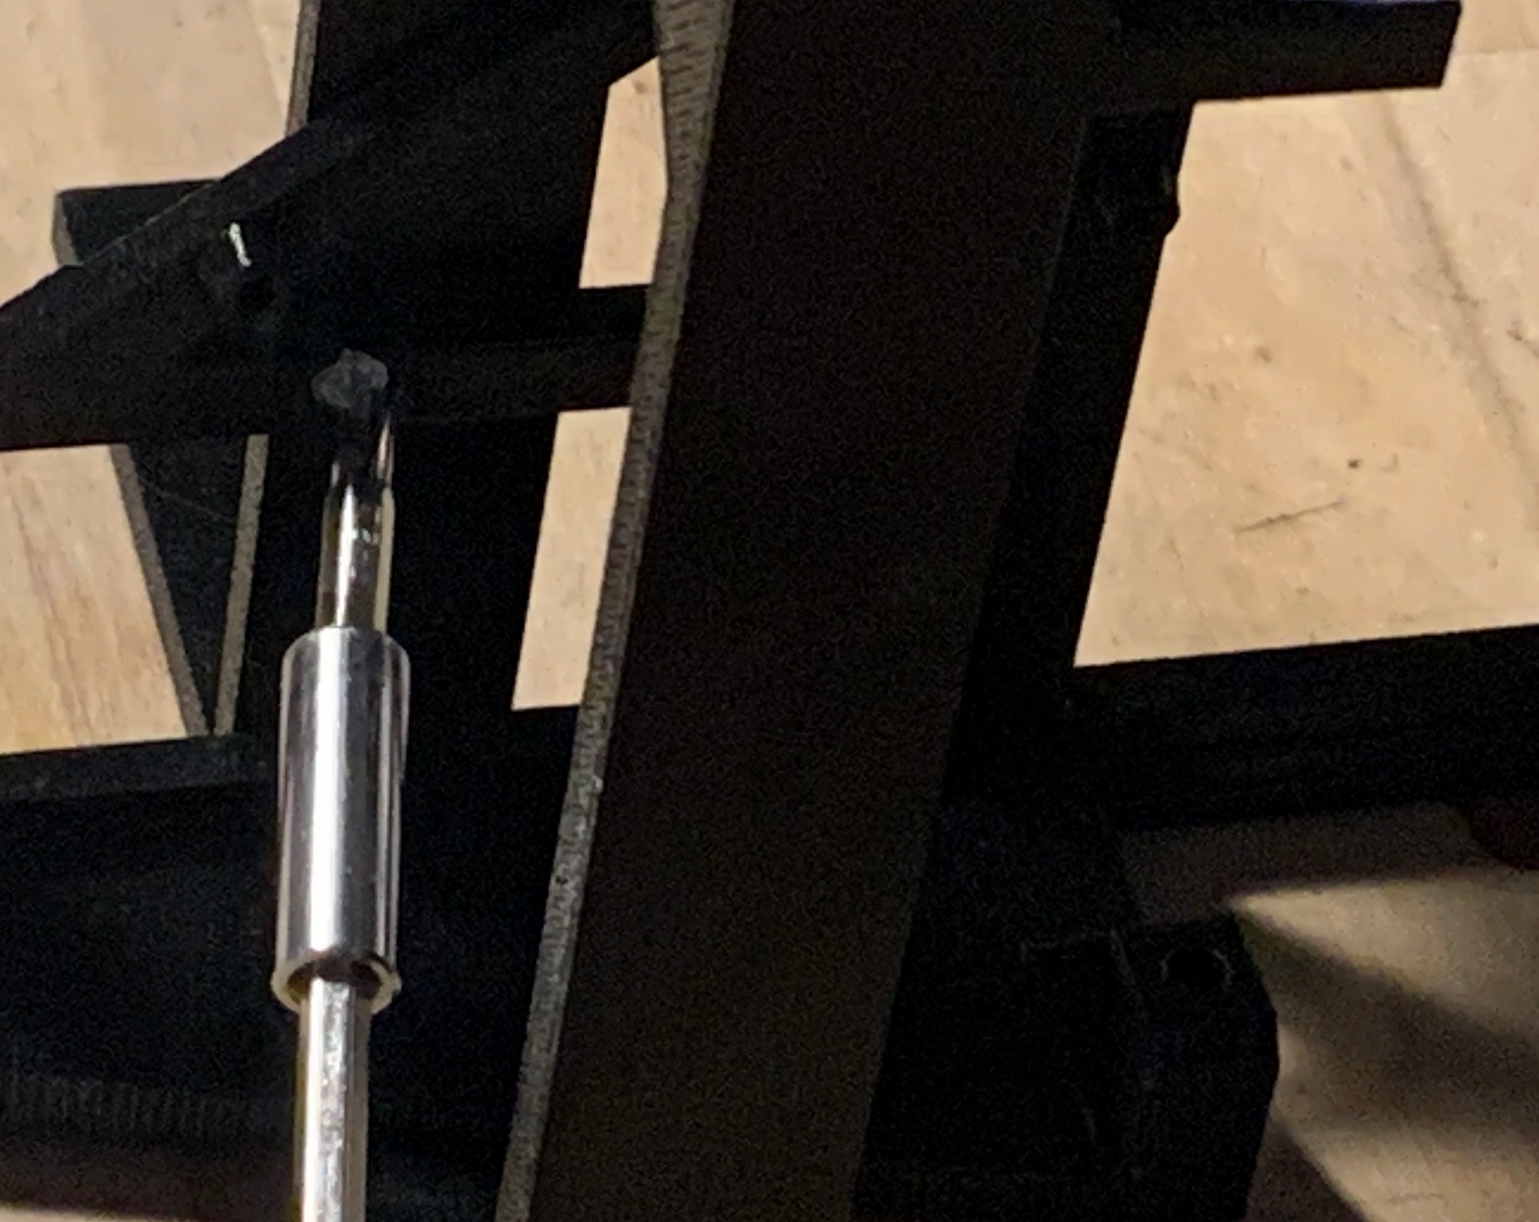
Attach the microprocessor mount to the rear bracket with one of the small tapping screws from the kit.
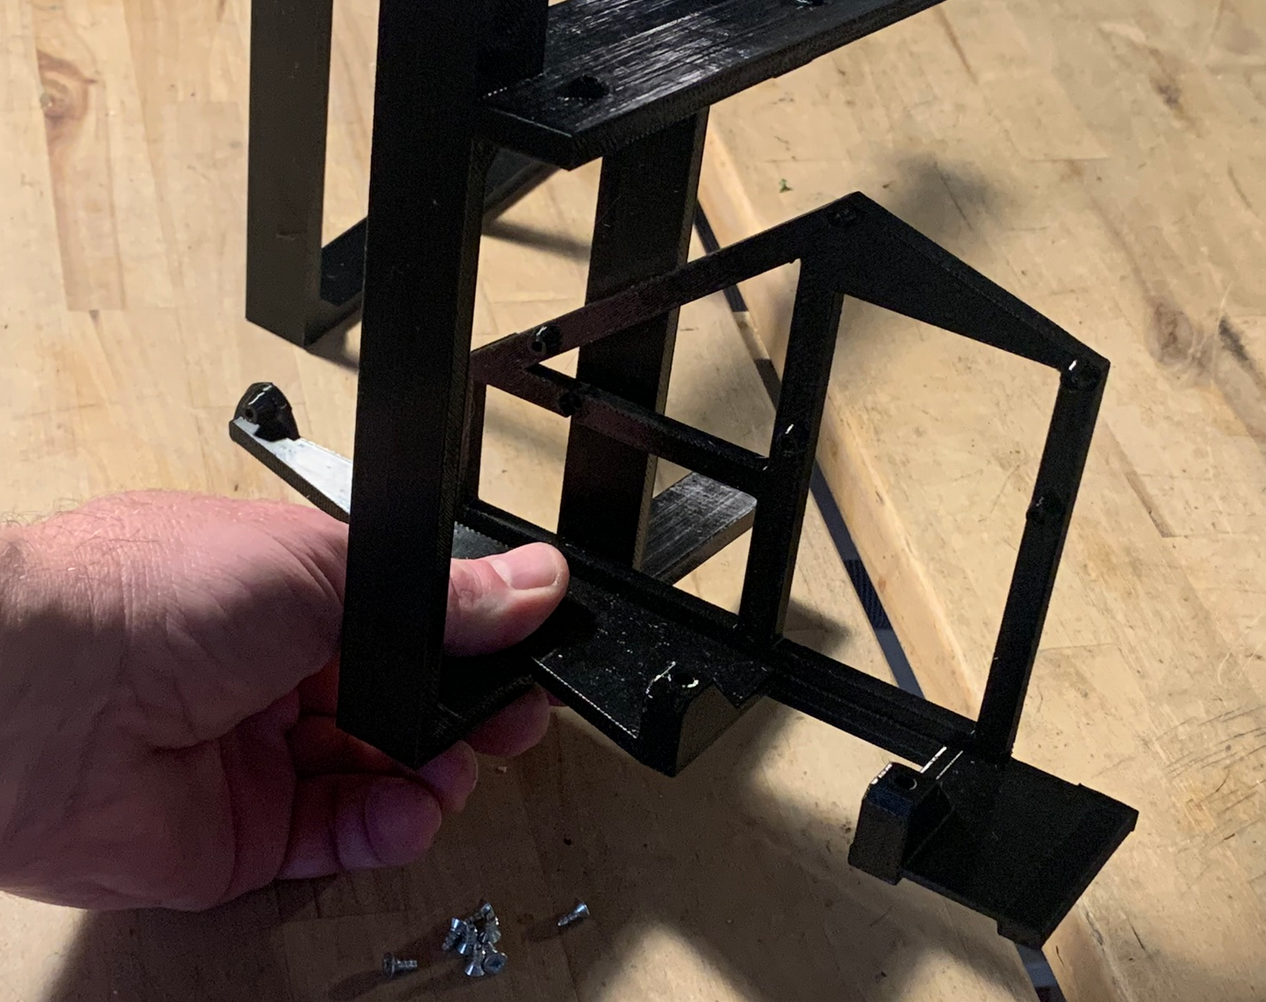
The front bracket just sits in the slot underneath the processor mount for now.