Step 11 - Wrapping it up
Place the brackets with all the components attached on the lower part of the enclosure. Adjust placement of the 48V power supply by sliding it forth and back until enough clearance has been achieved to mount the front and rear of the enclosure.
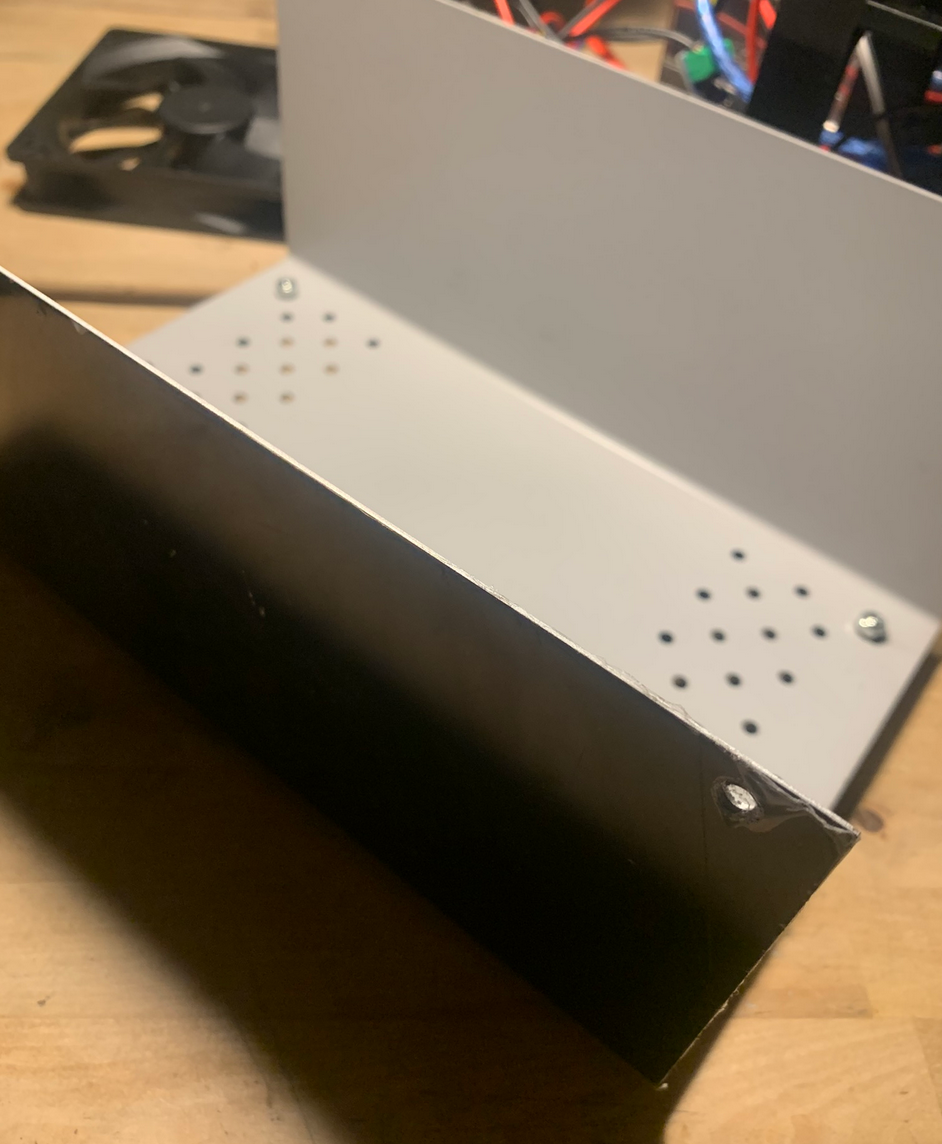
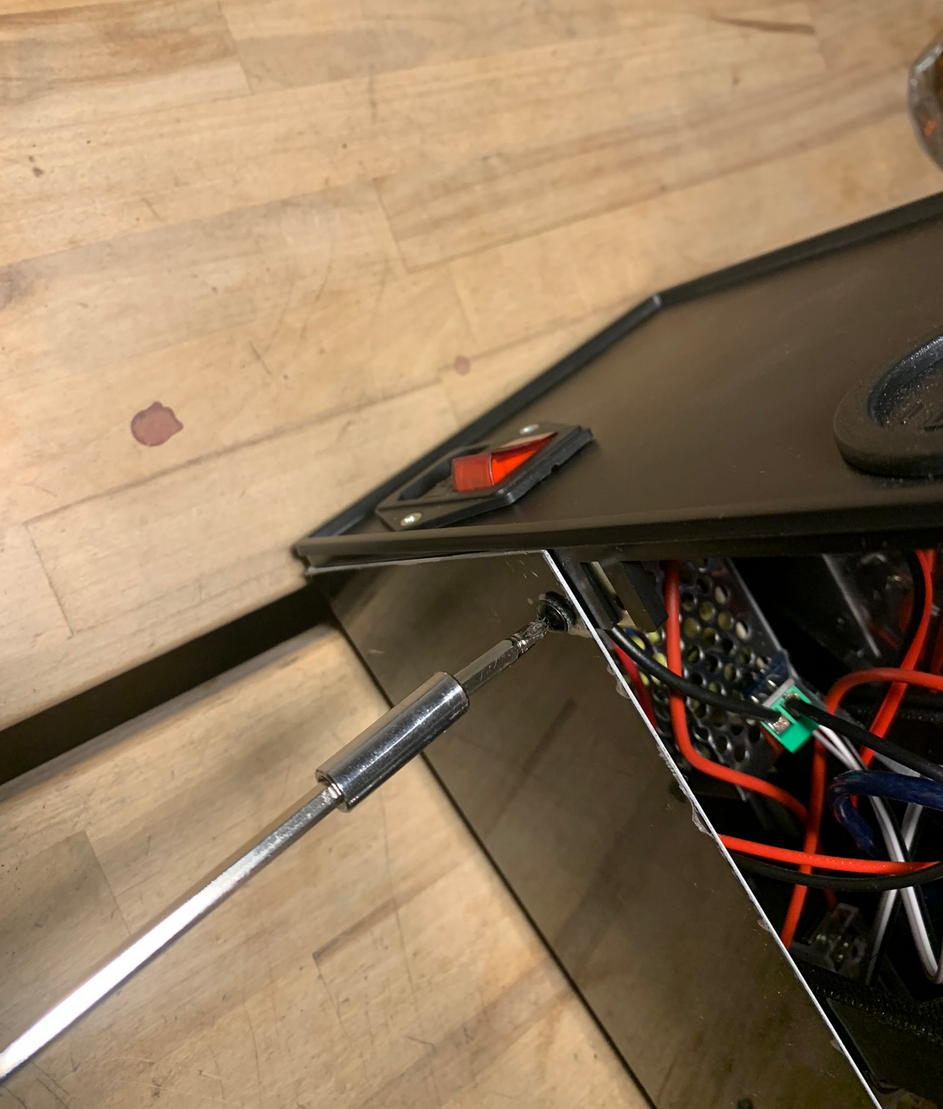
Fasten the rear end of the enclosure using 3 enclosure screws. 1 on each side and one below.
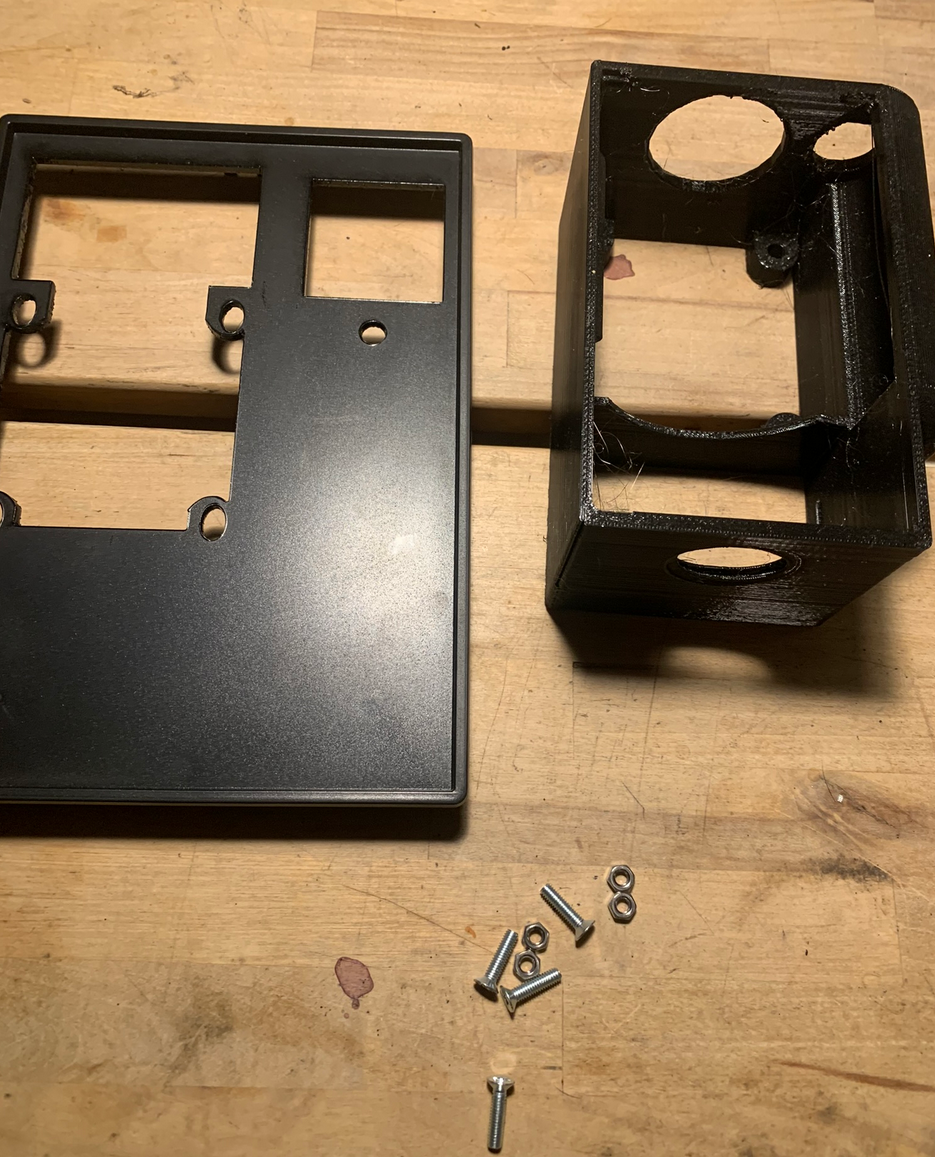
Mount the coil housing to the enclosures front plate using the 4 short M4 scerws and M4 nuts.

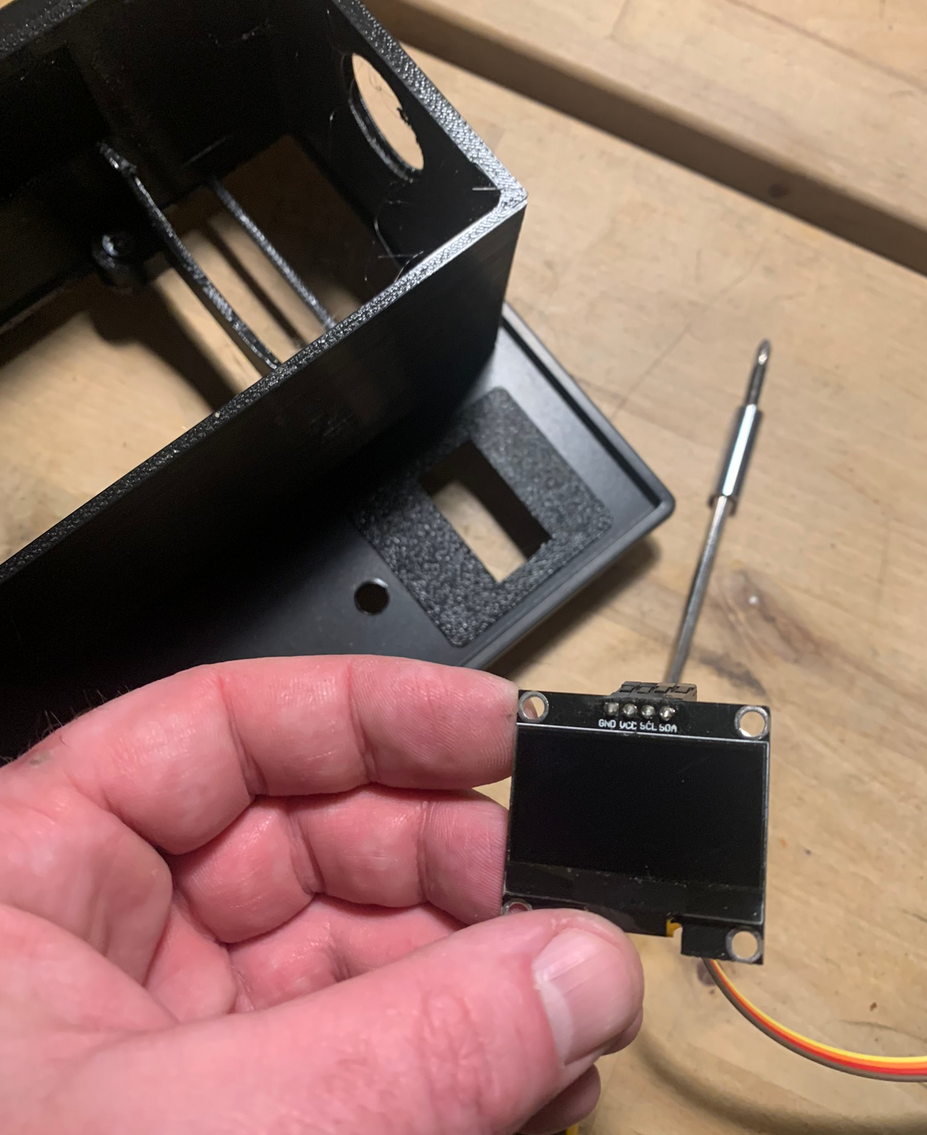
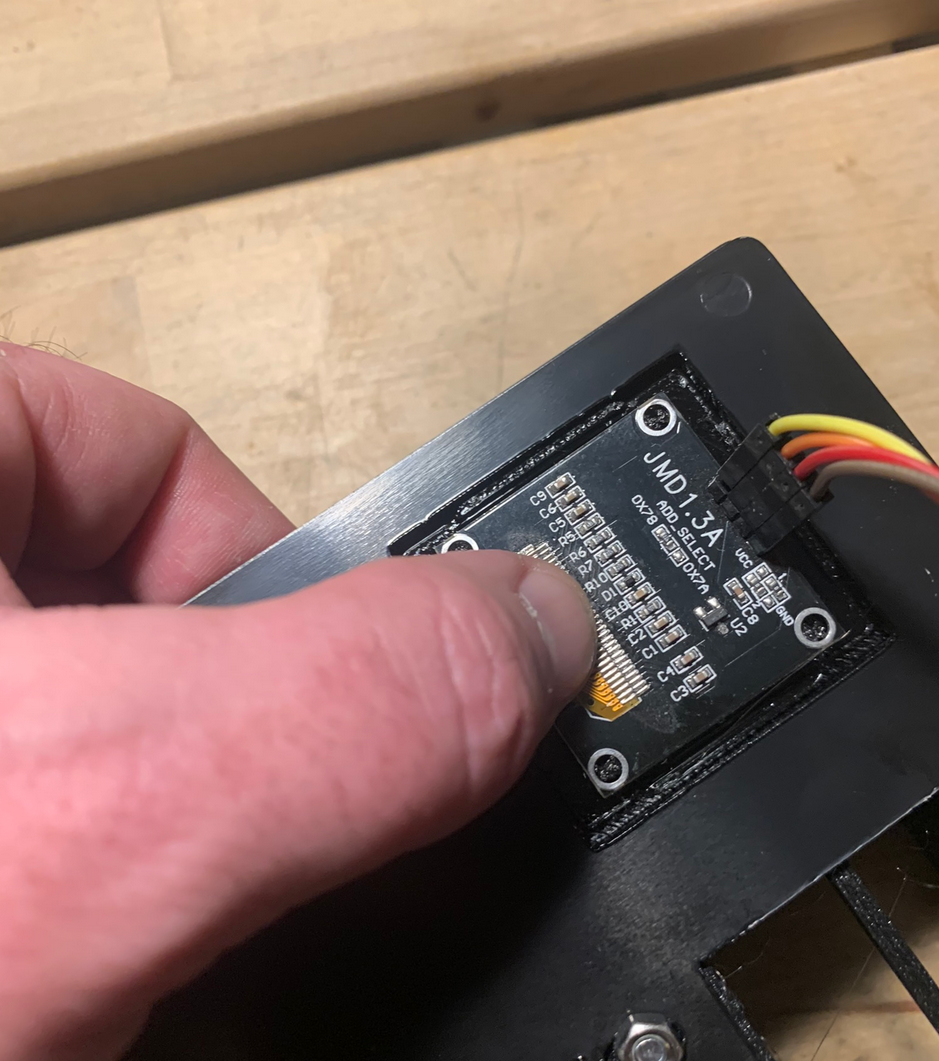
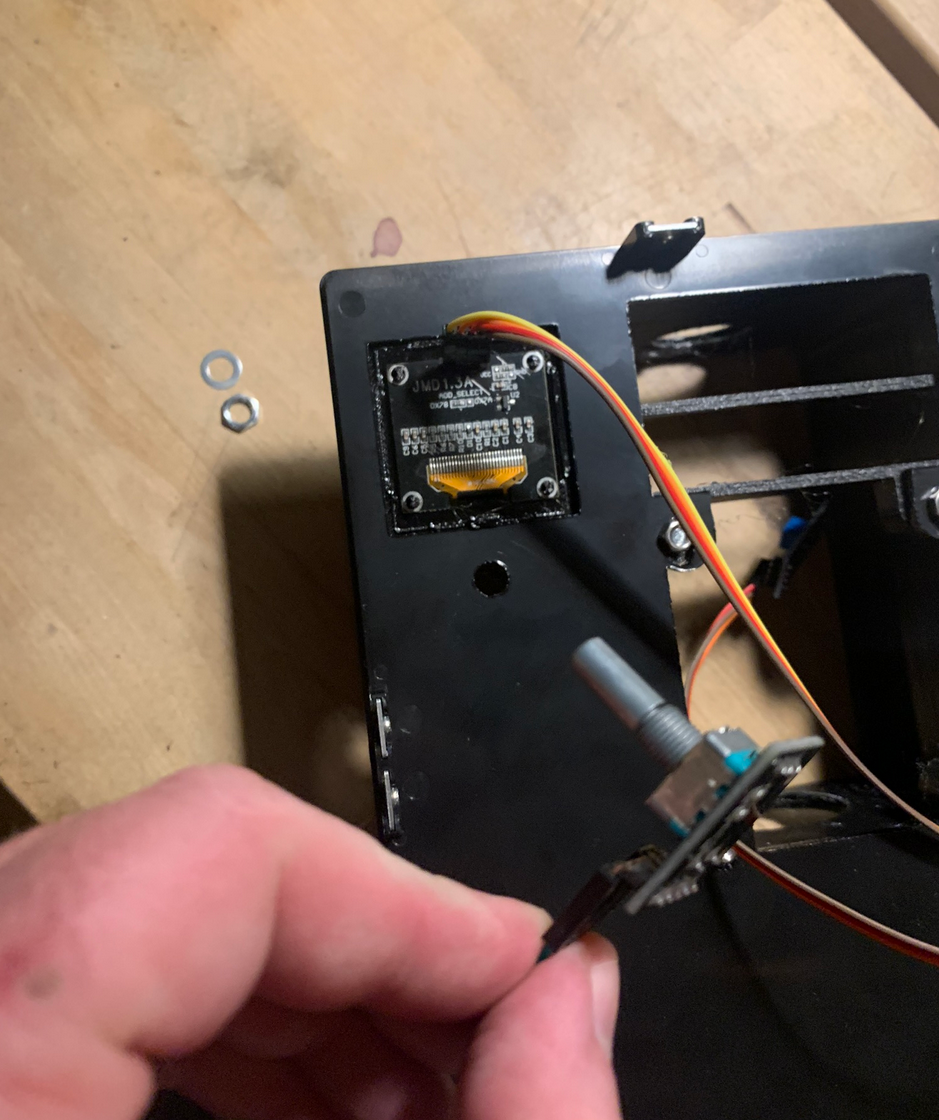
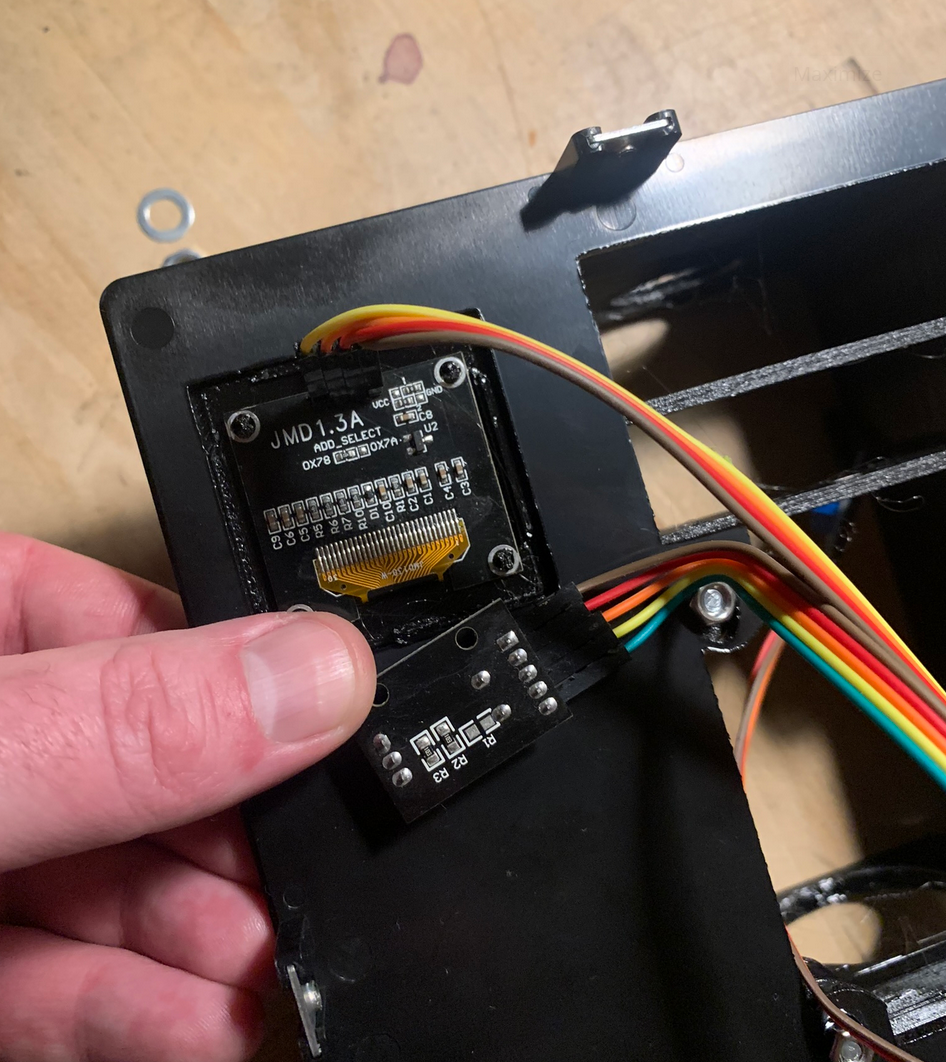
Attach the OLED display to the backside of the bezel. It should just click in place - don't apply excessive pressure.
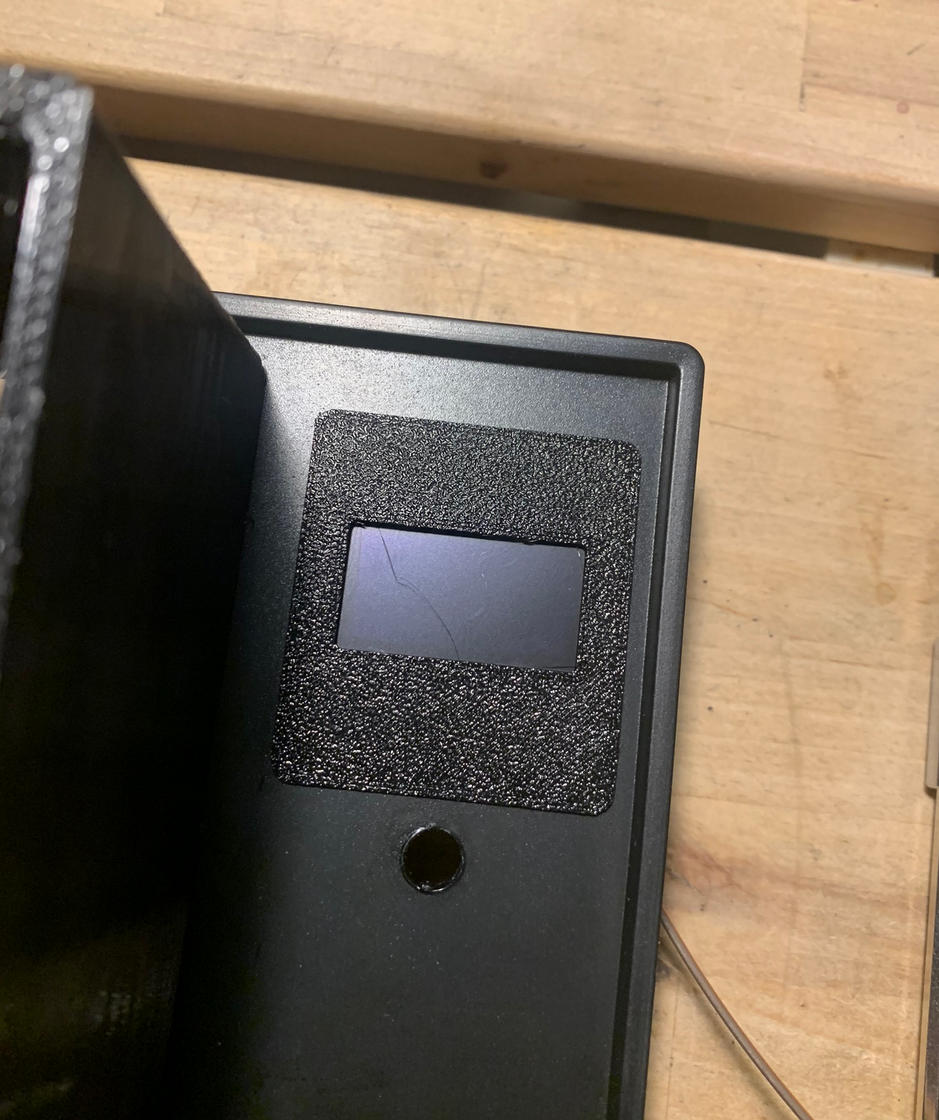
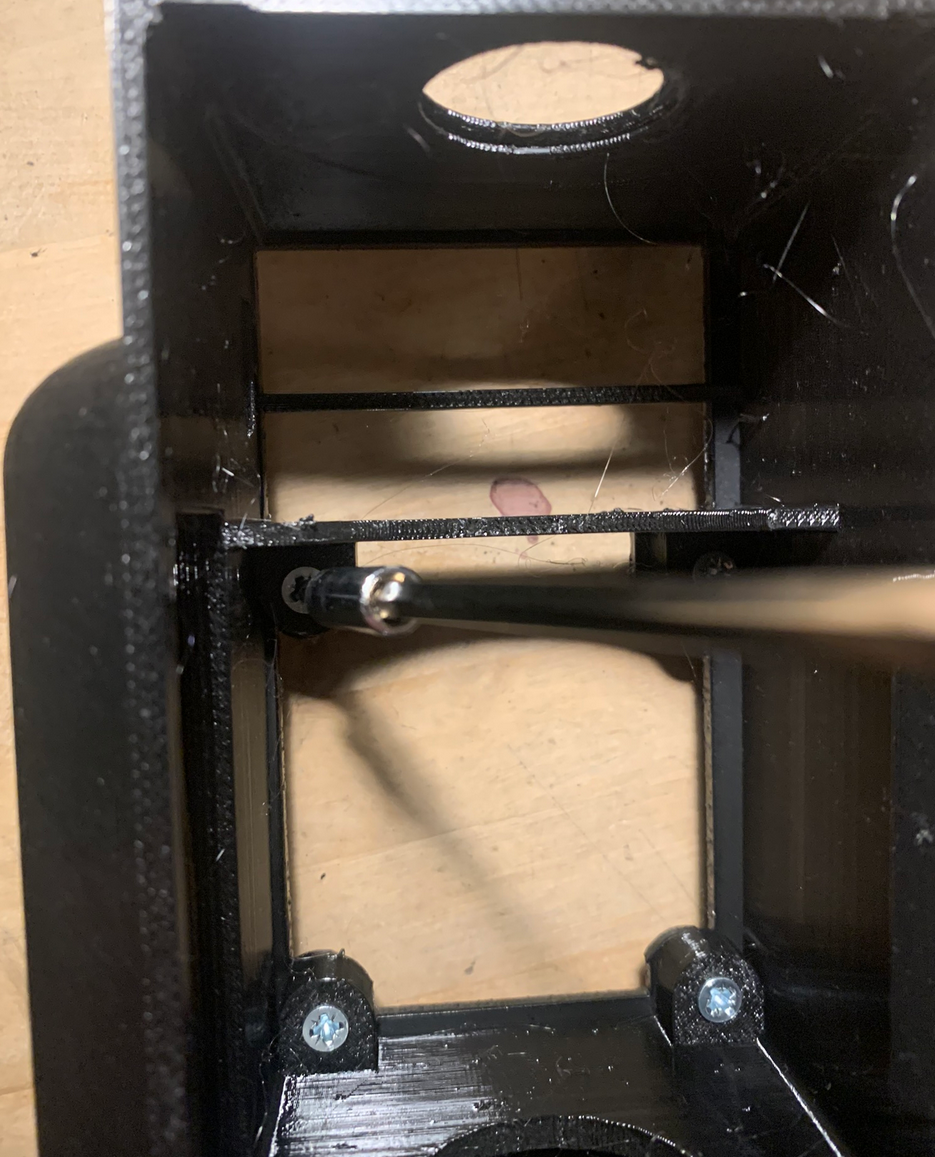
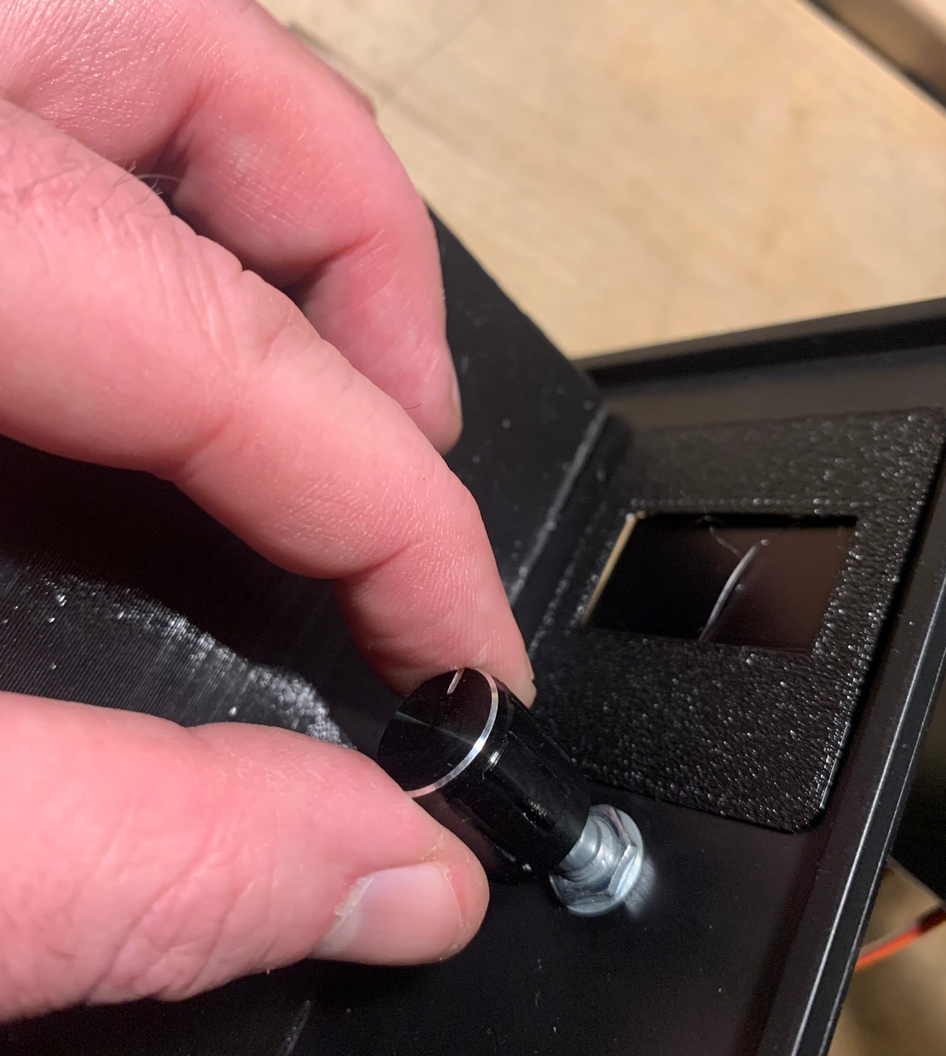
Put the rotary encoder through the small hole below the display. Secure it with the provided washer and nut from the front side.
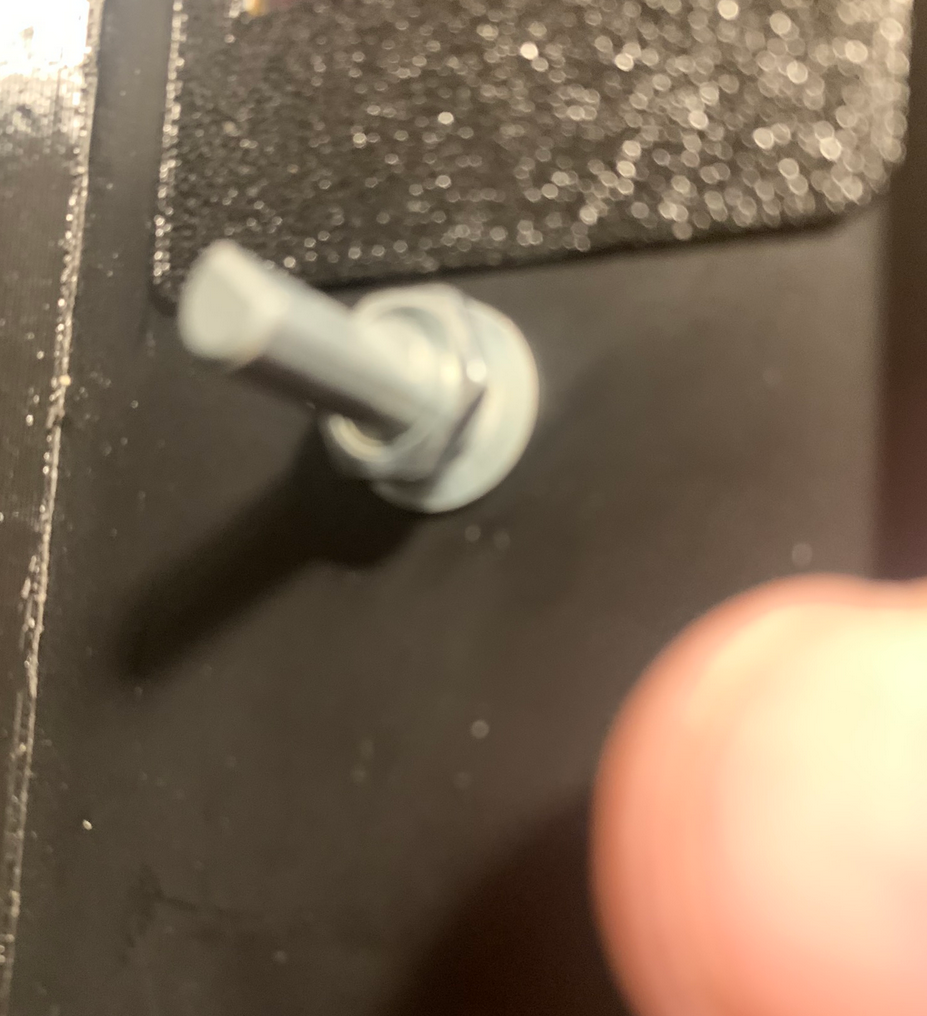
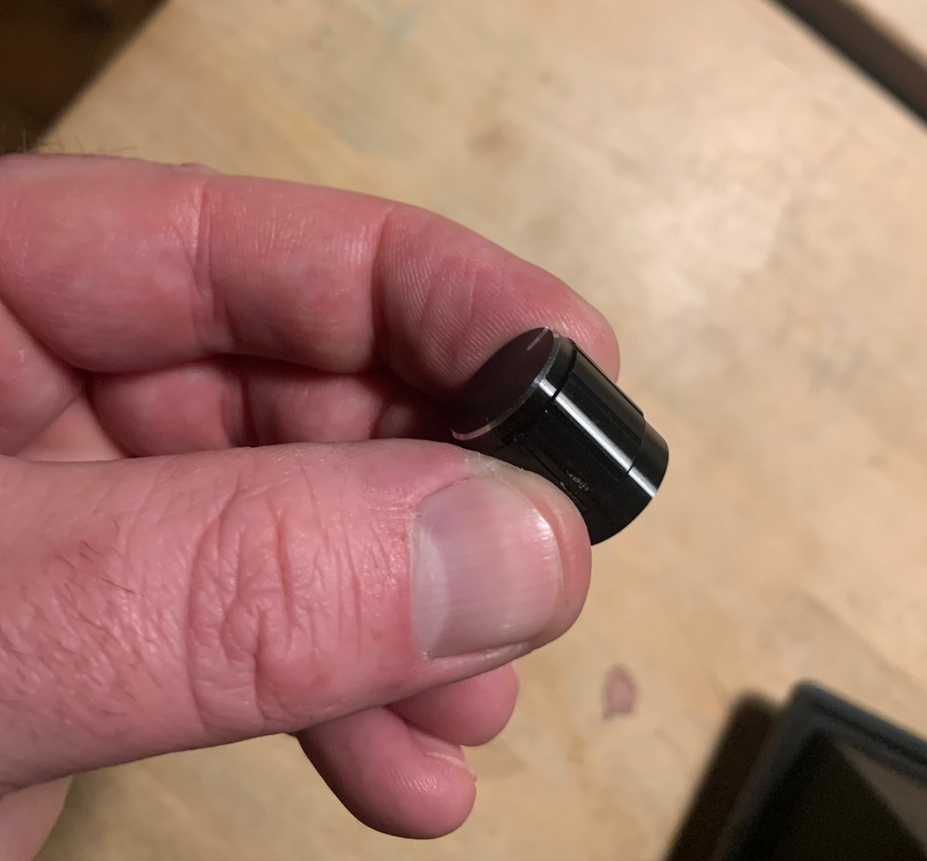
Press the knob over the shaft.

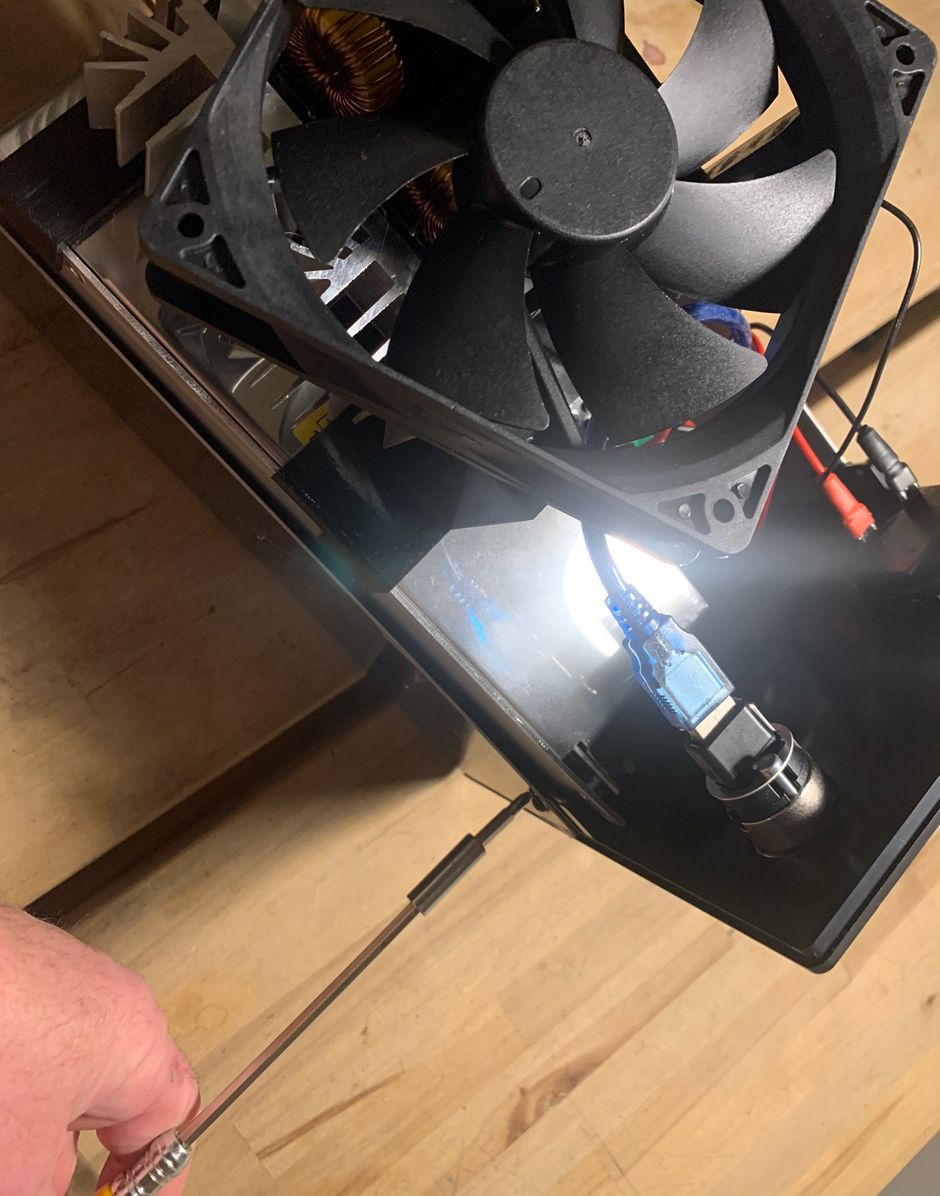
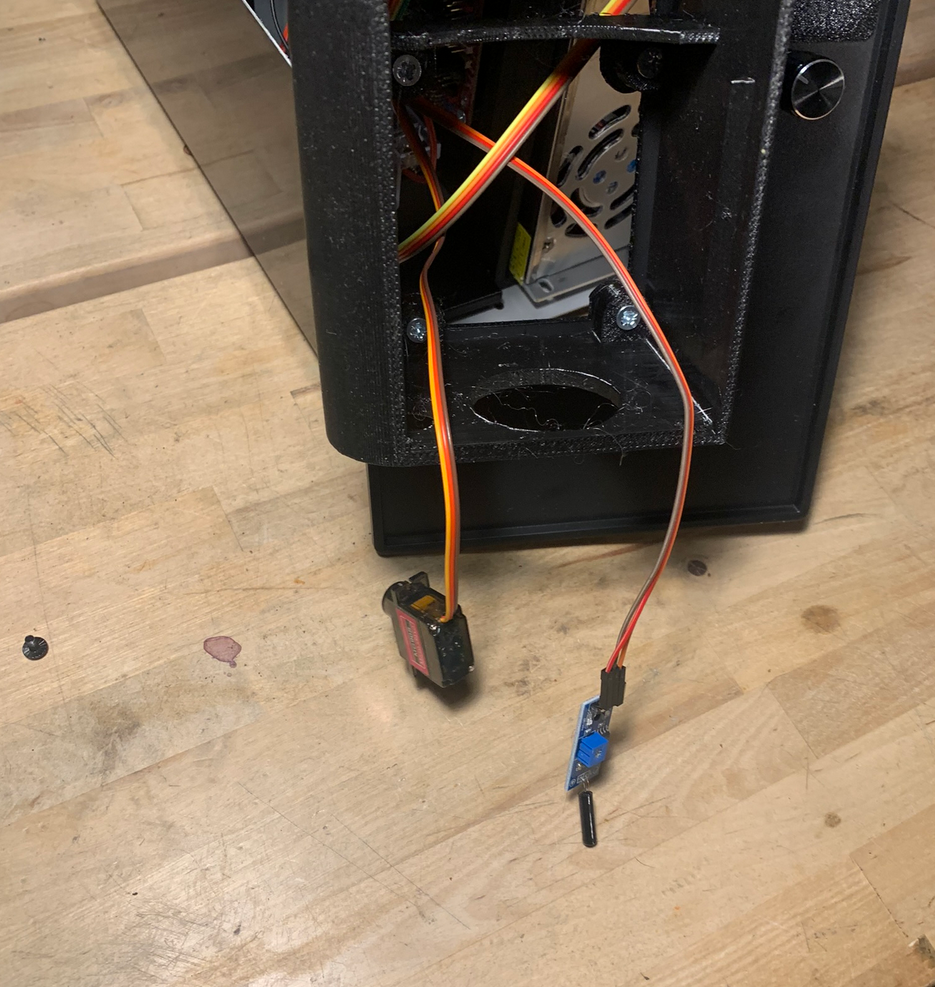
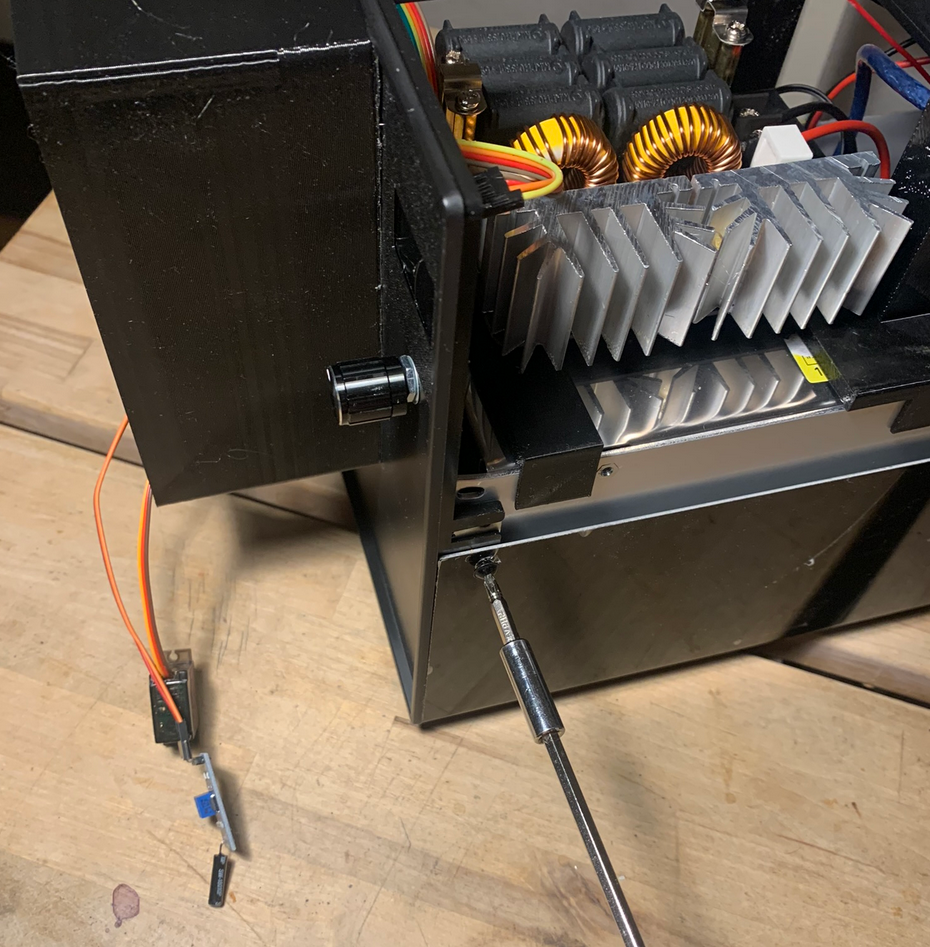
Attach the enclosures front plate using 3 enclosure screws. Make sure the servo and the vibration sensor gets through the coil housing.


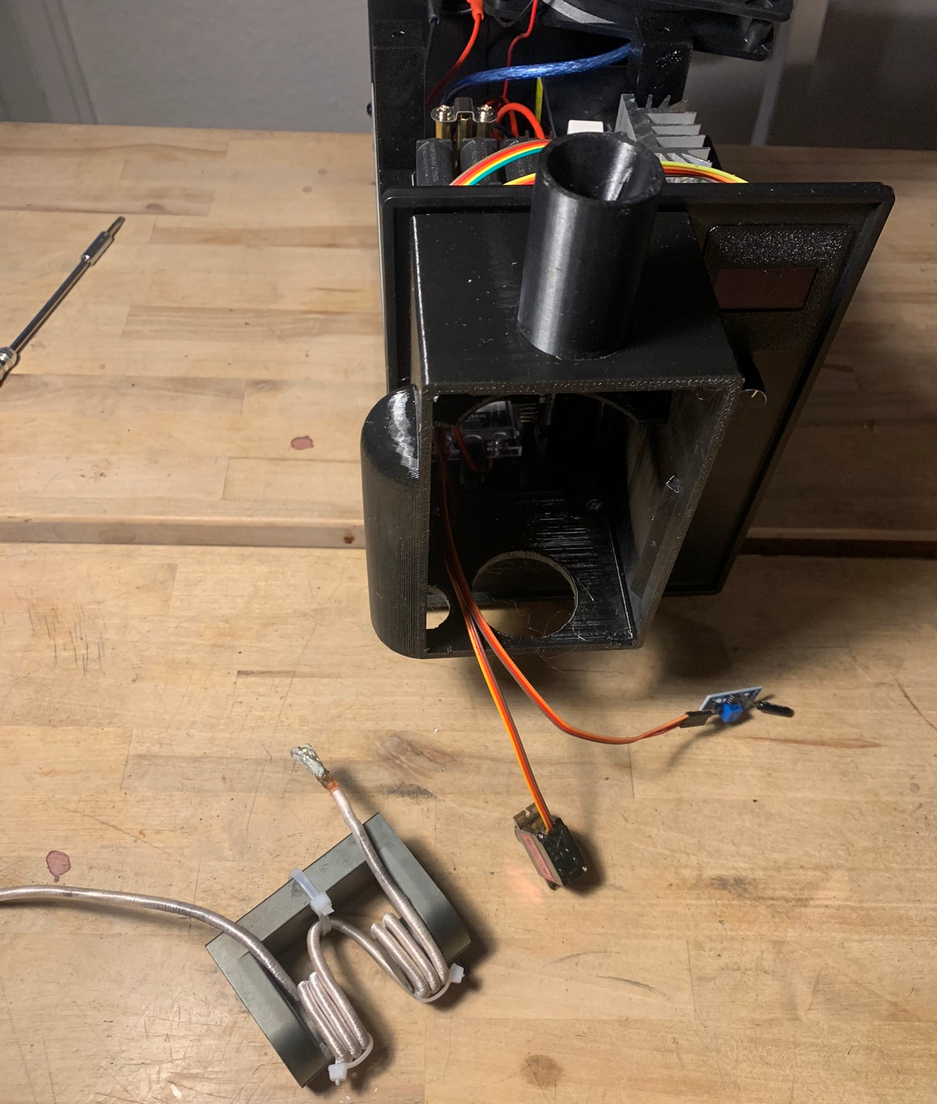
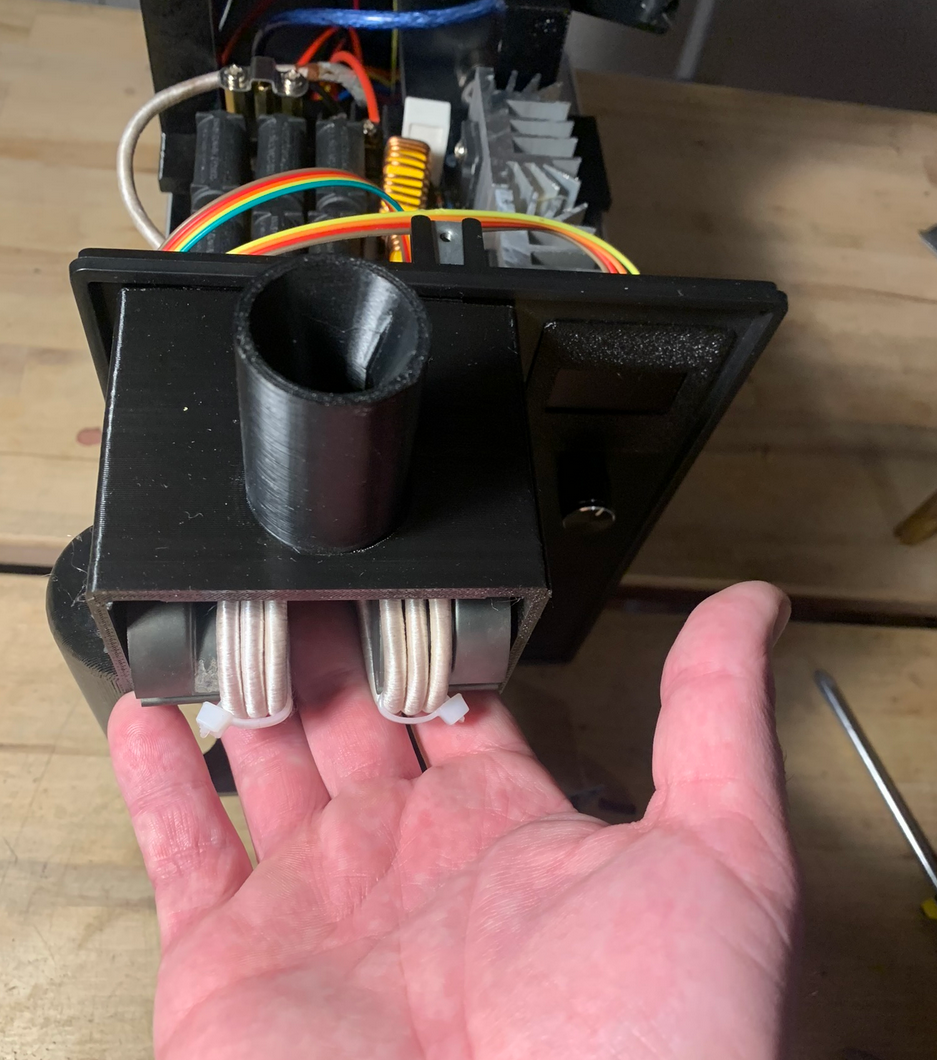
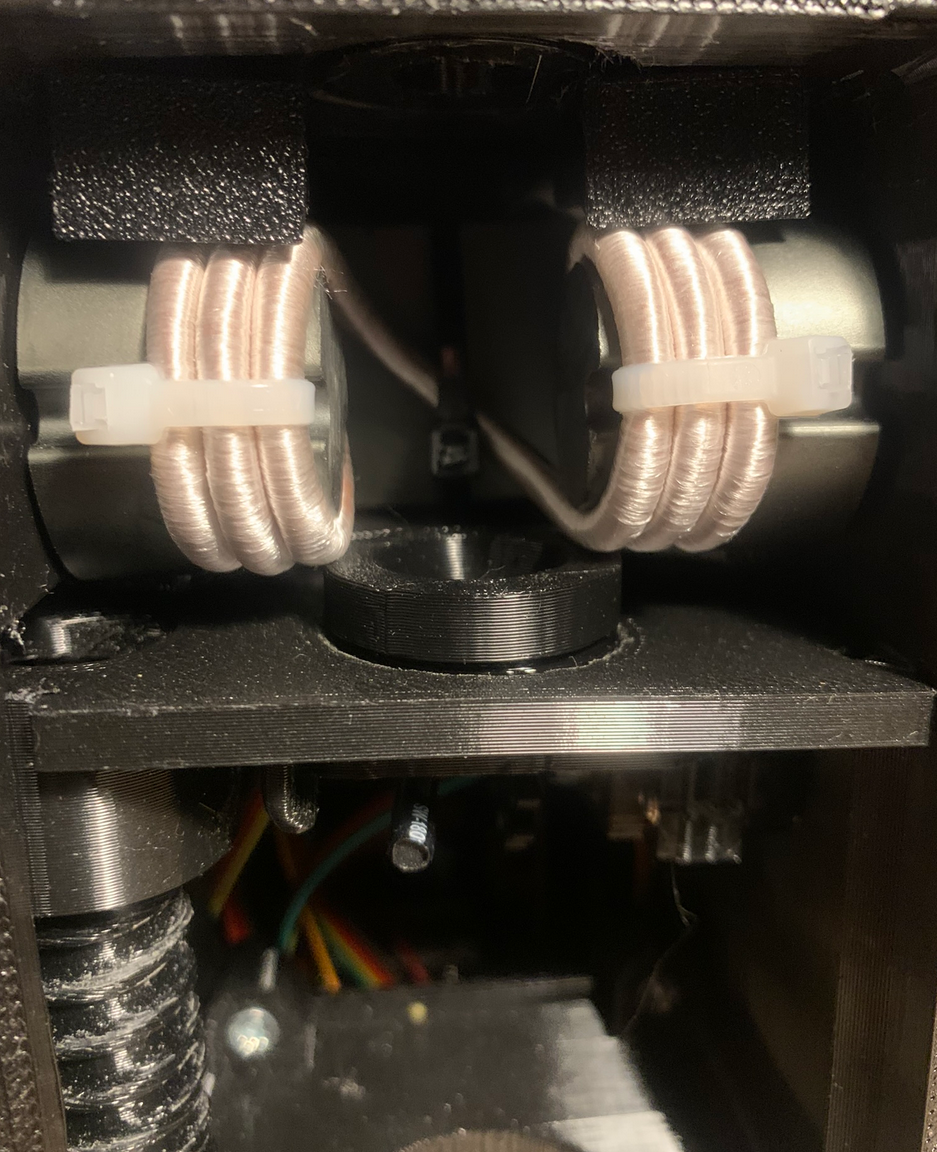
Slide the ferrite core coil into the upper slot in the housing with the coil wire ends facing upwards.

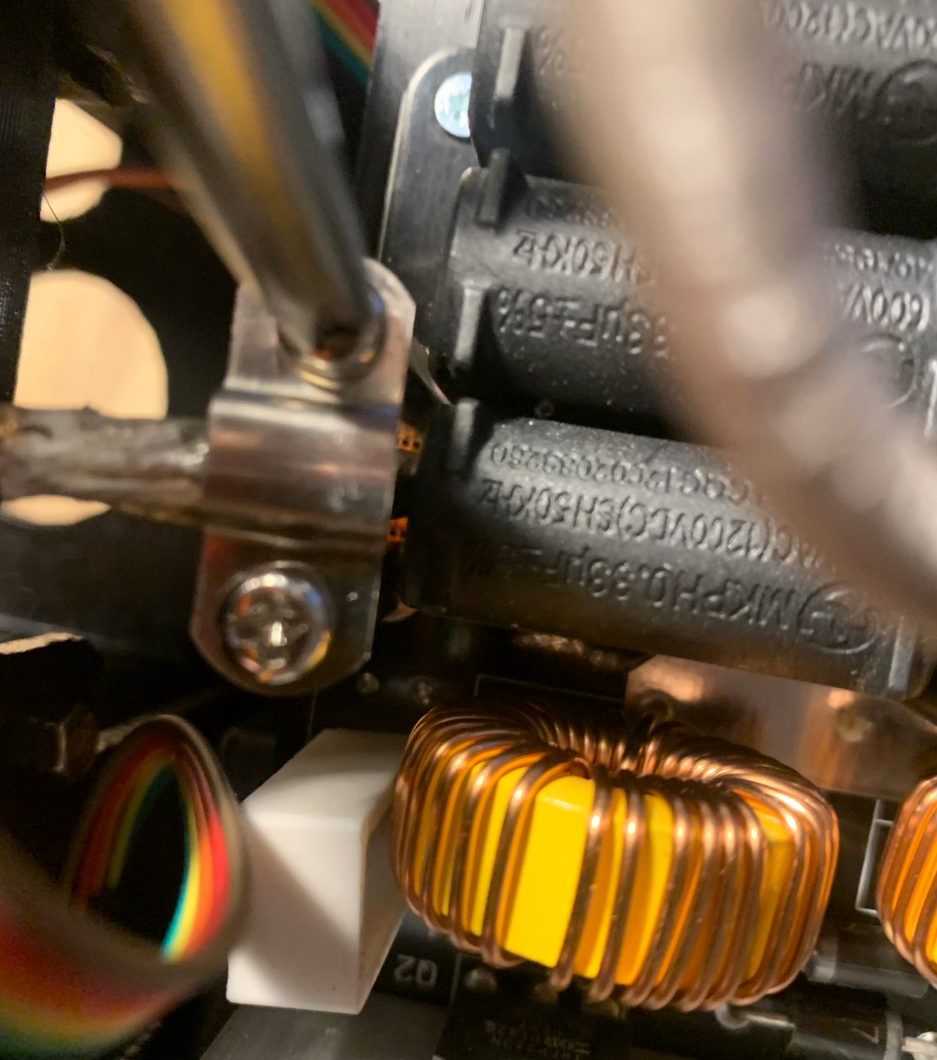
Fasten the tinned coil ends to the terminals on the ZVS board. You might need to rotate the ends to make good contact. Do not over tighten the screws. The coil ends should be securely fastened without being able to move. Make sure to check once in a while and re-tighten if needed. A loose connection could cause enormous sparks which could easily melt the fastening bracket.

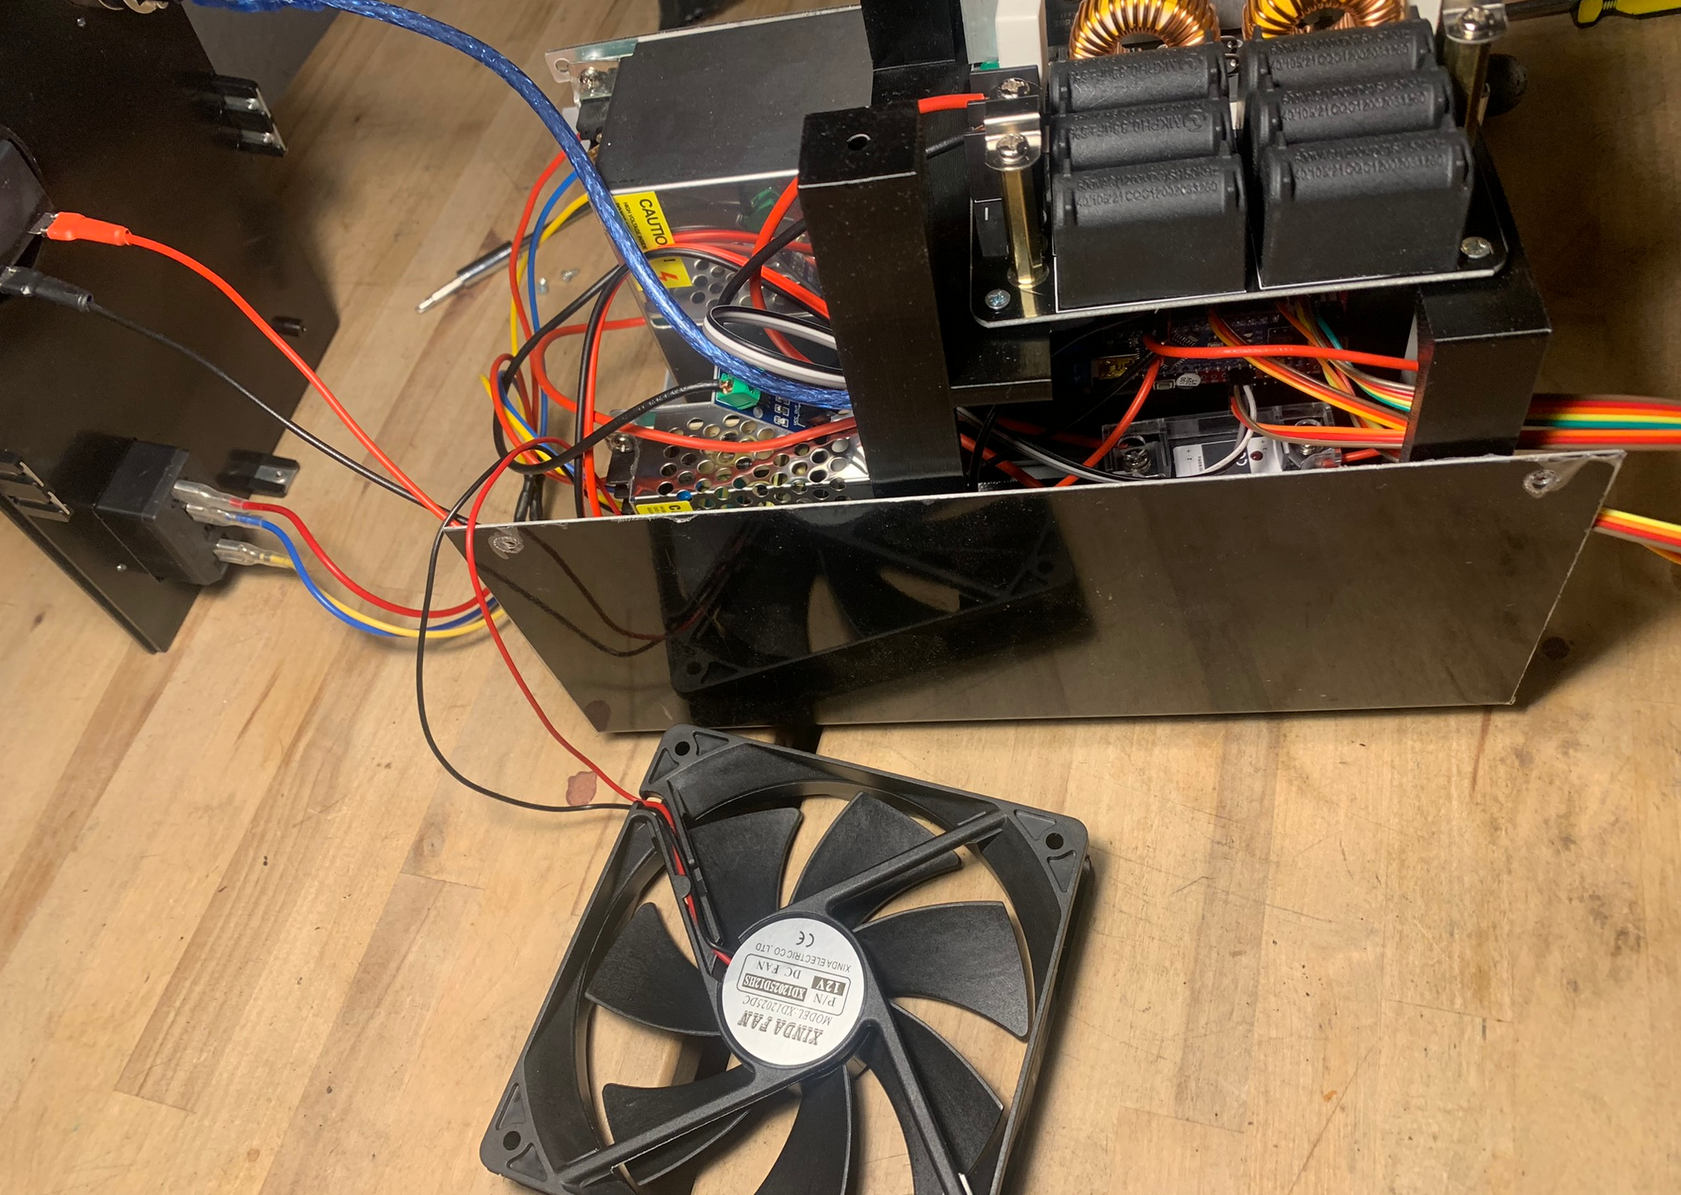
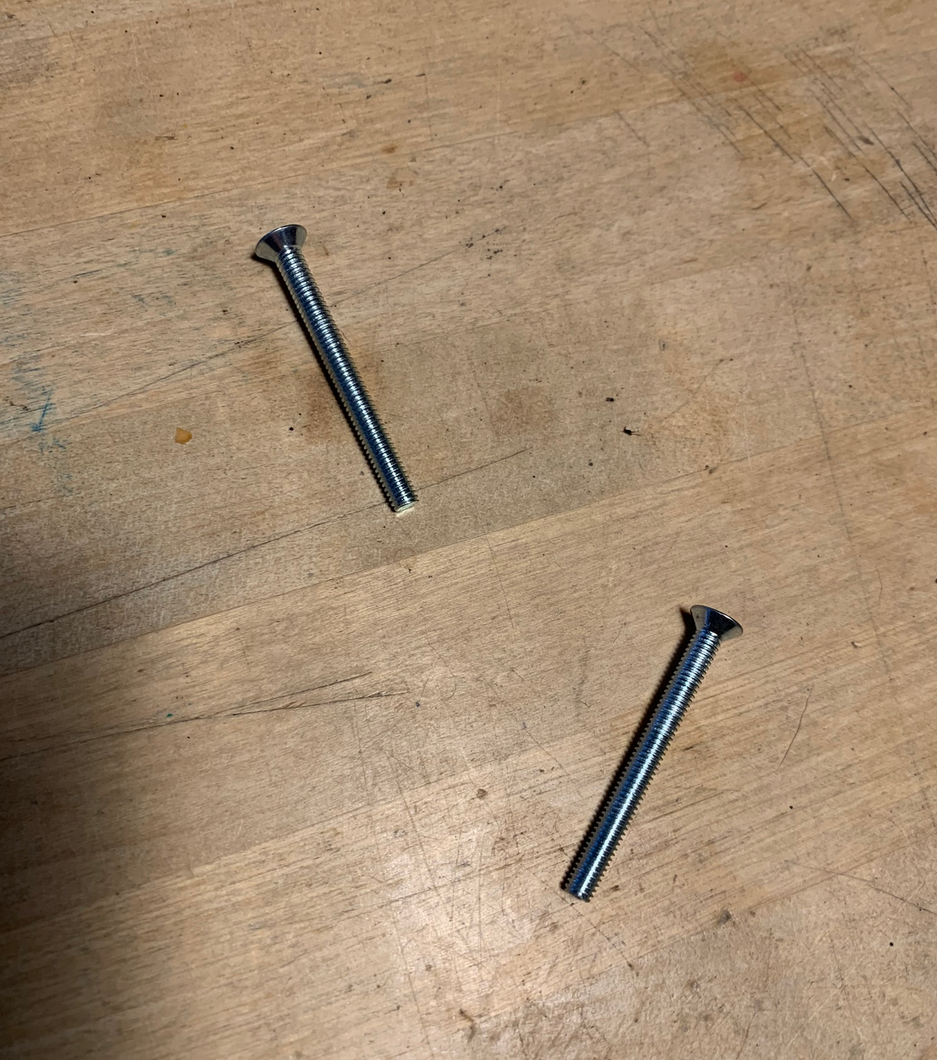
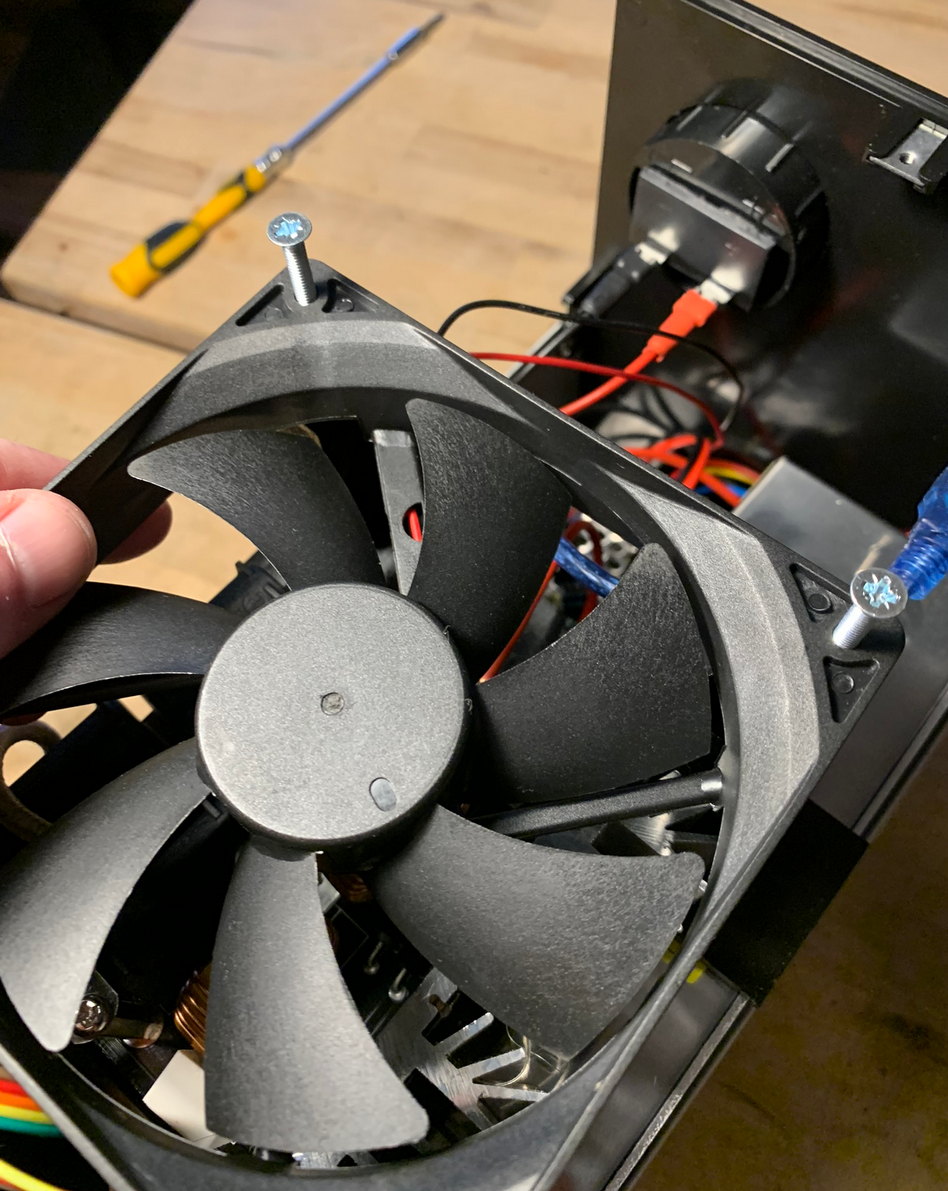
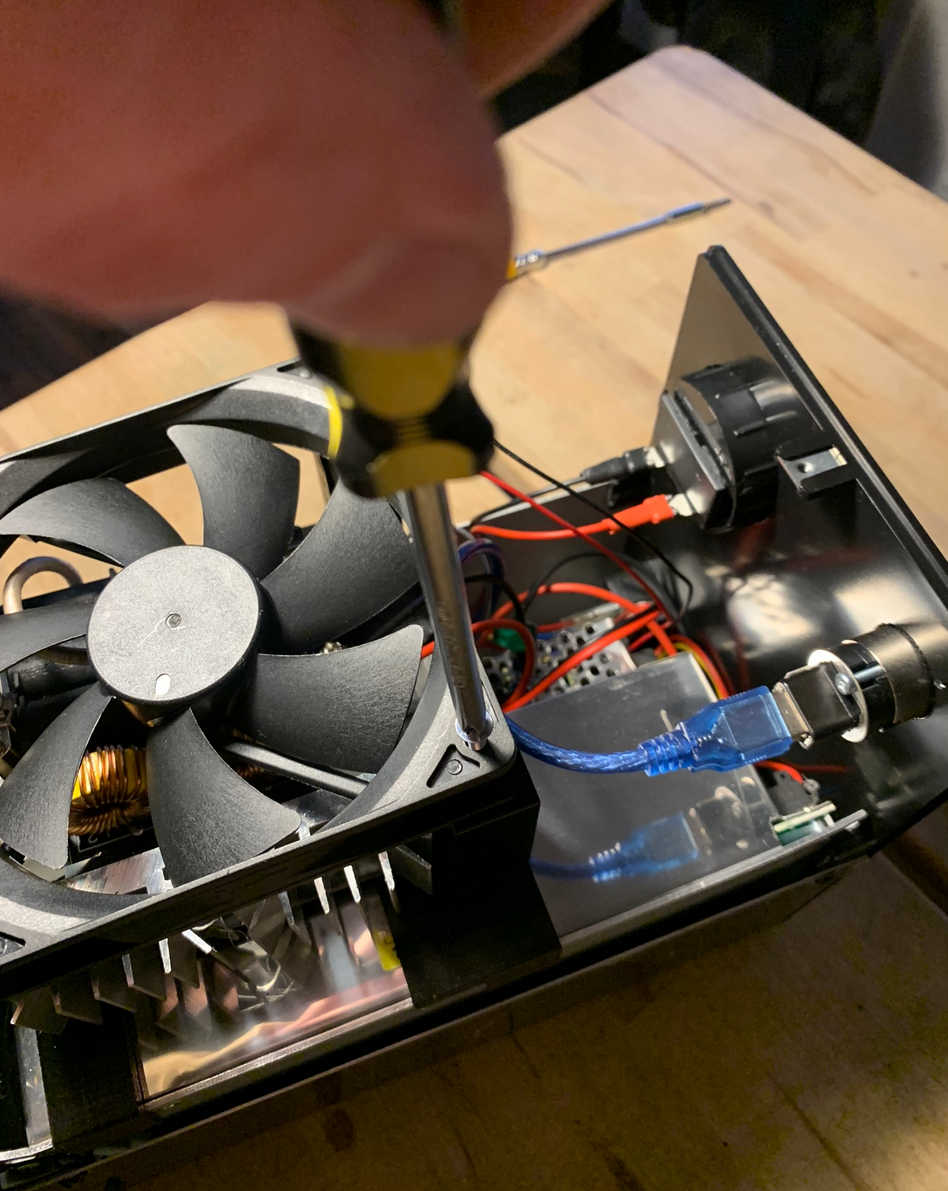
Attach the fan using the 2 long M4 screws.
Make sure the sticker side of the fan faces down.
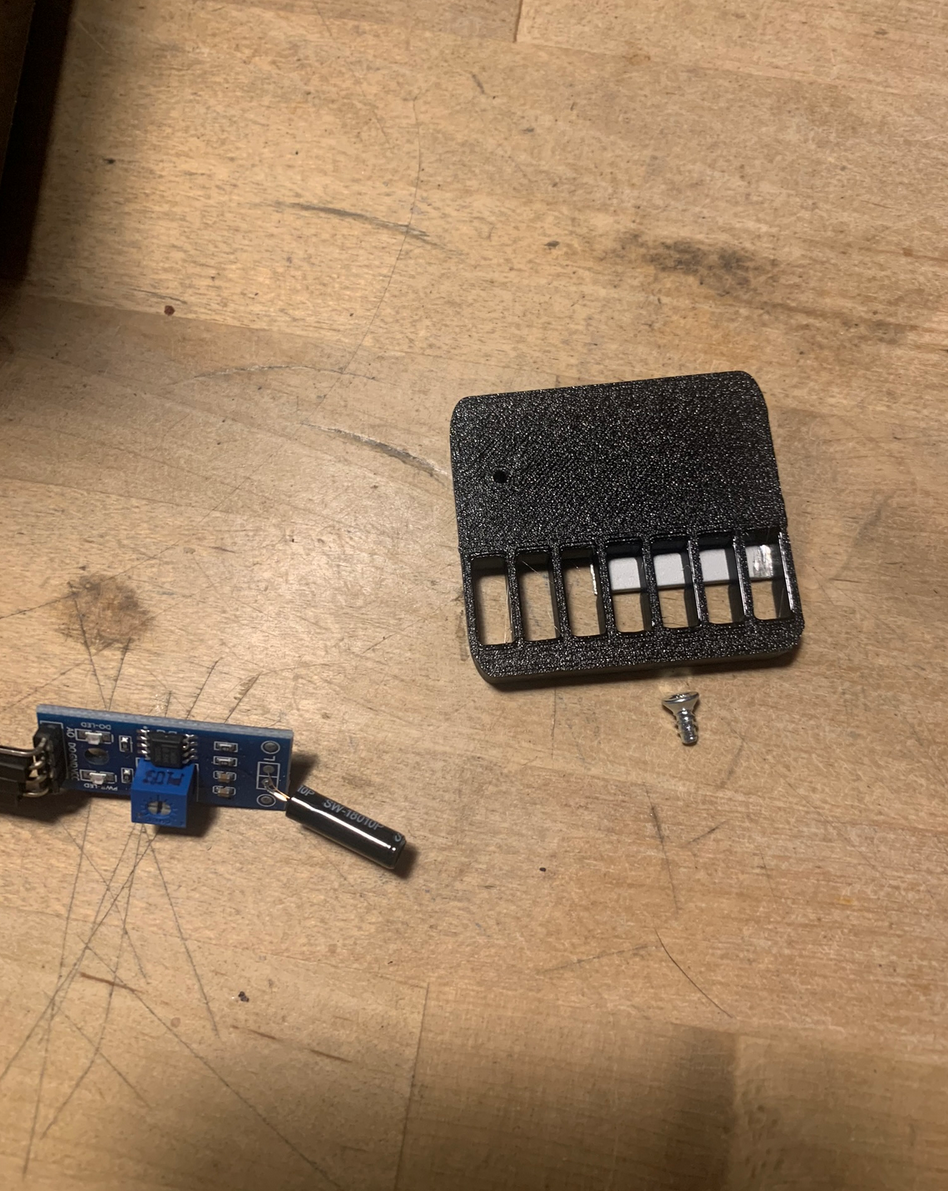
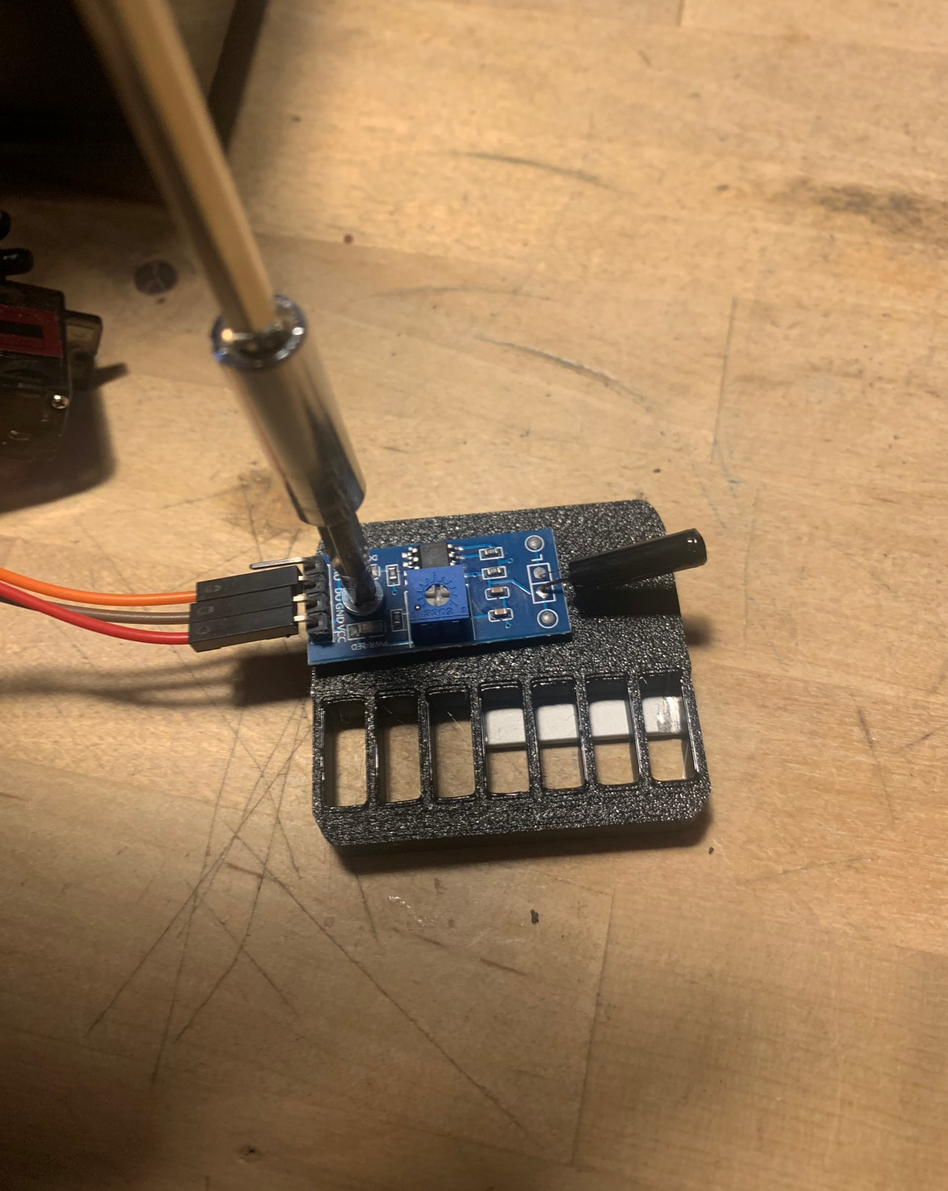
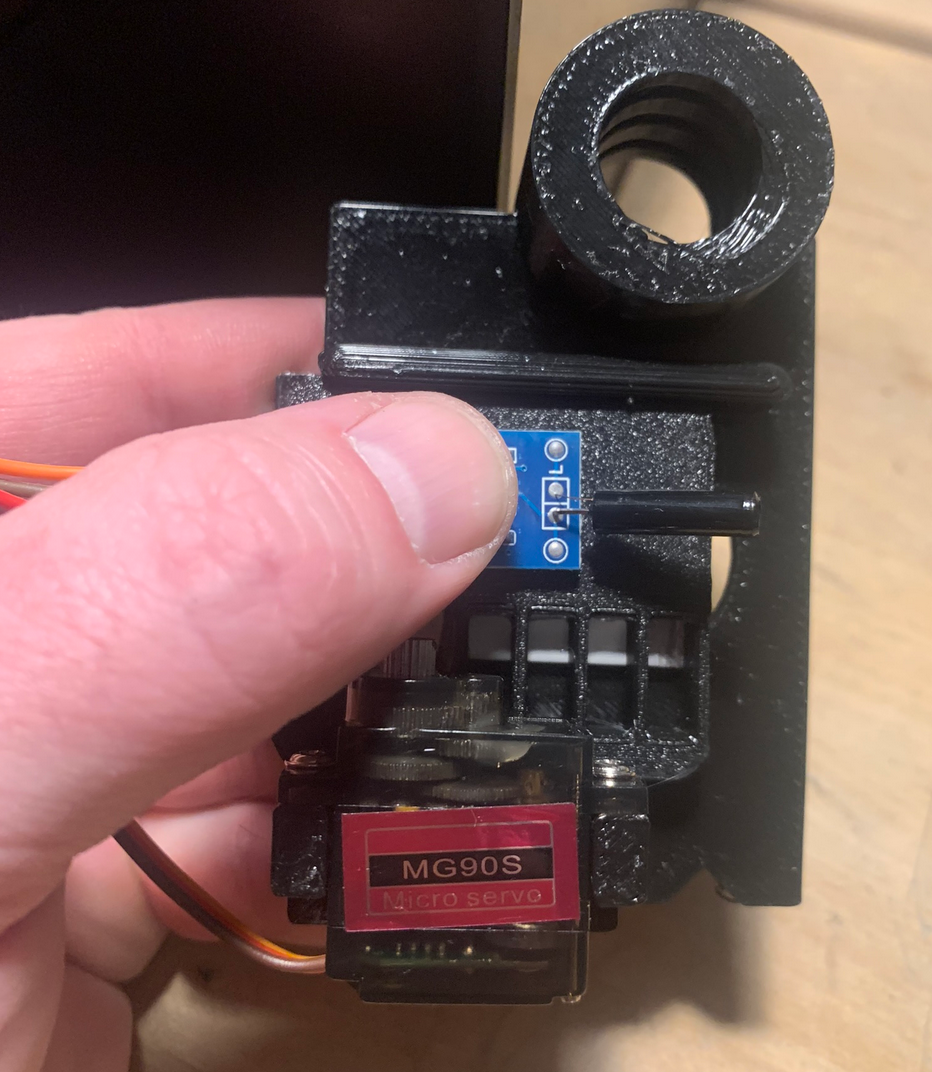
Attach the vibration sensor to the slider plate using a small tapping screw.
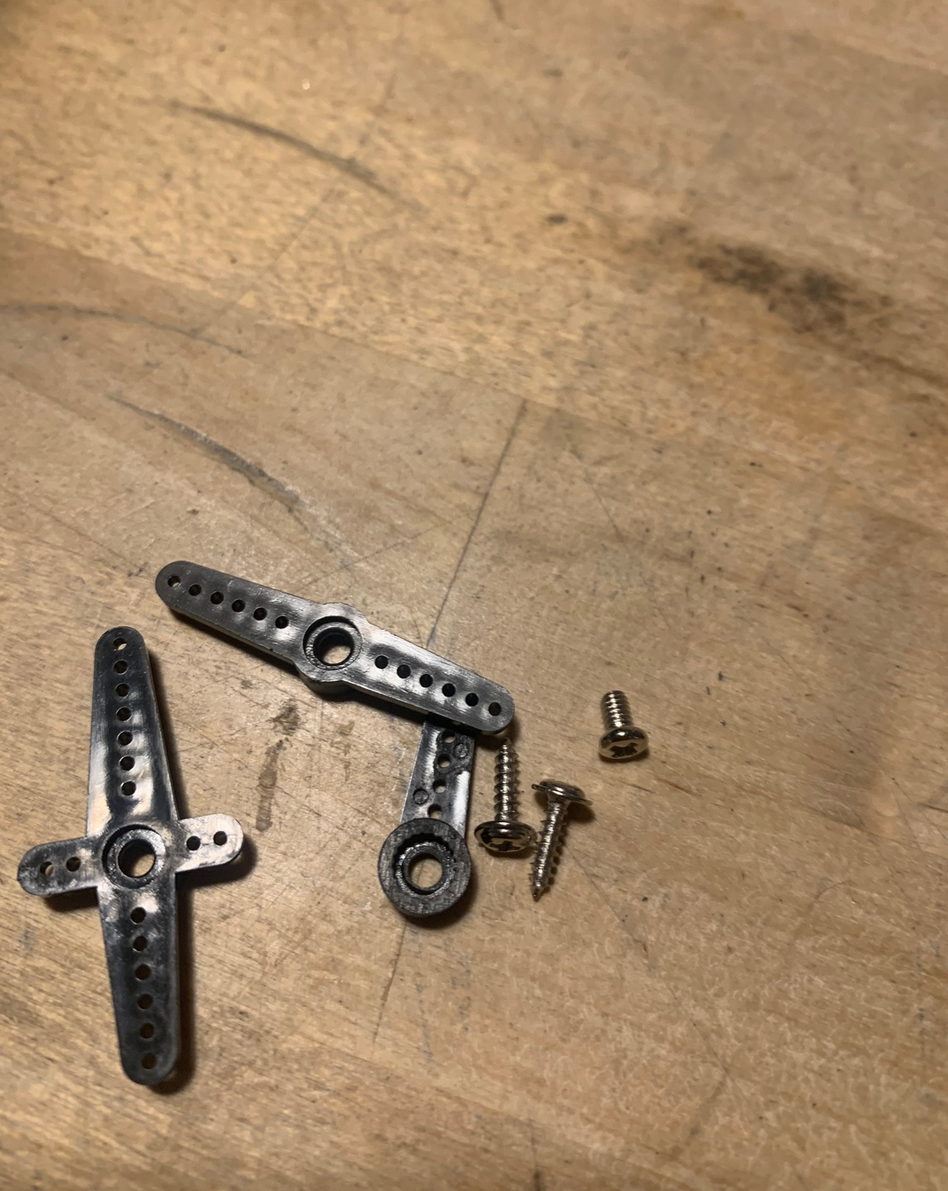
Locate the 3 srews which came with the servo.
Attach the servo to the platform using the 2 "long" screws which came with the servo as shown in the picture below.

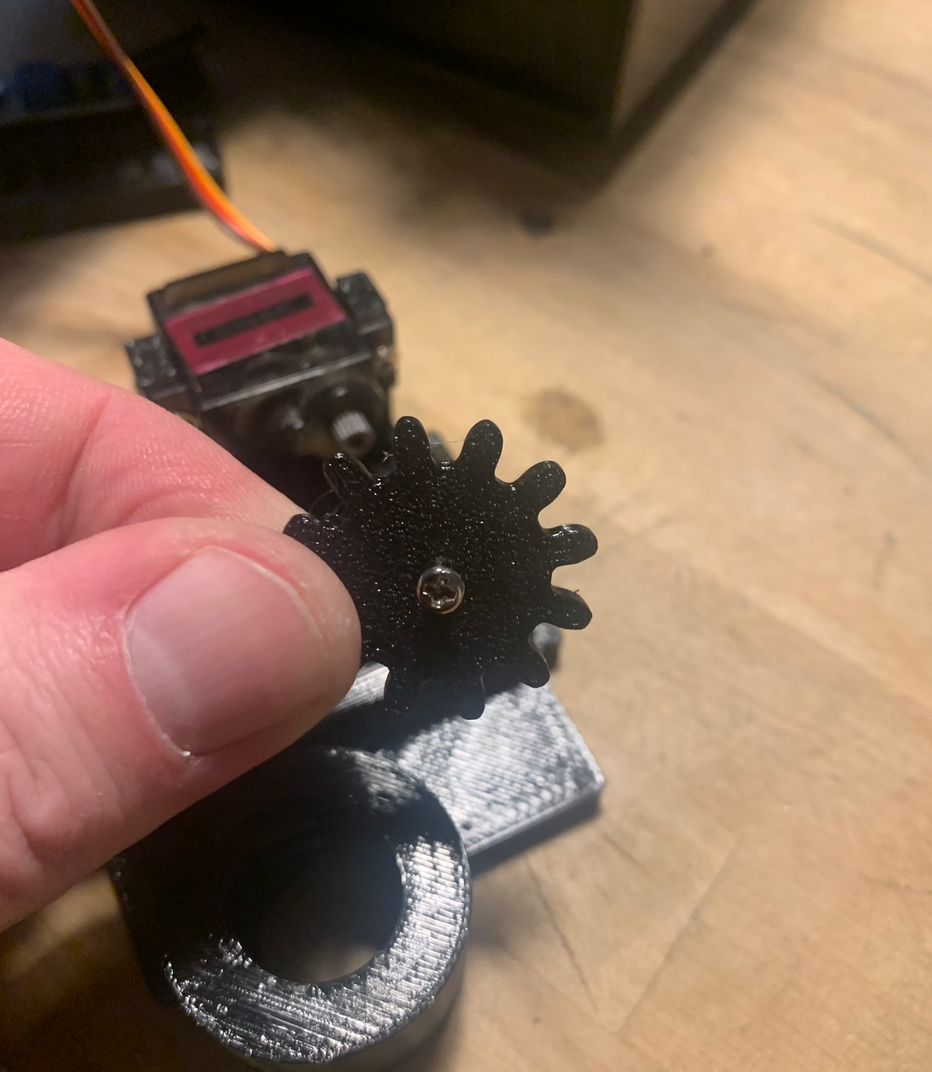
Place the slider plate and attach the servo gear. Make sure the slider plate is not completely covering the hole in the middle of the plate.
Attach the servo gear to the servo and use the small screw which came with the servo.
Push the screw wheel halfway up the hole in the coil housing.
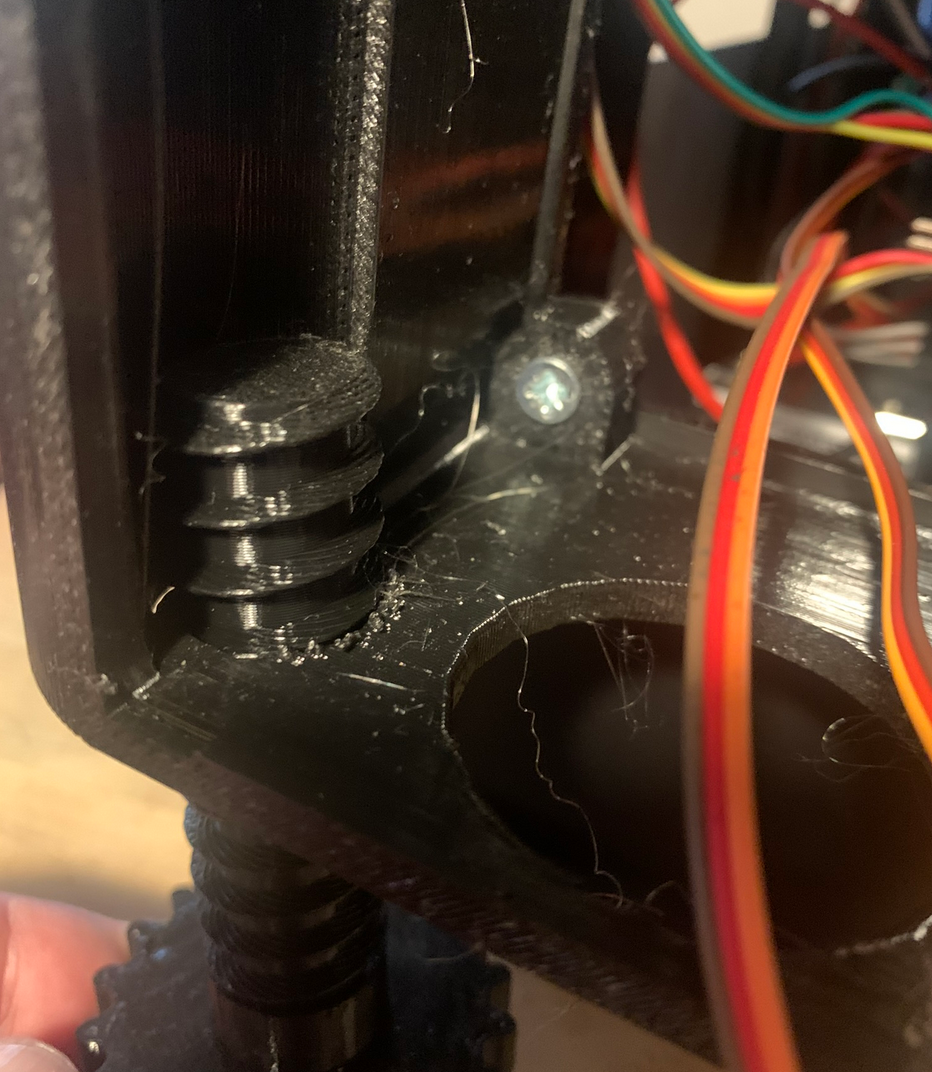
Thread the screw wheel bushing over the screw wheel.
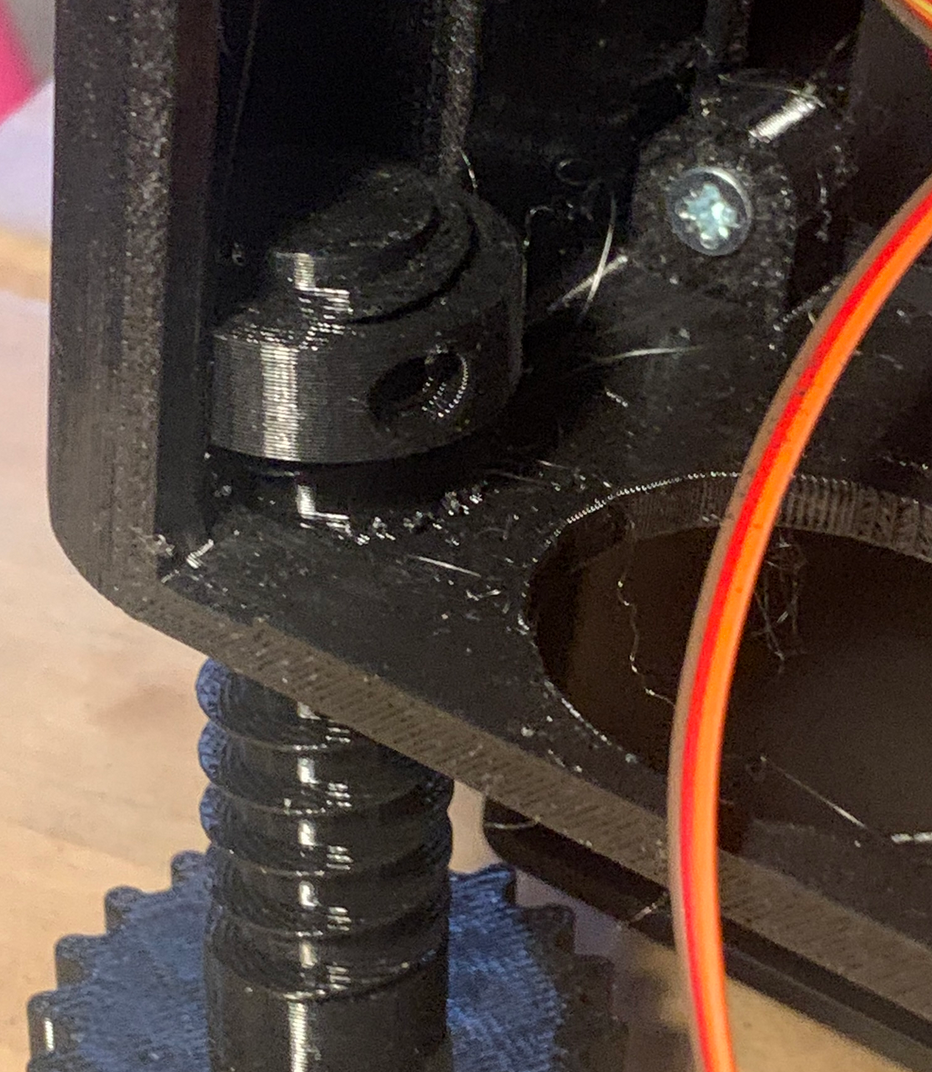
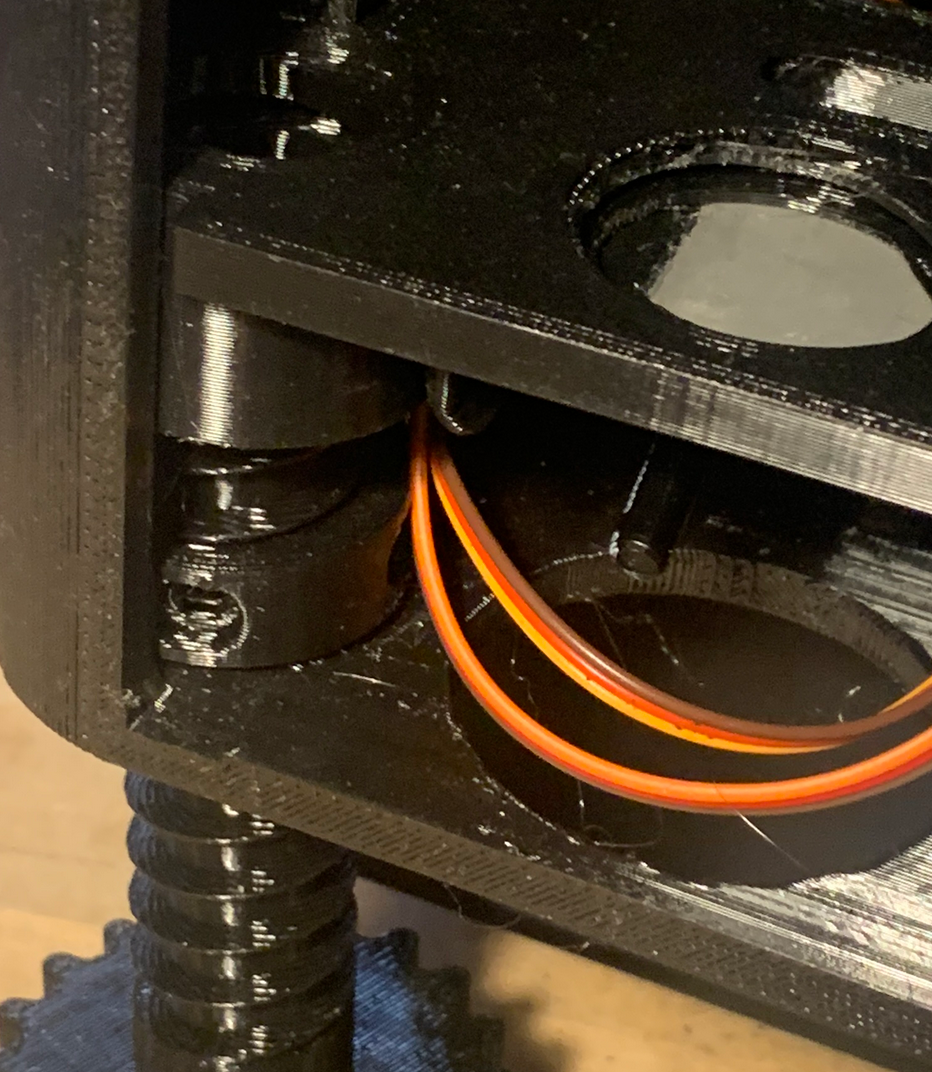
Place the platform in the housing above the screw wheel as shown in the picture below and start screwing in the screw wheel, making sure to also screw sown the bushing until it touches bottom. It can be a little finicky to get the bushing all the way down, so use your thumb on the bushing while turning the screw wheel back and forth.
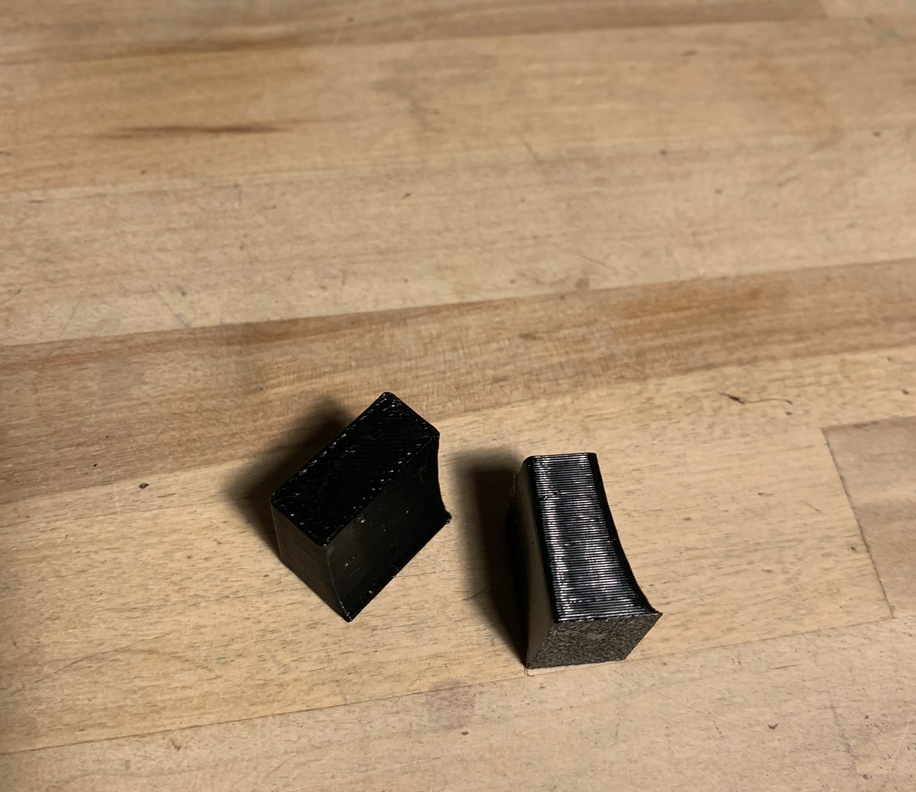
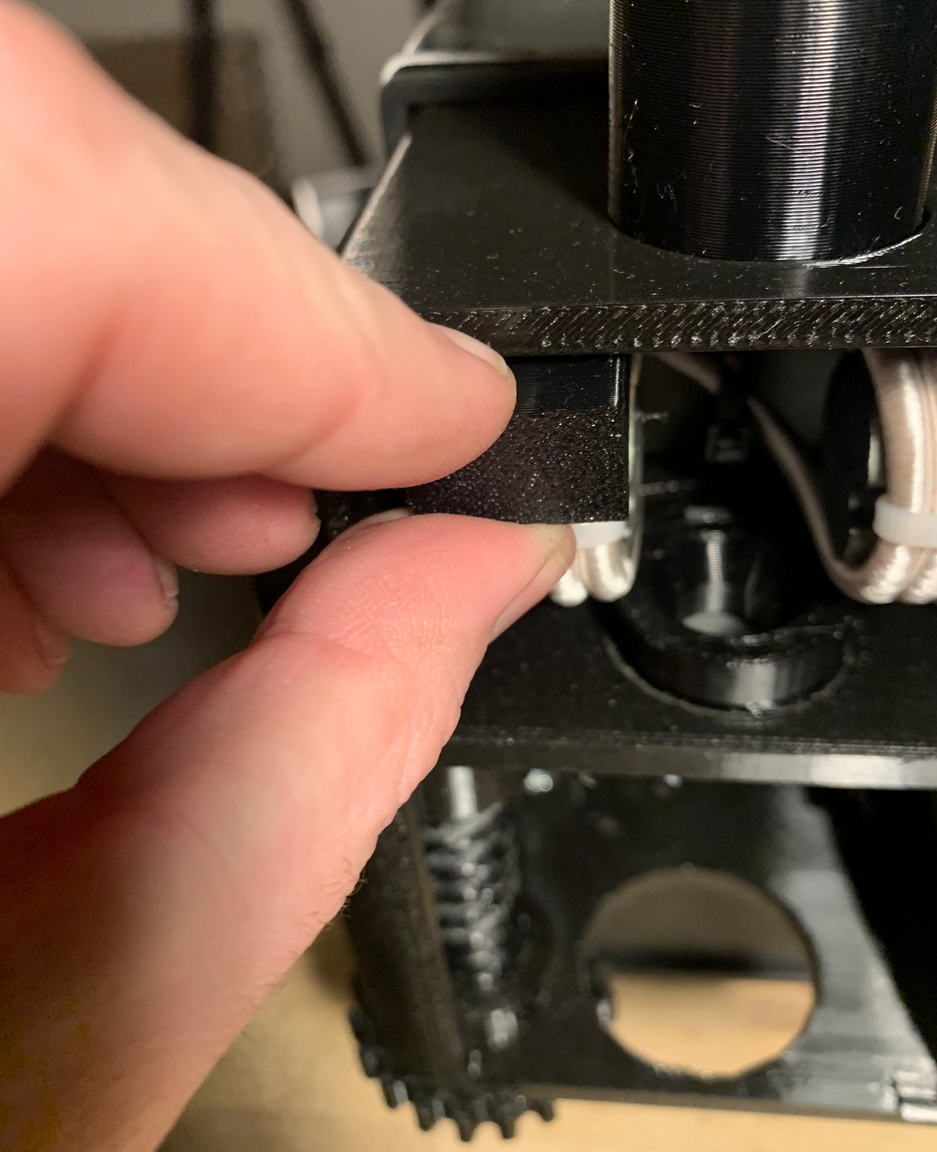
Press the coil into the housing and secure it using the 2 wedges.
Fasten the top cover of the enclosure using the remaining 6 enclosure screws, put the front cover on the coil housing and you're done.
Congratulations!