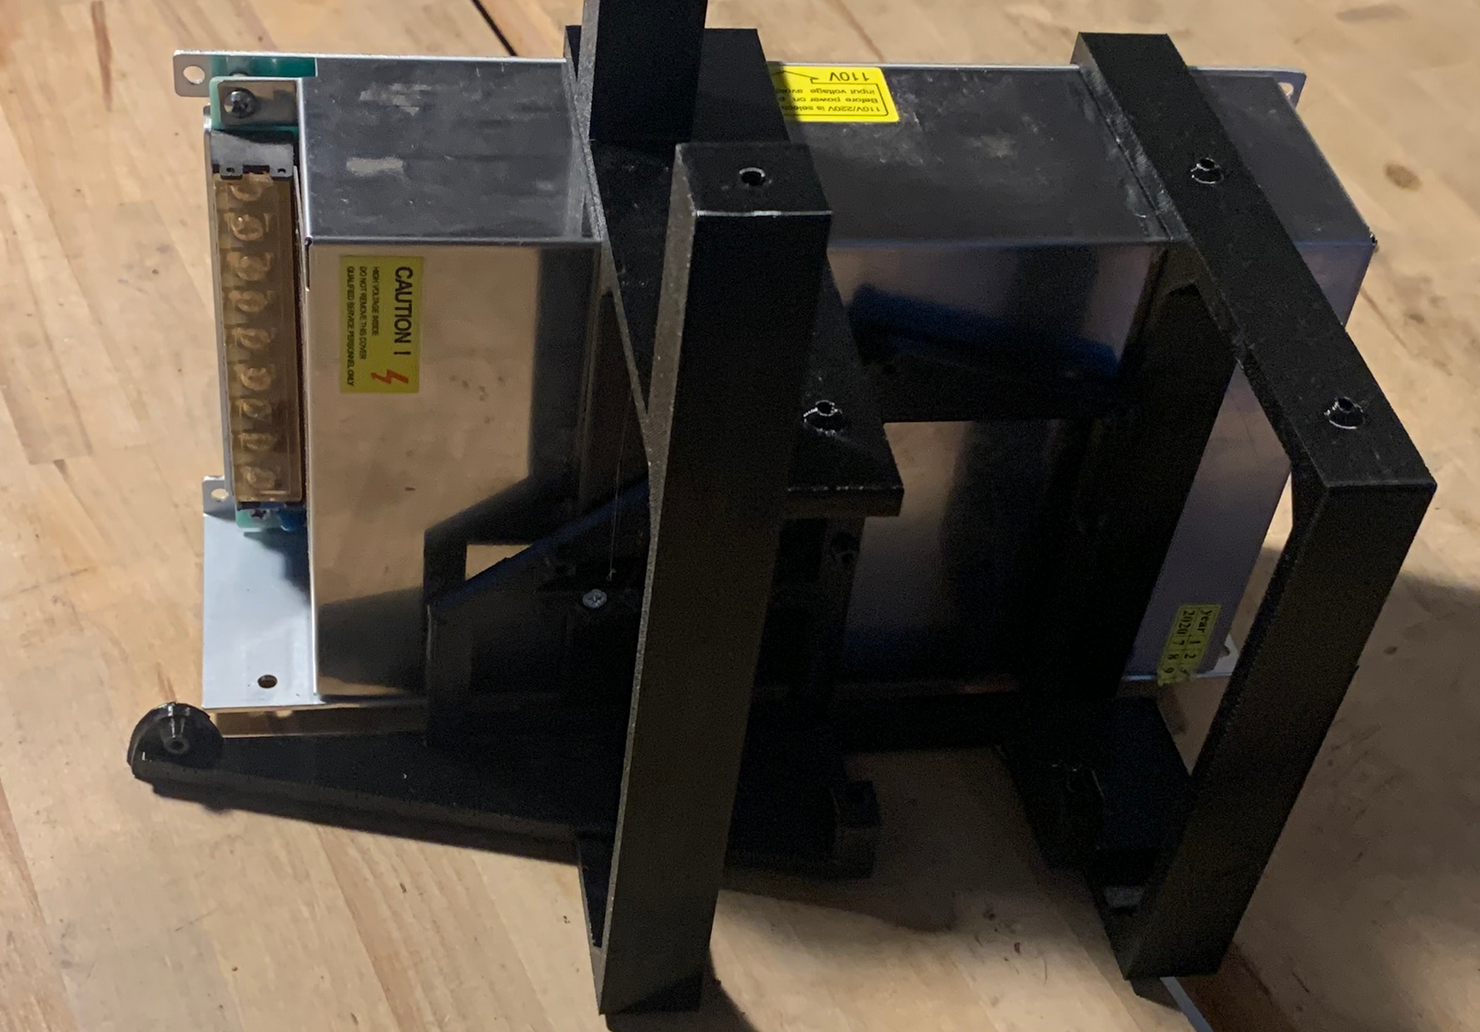
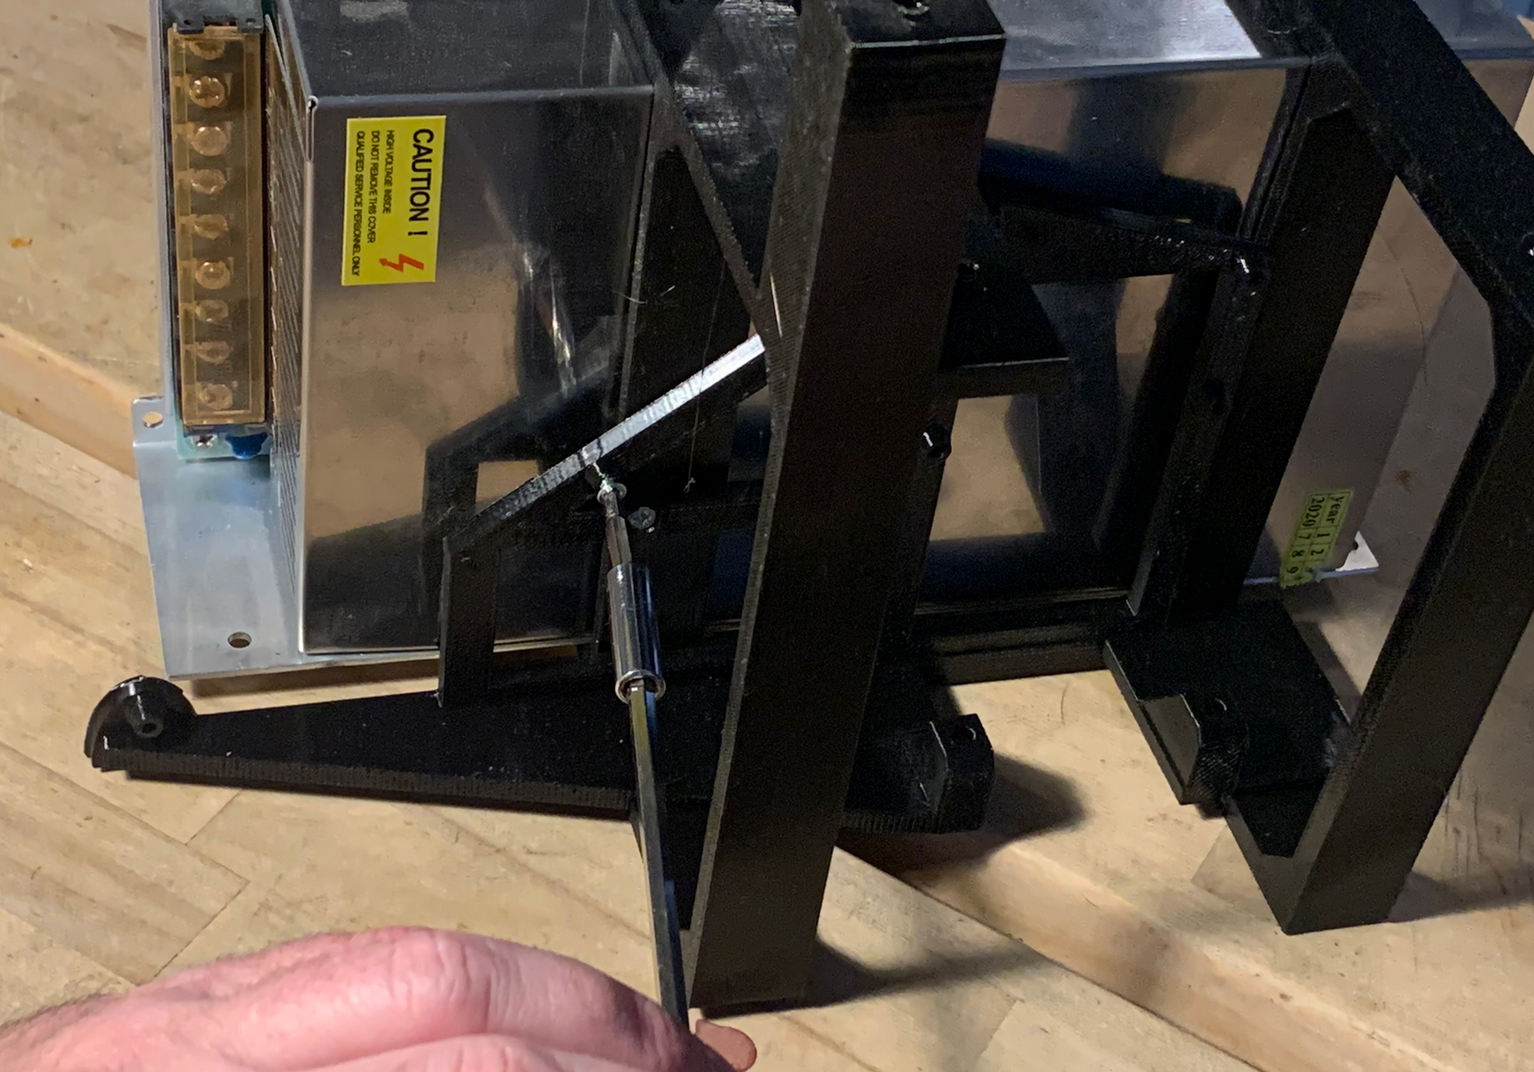
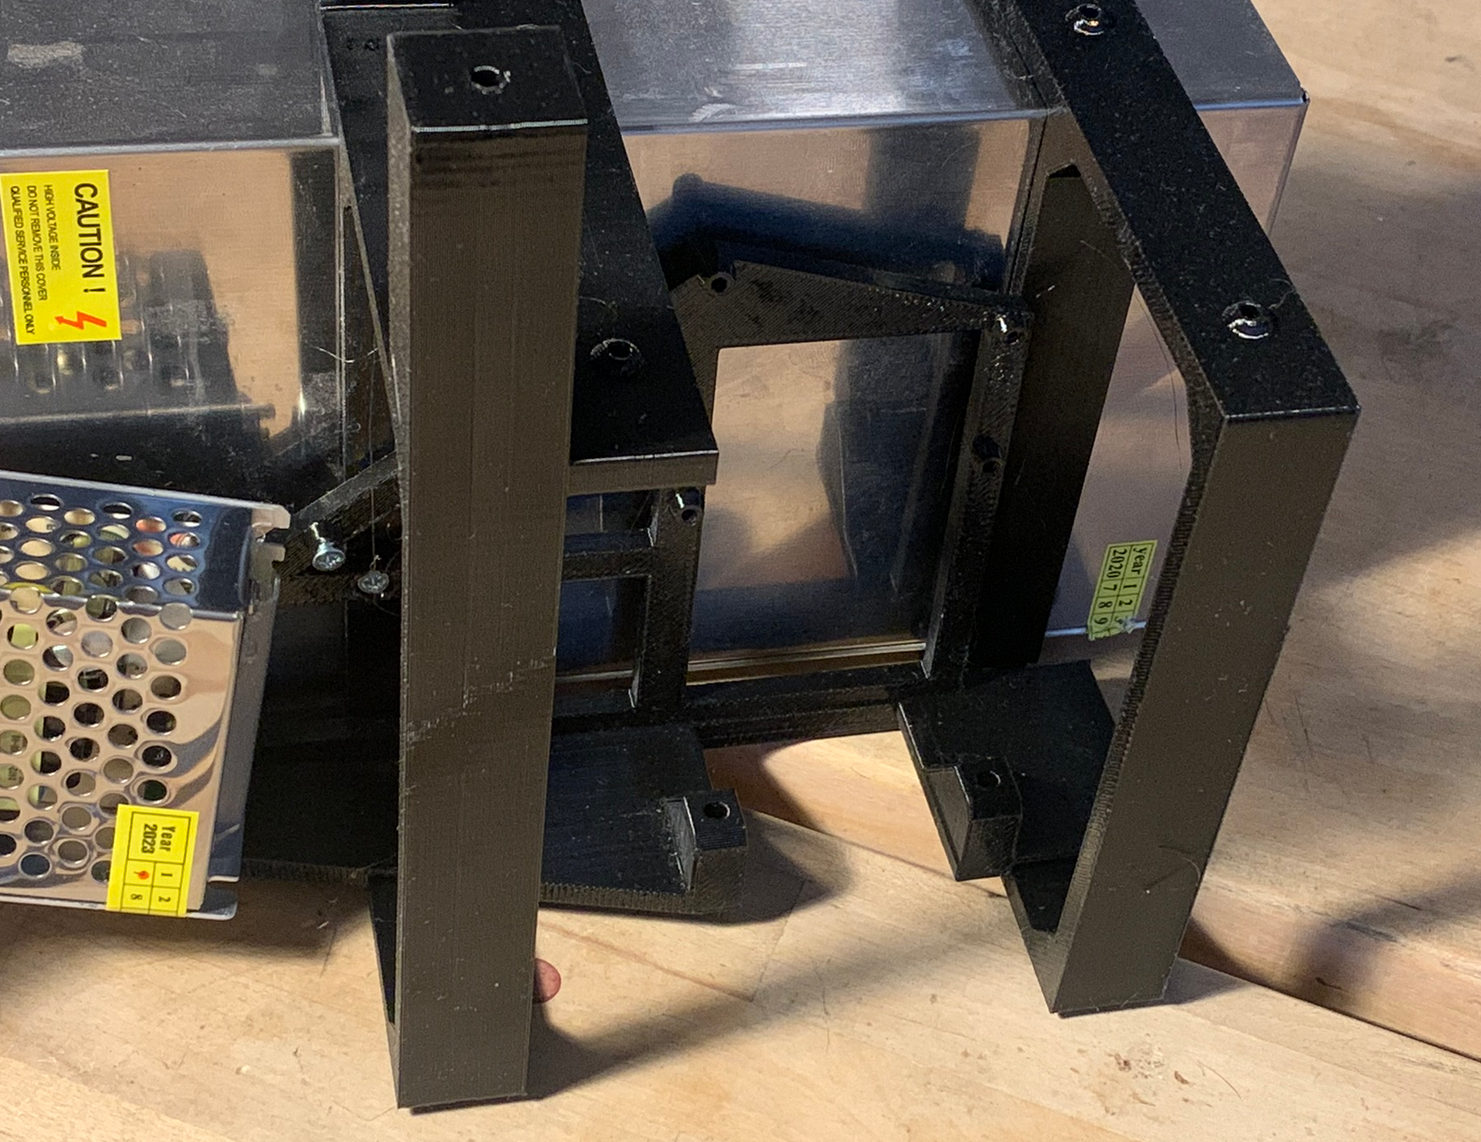
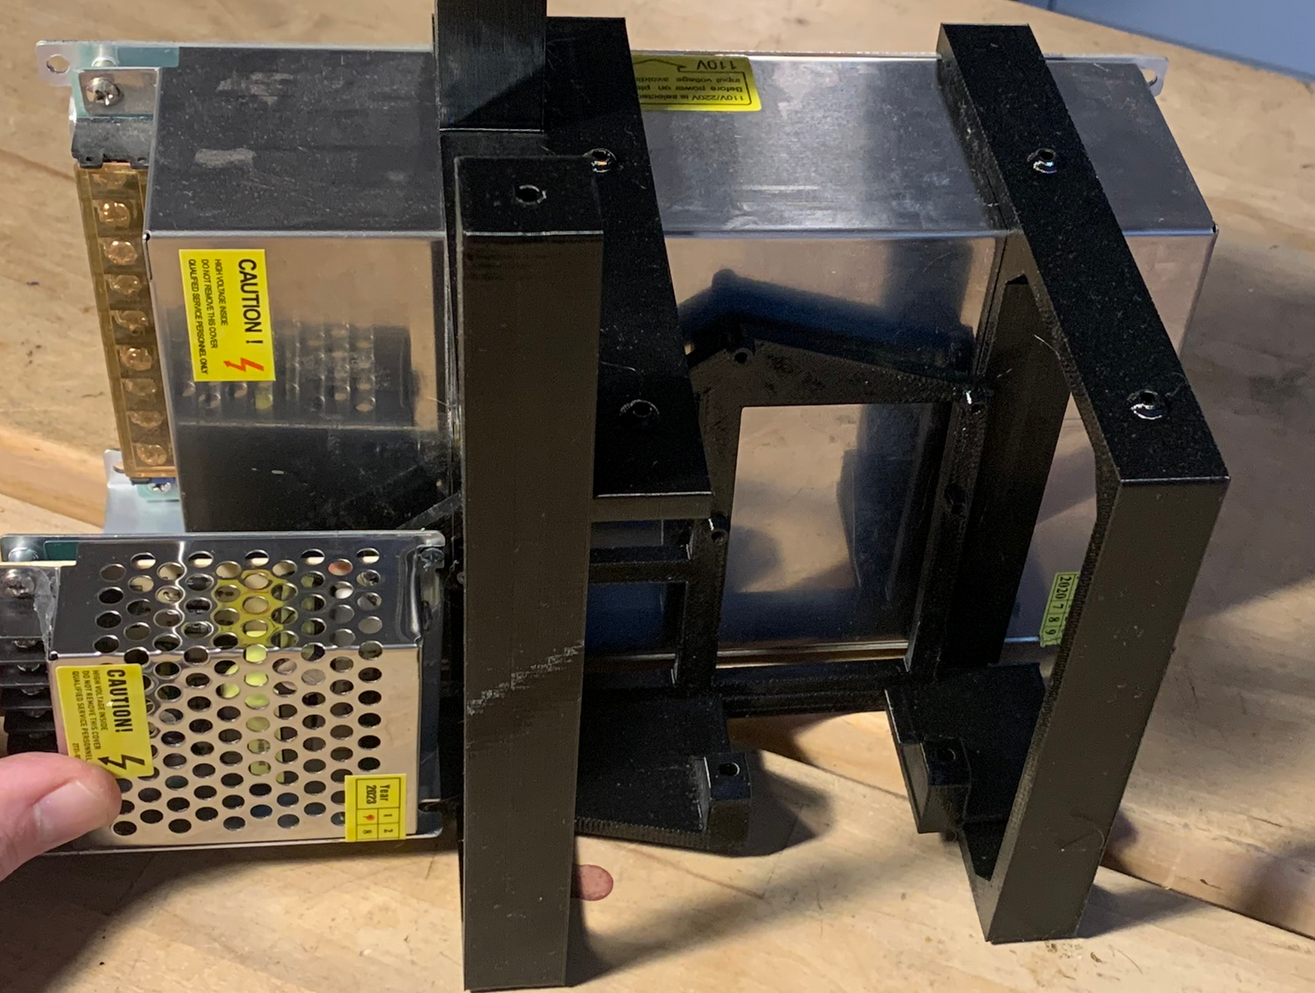
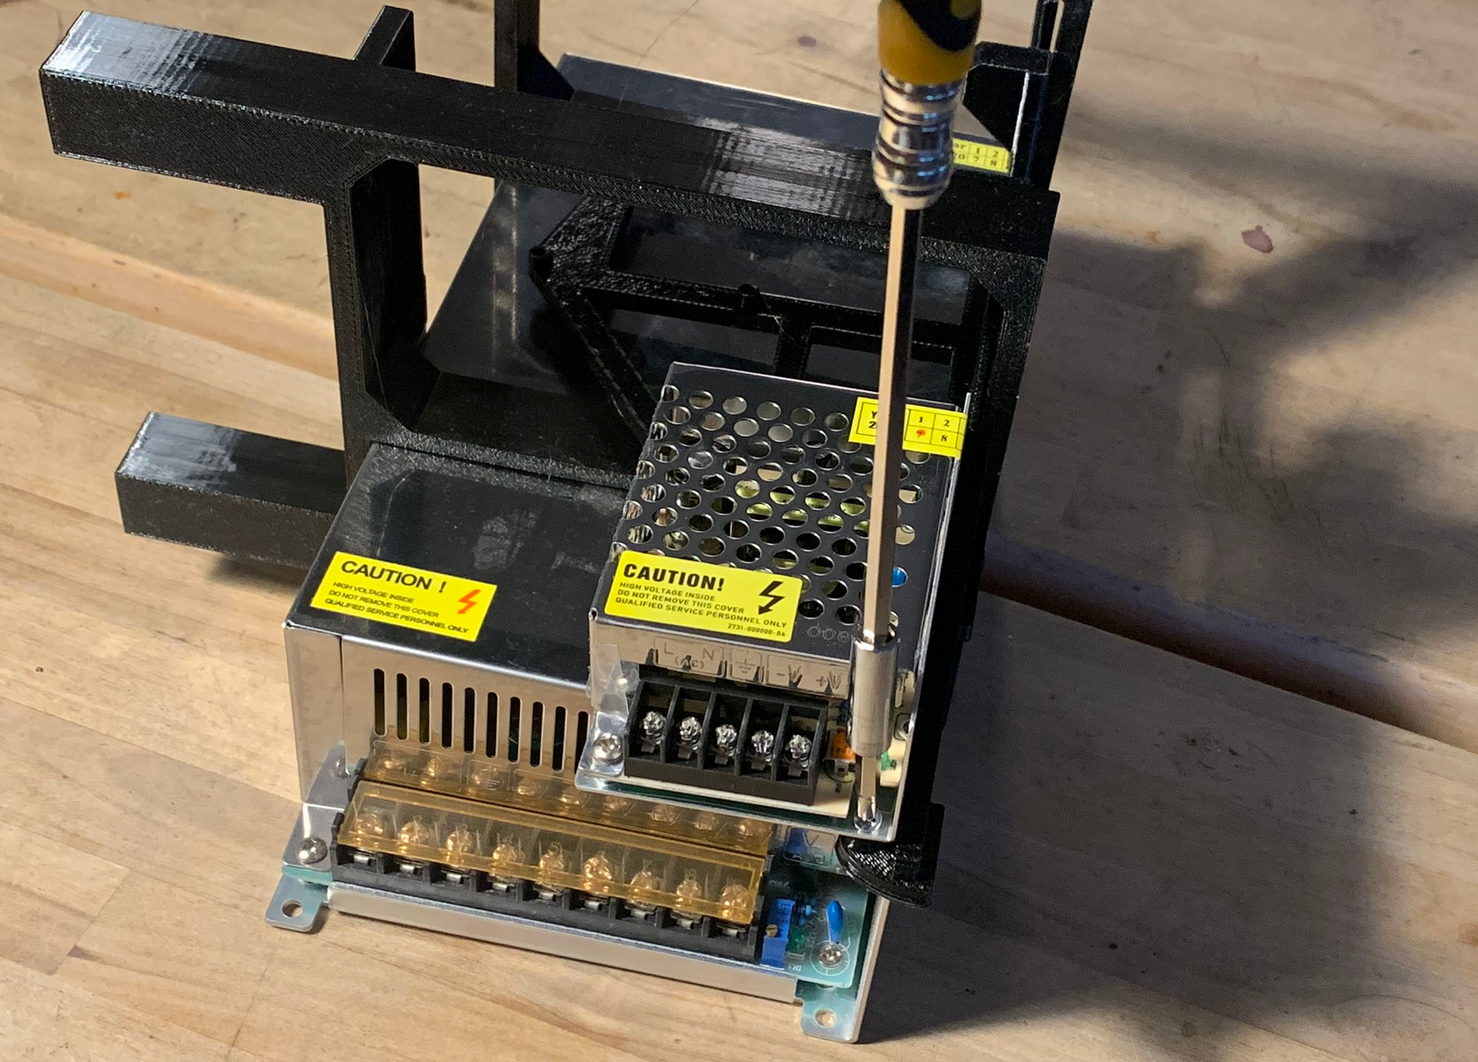
Step 2 - Mounting the Power Supplies
IMPORTANT:
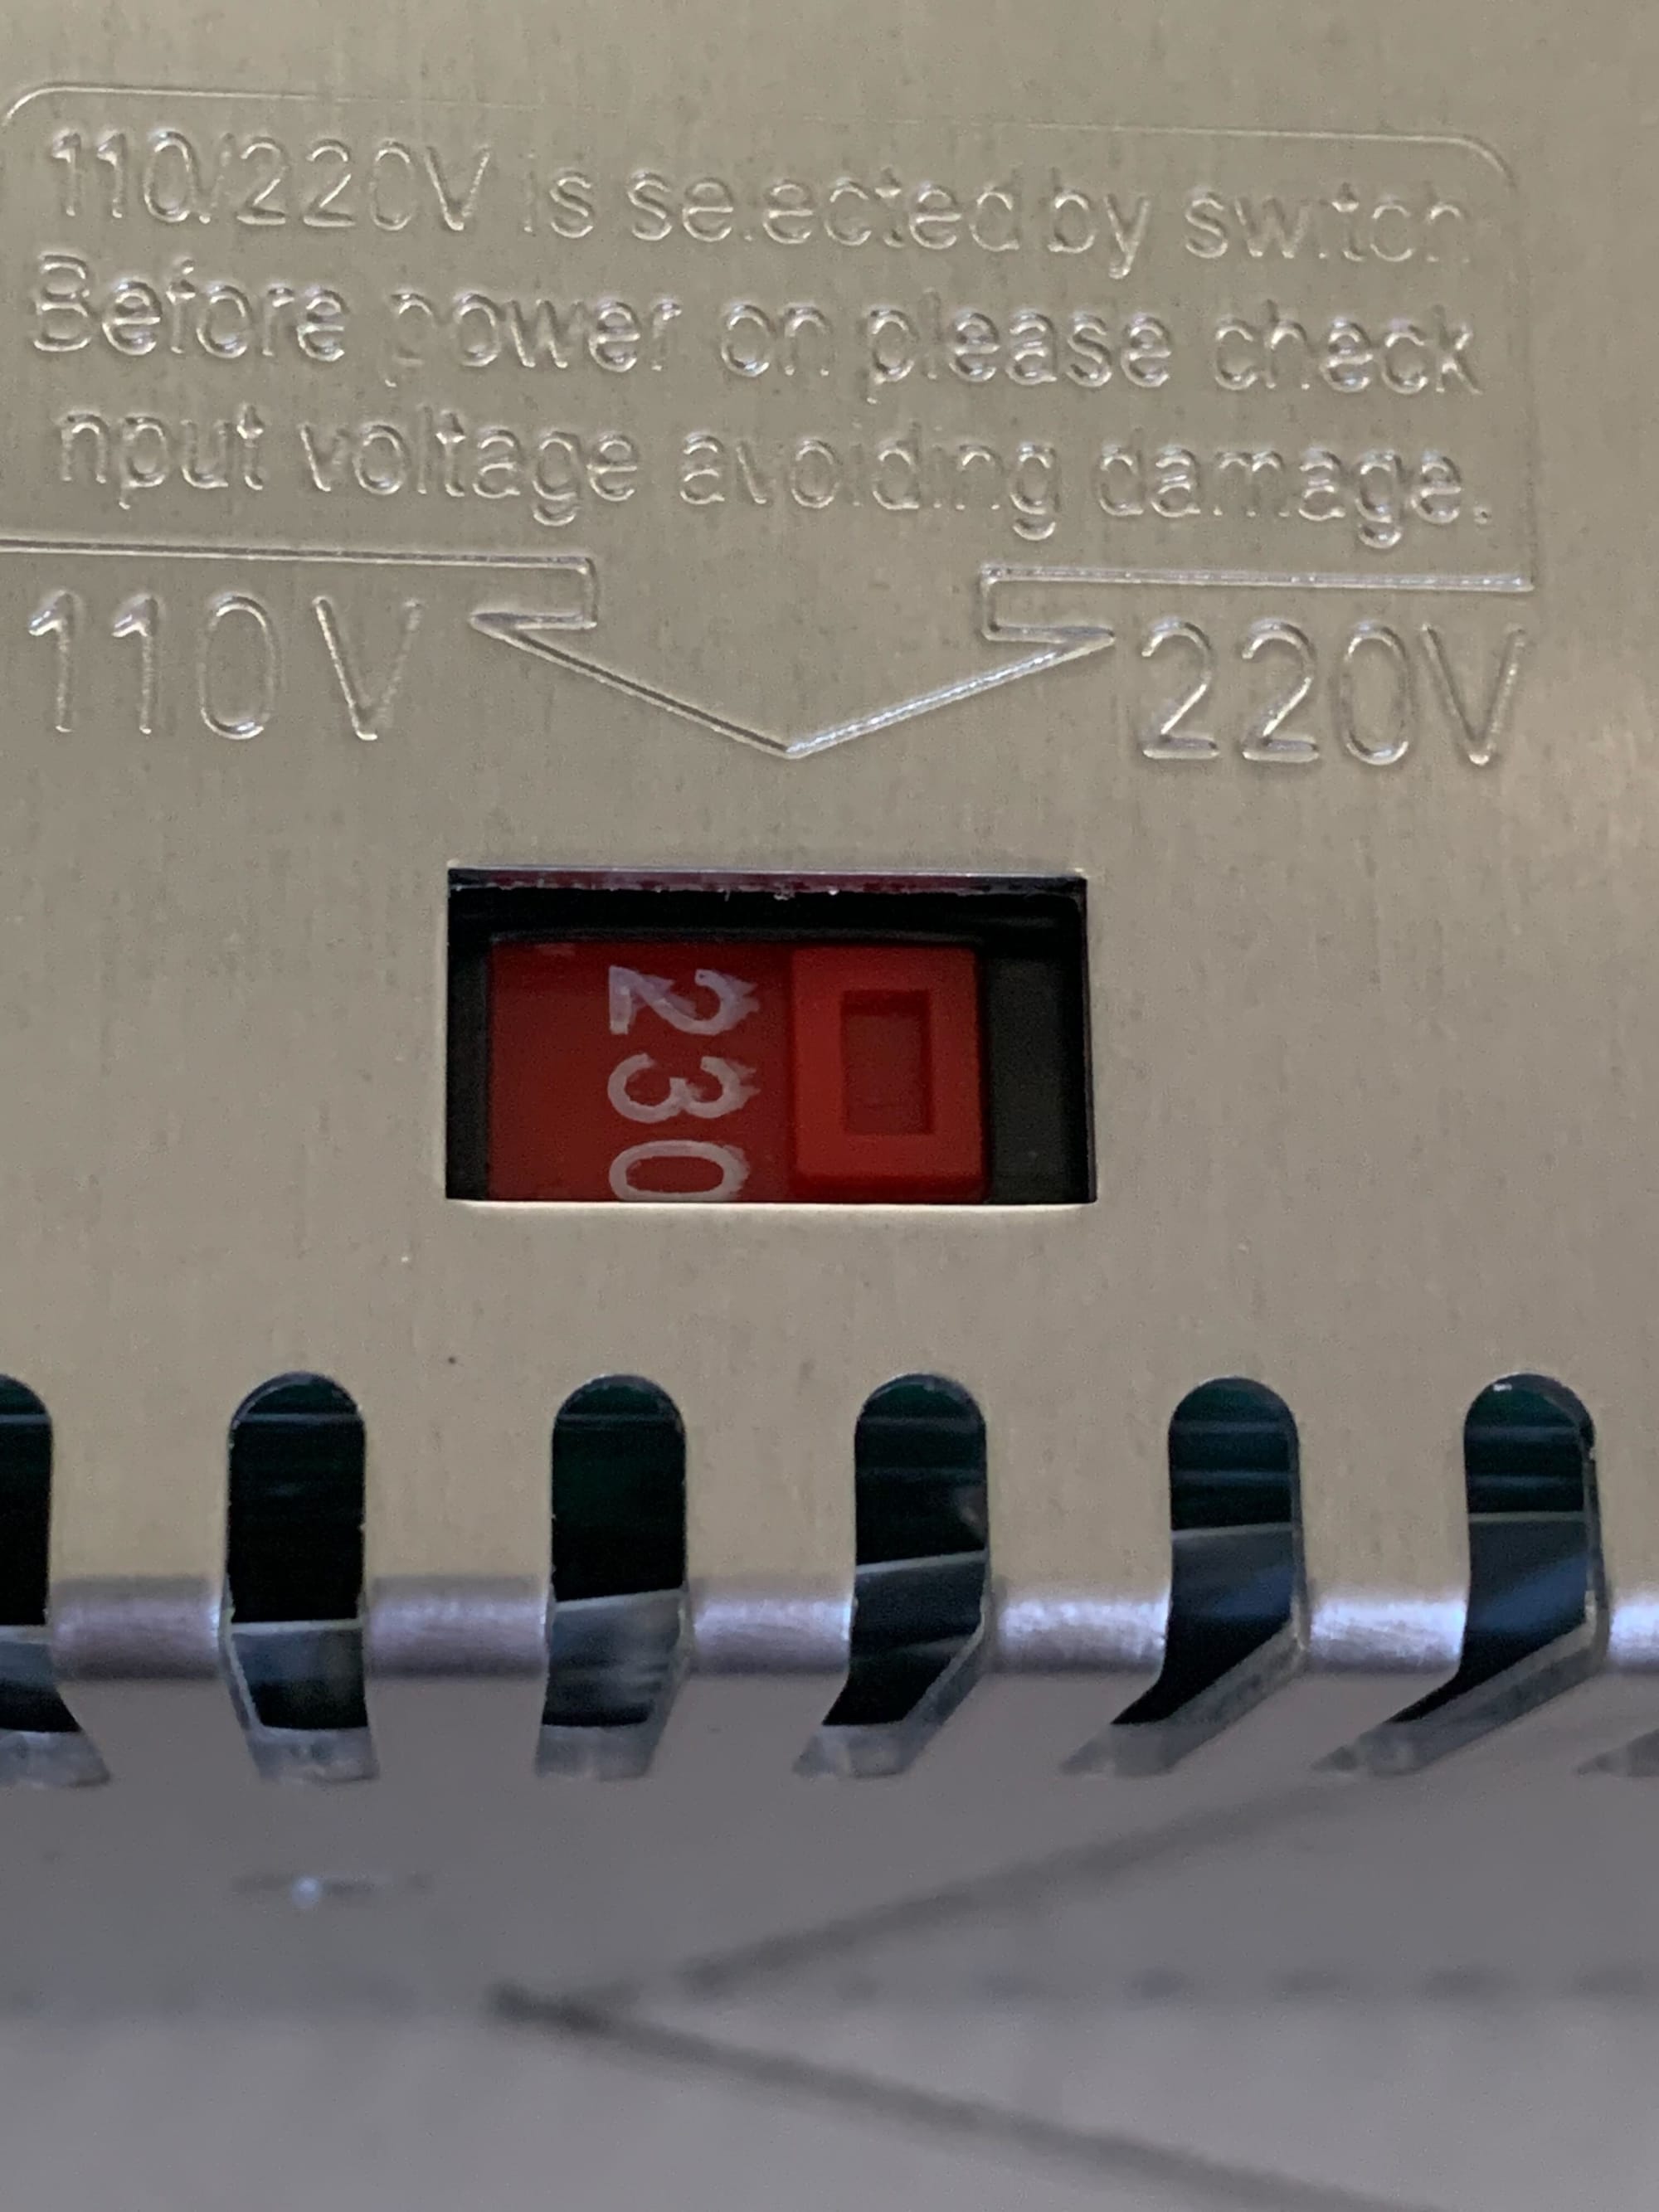
If a power supply has a jumper switch on the side (sometimes hidden under a sticker), make sure it's set to correct voltage for your mains.
Locate the 48V power supply and place it (slide it in) on the back side of the brackets as shown in the picture below.
Locate the 12V power supply and attach it to the rear end of the brackets using 2 small tapping screws from the kit.

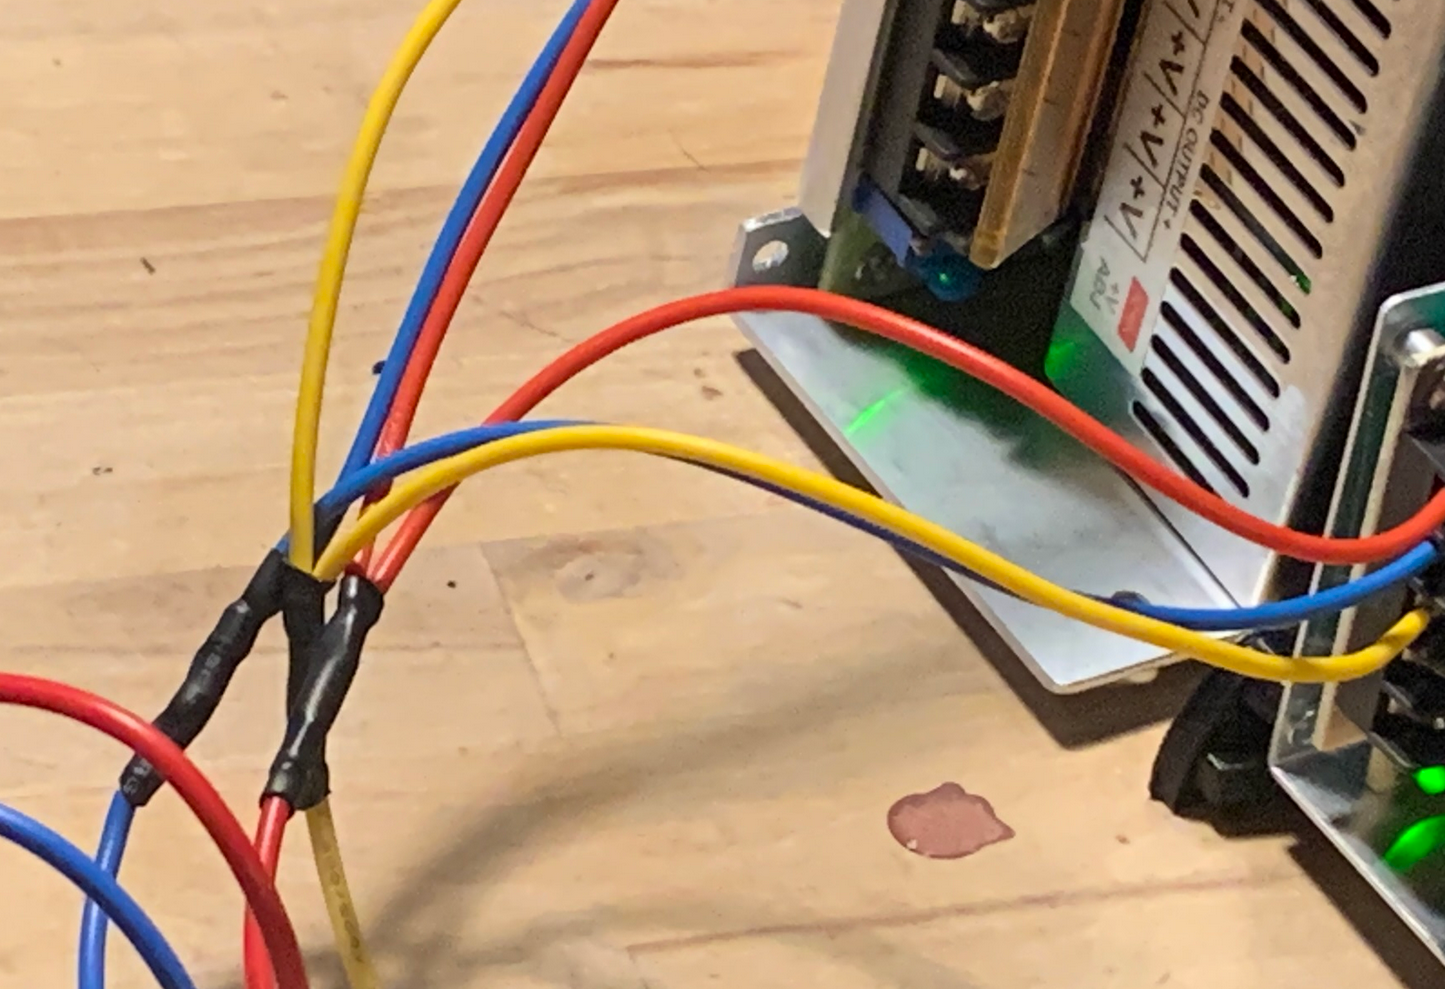
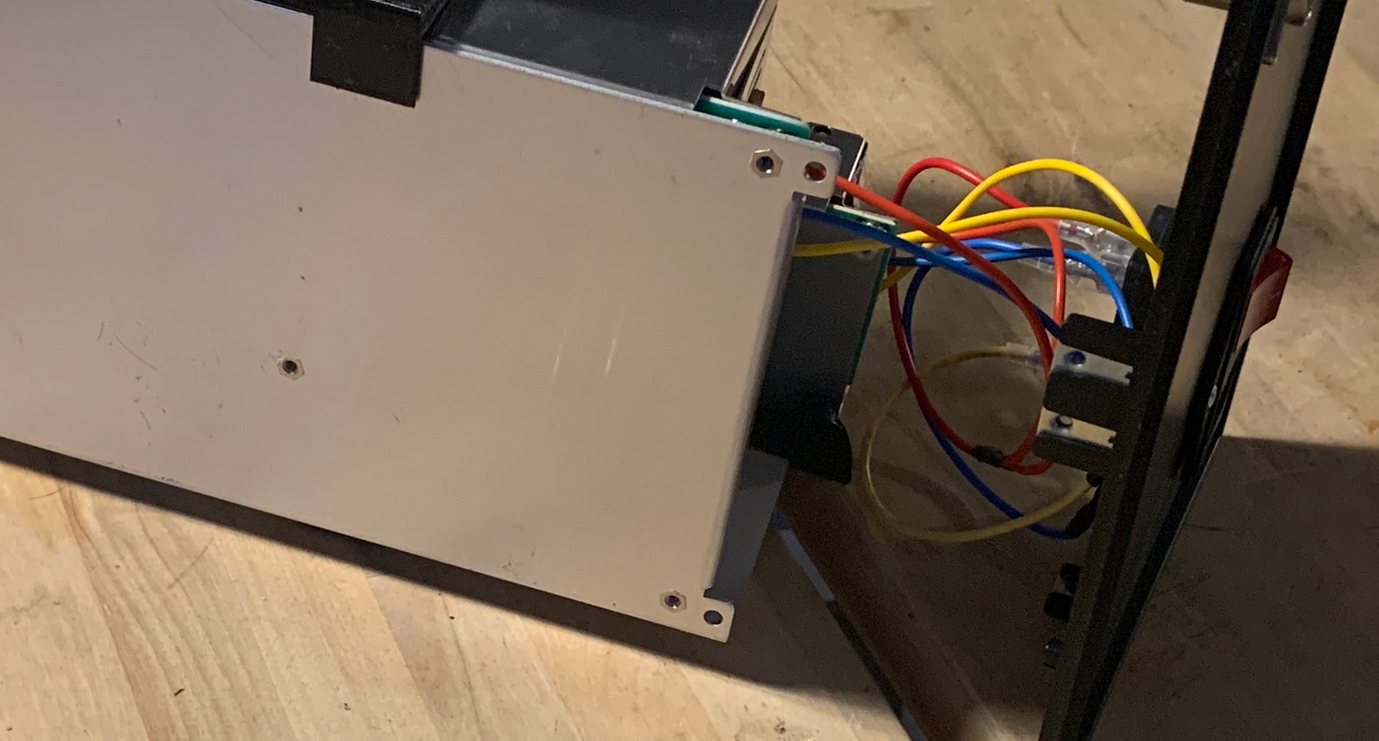
Now it's time to connect the AC input side of the 2 power supplys to the power socket on the rear side of the enclosure. Locate the 3 wires (shown below) from the kit.
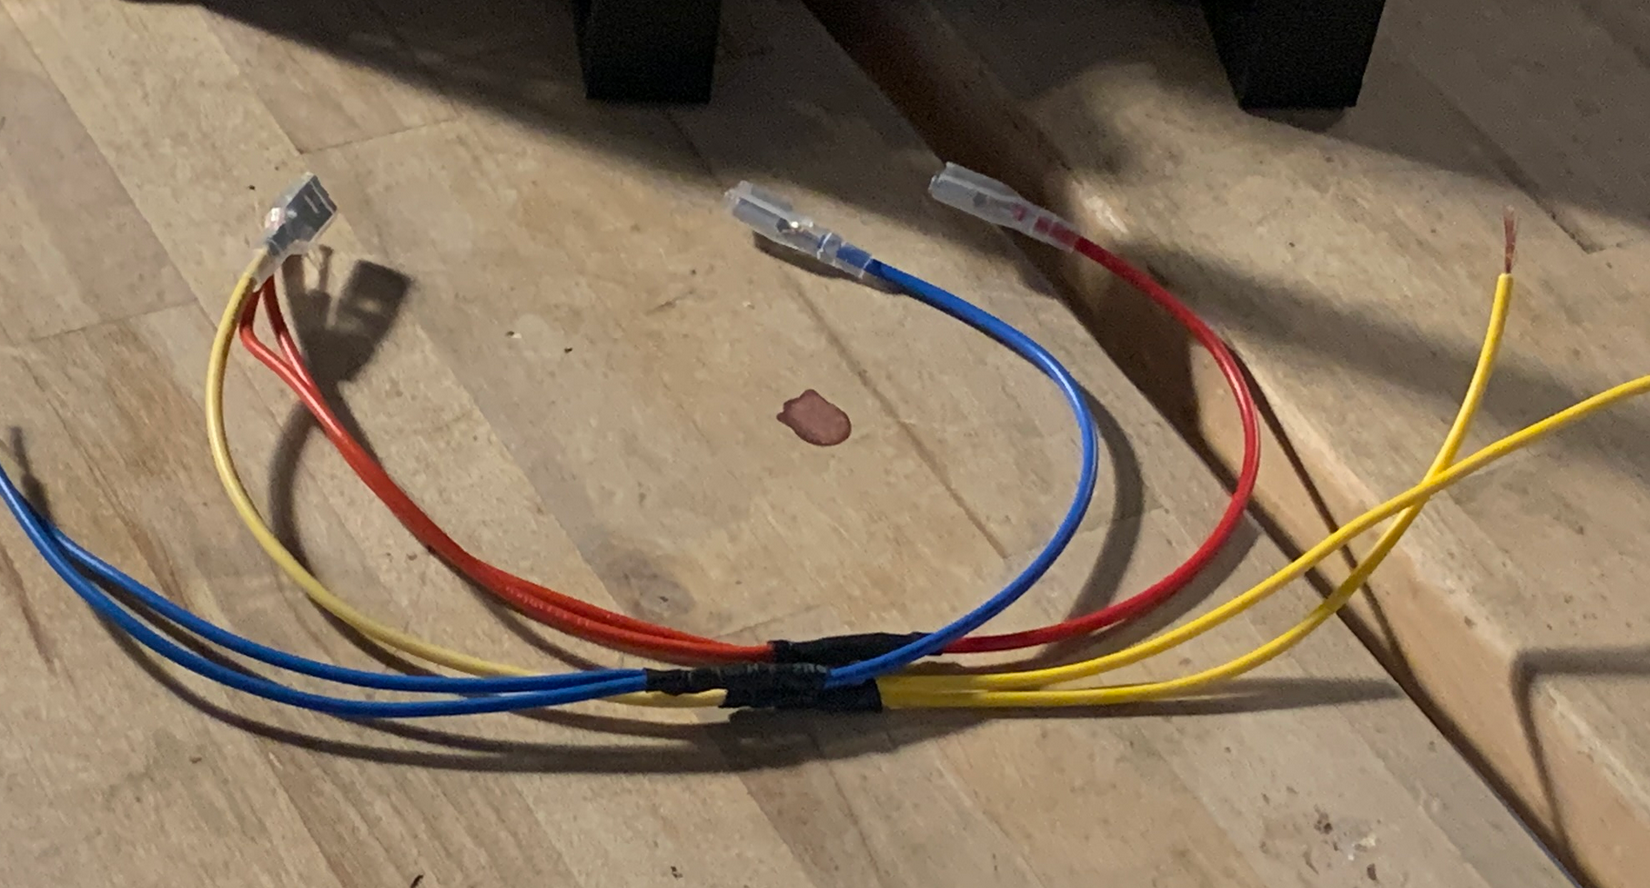
Attach the stripped ends of the wires in the screw connectors in the power supplies.
Red wire is connected to the terminals marked with L (Line)
Blue wire is connected to the terminals marked with N (Neutral)
Yellow wire is connected to the terminals marked with the Ground/Earth symbol.
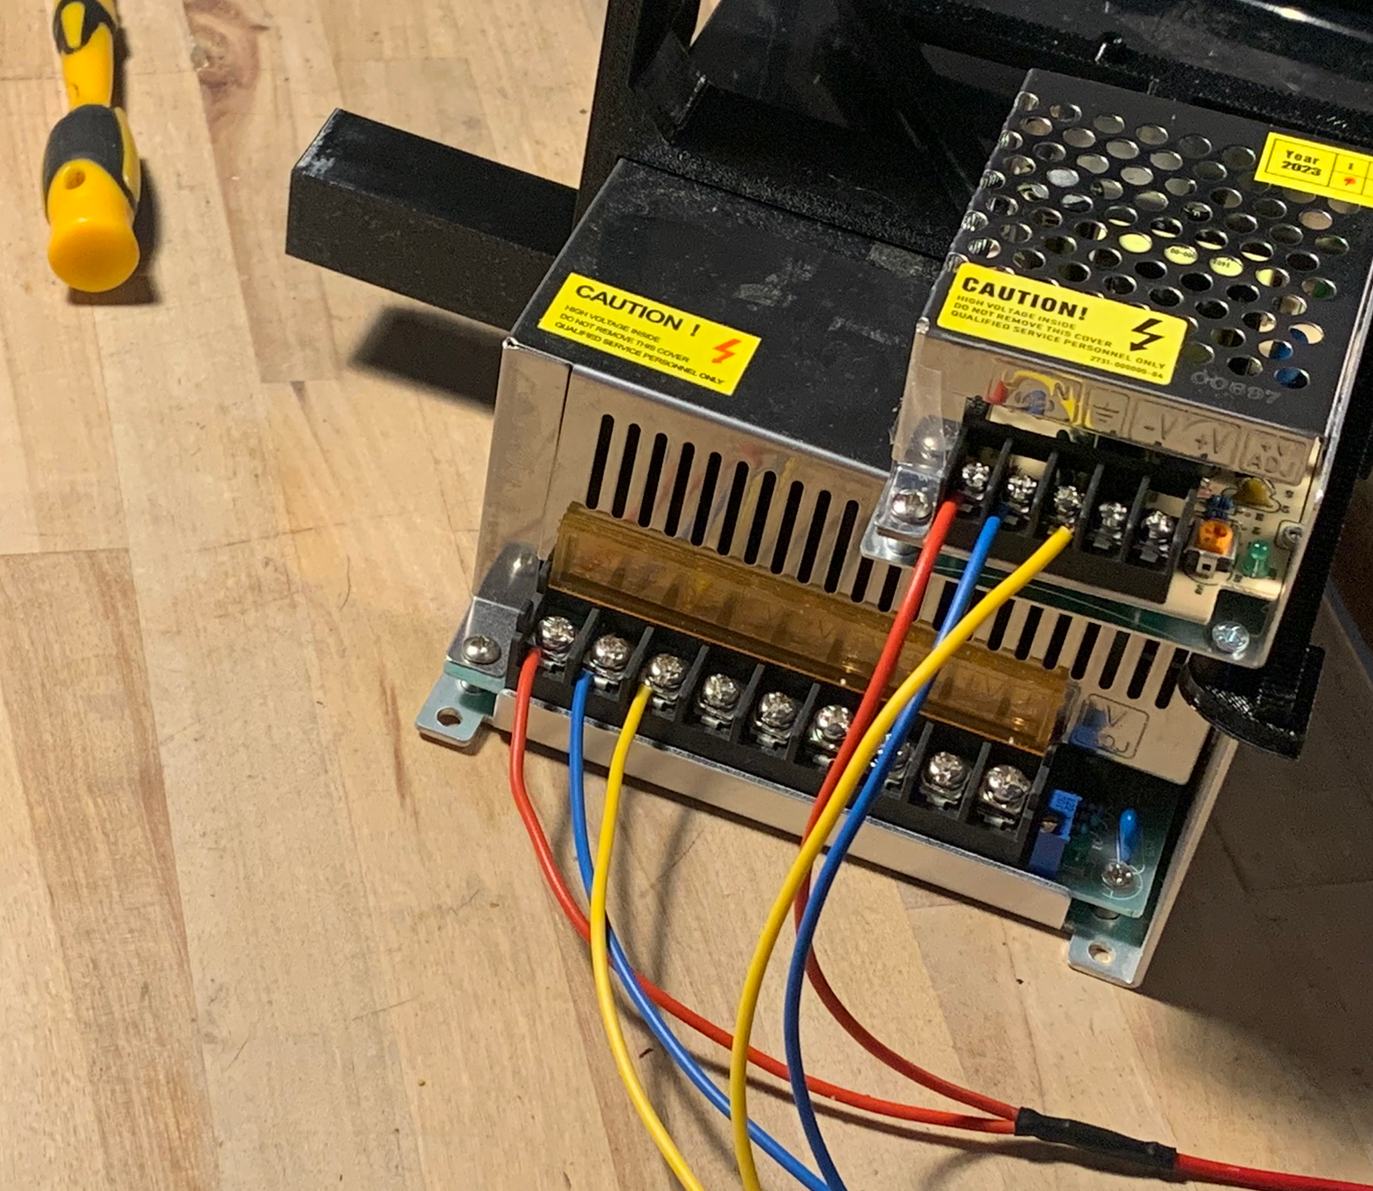
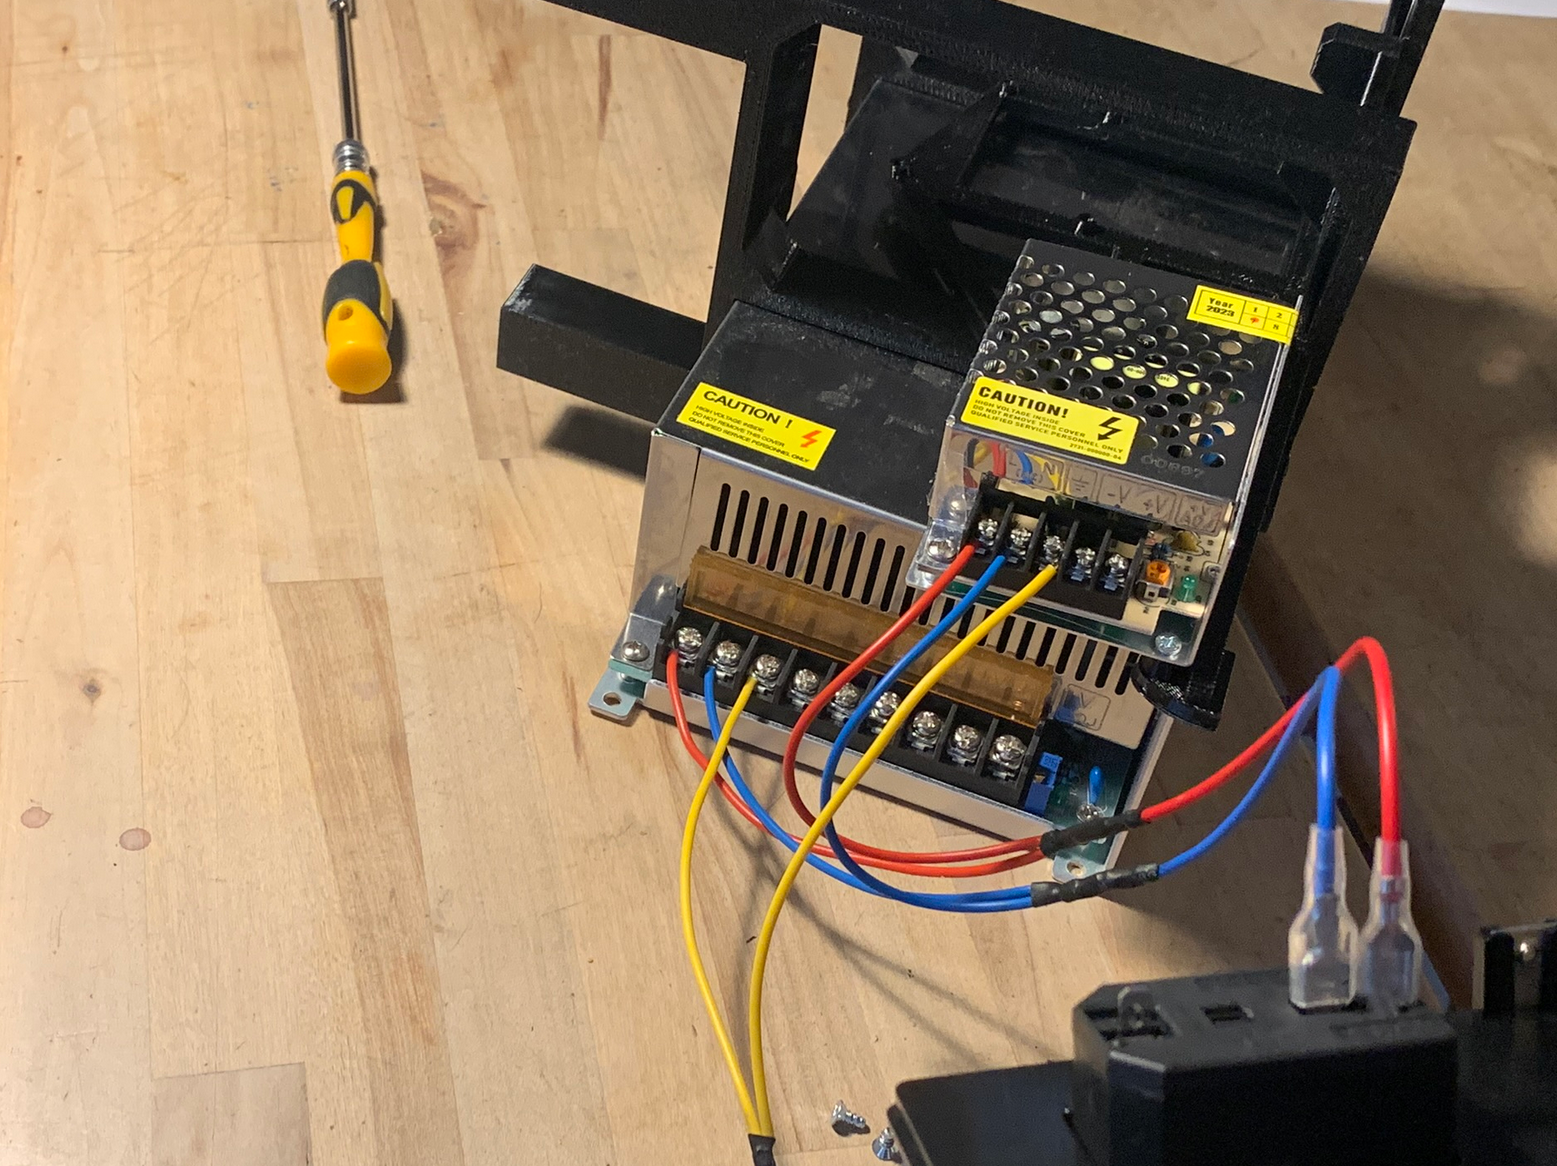
Attention: Some power supplies do not have terminals located in same order as shown in the picture above. Be very careful to locate the L, N and Earth terminals and do not just assume red wire should go to the top terminal, blue to the second terminal from top and so on...
When you have double checked red is attached to L, blue is attached to N and yellow is attached to earth, you can move on and attach the other ends of the 3 cables to the power socket in the enclosure.
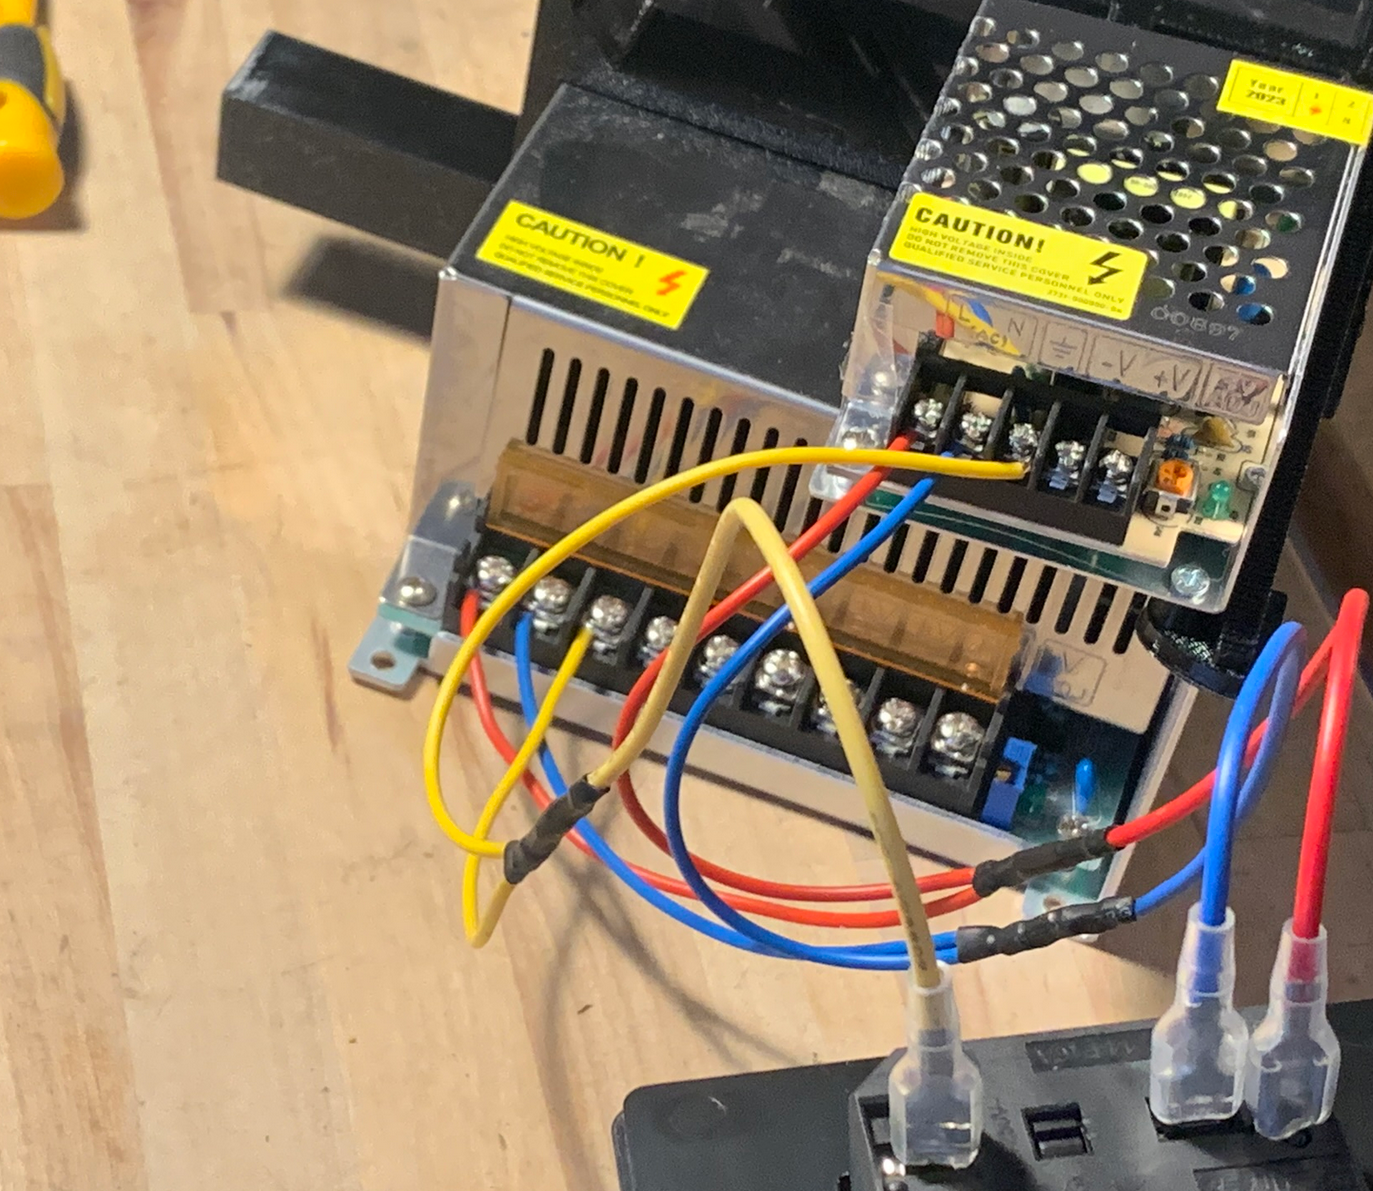
The earth connector on the power socket is located away from the other 2 connectors, so start with the yellow wire, and then move up from there, attach the blue and then the red.
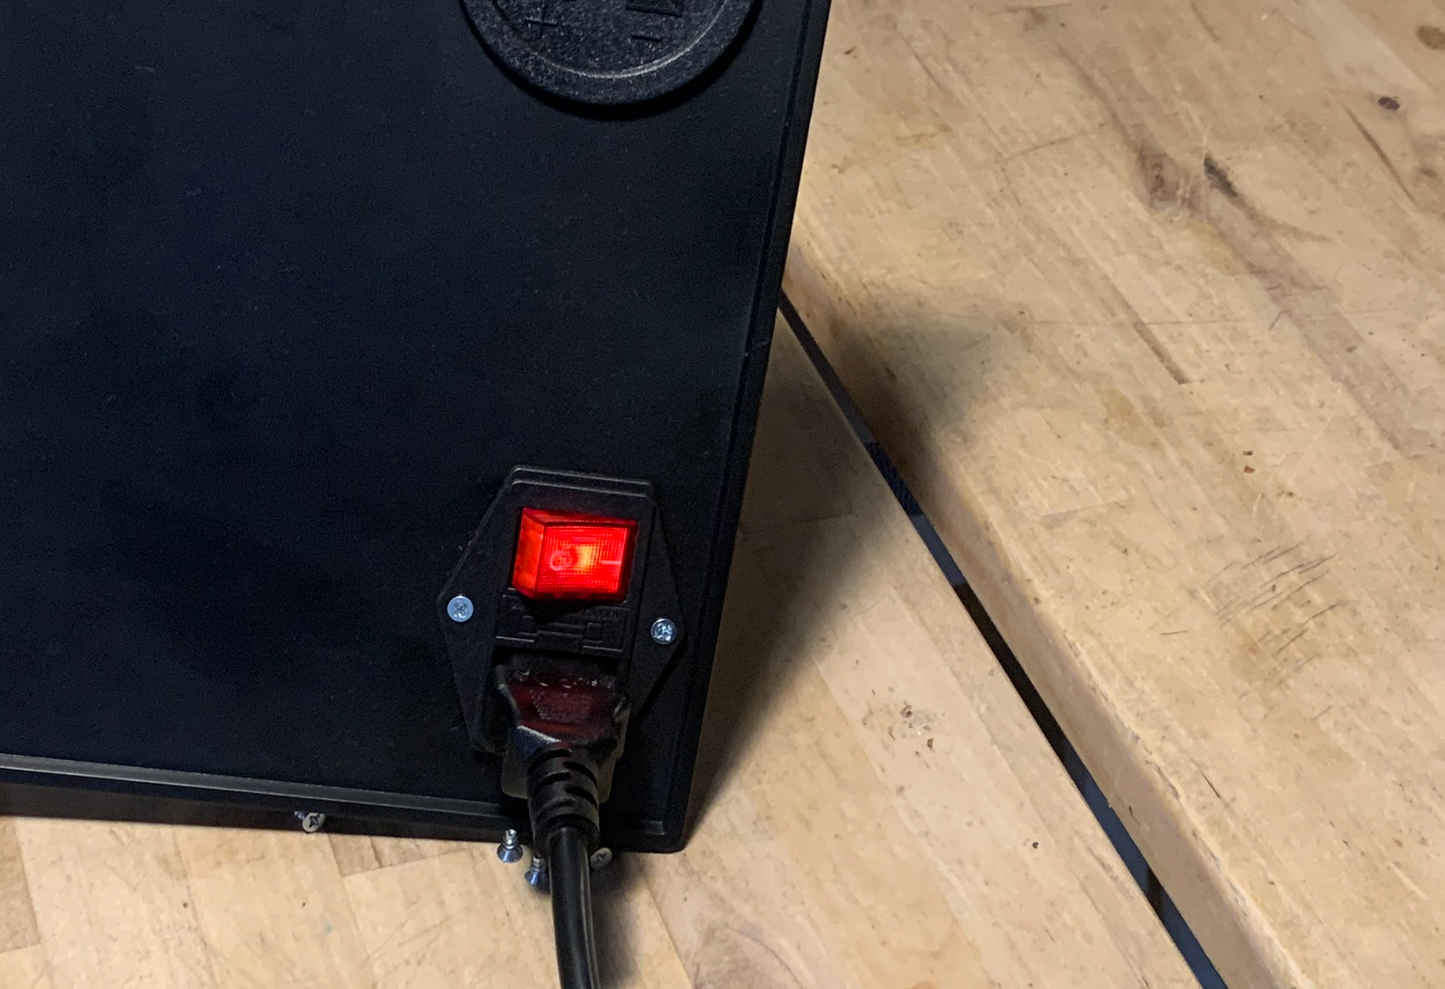
Now it's time to test.
Attach a power cable to the socket and connect it to mains.
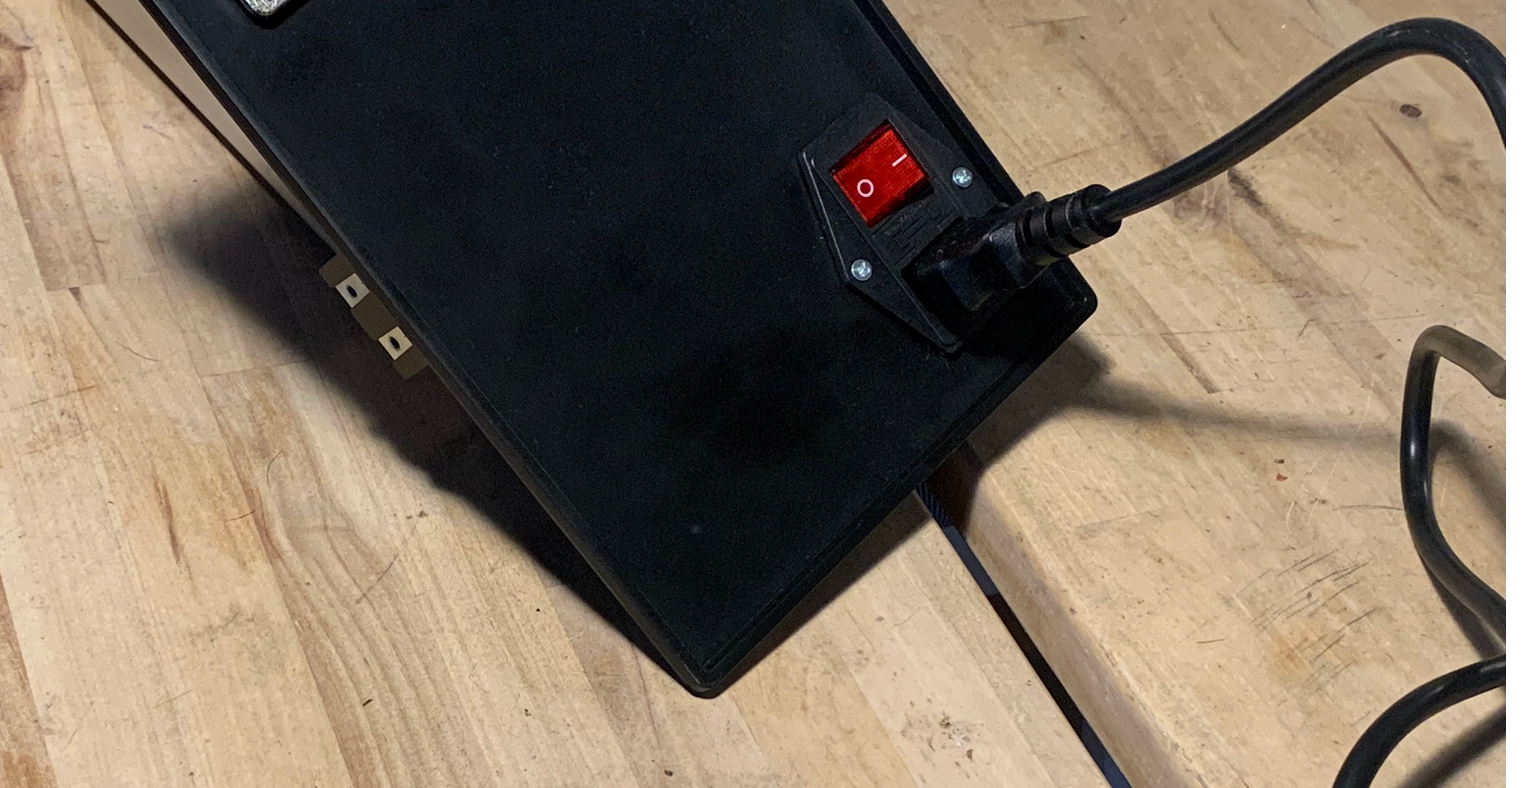
Turn on the power switch and make sure you have lights in both the rocker switch and the 2 power supplies. Turn power off immediately if you hear suspicious noice, if sparks are flying, something smells burnt ..