Step 8 - Mounting the Solid State Relay
![Step 8 - Mounting the Solid State Relay](/content/images/size/w2000/2024/01/nano_oled_kit_step8_cover.png)
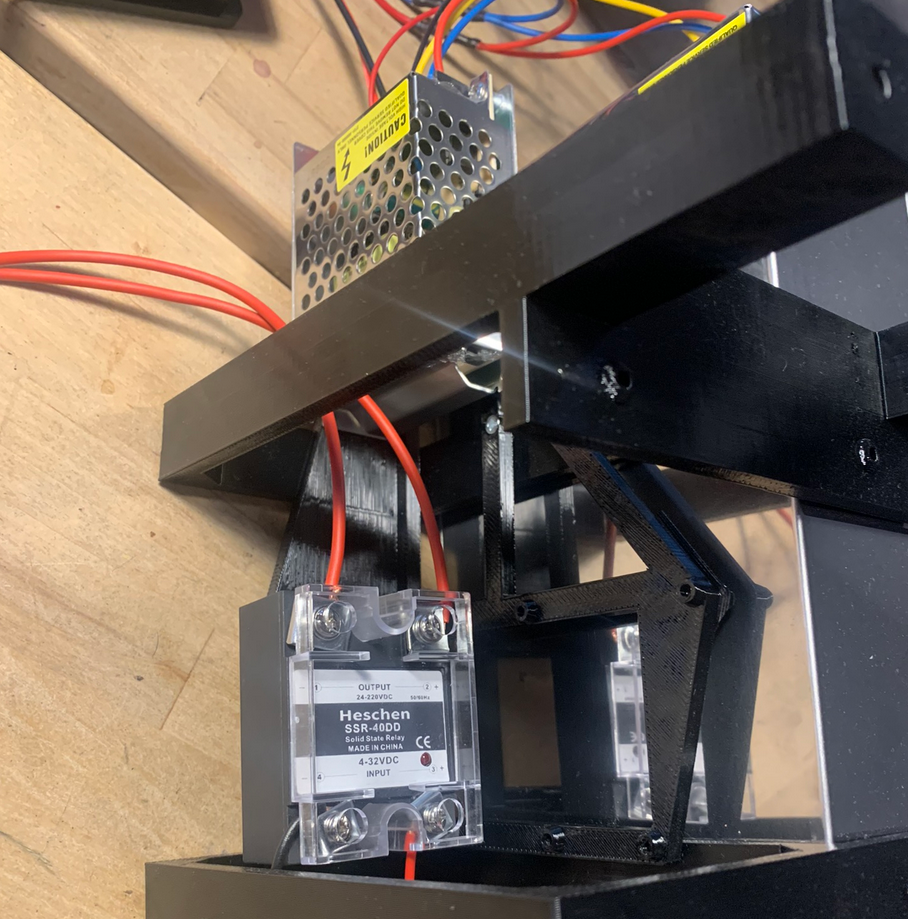
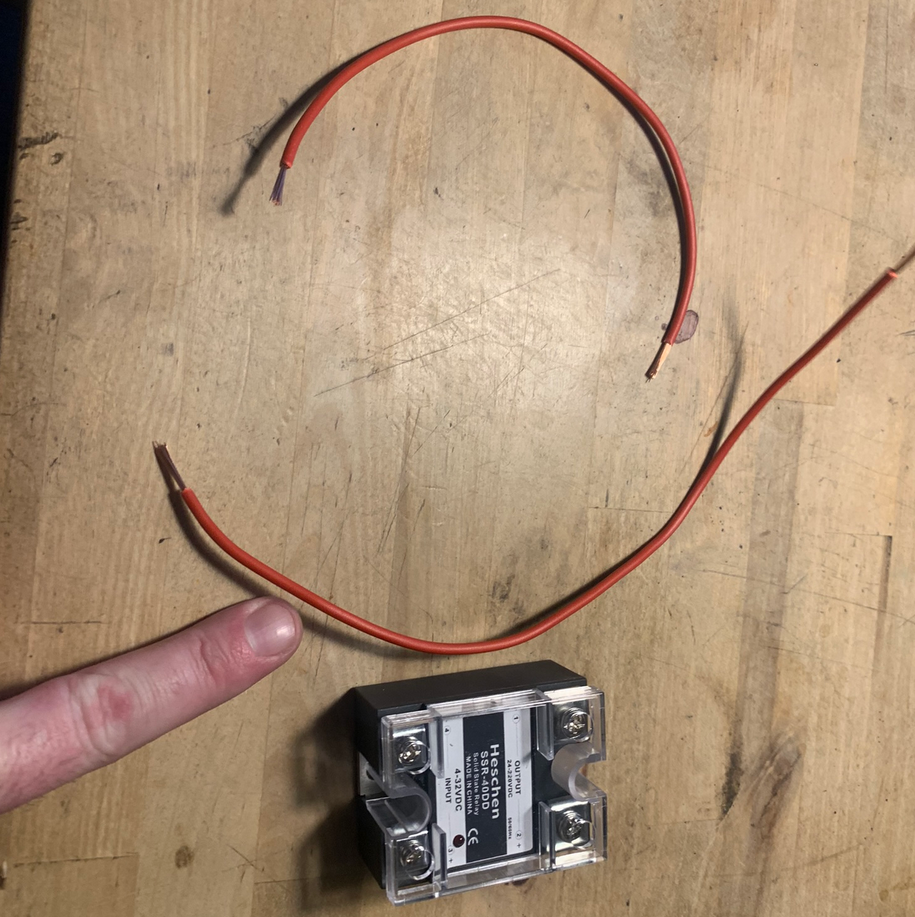
Find the solid state relay and the 2 thick red wires (stripped in both ends).
![](https://openannealer.com/content/images/2024/01/nano_oled_kit_step8_1.png)
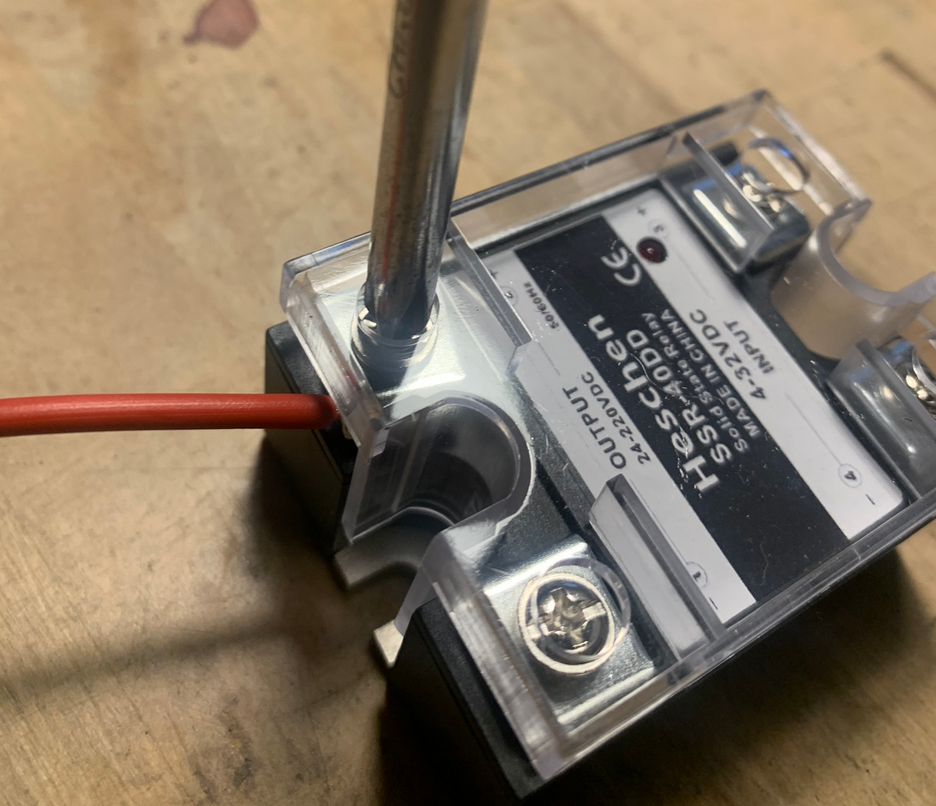
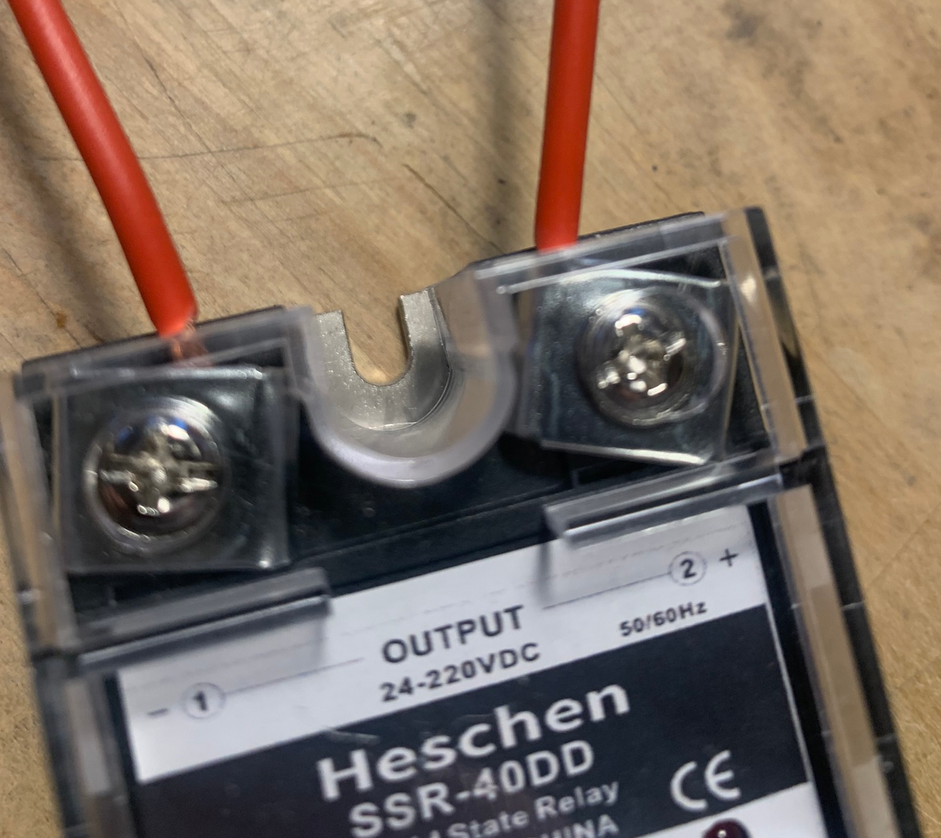
Attach the 2 wires securely to the output side of the SSR.
![](https://openannealer.com/content/images/2024/01/nano_oled_kit_step8_2.png)
![](https://openannealer.com/content/images/2024/01/nano_oled_kit_step8_3.png)
![](https://openannealer.com/content/images/2024/01/nano_oled_kit_step8_4.png)
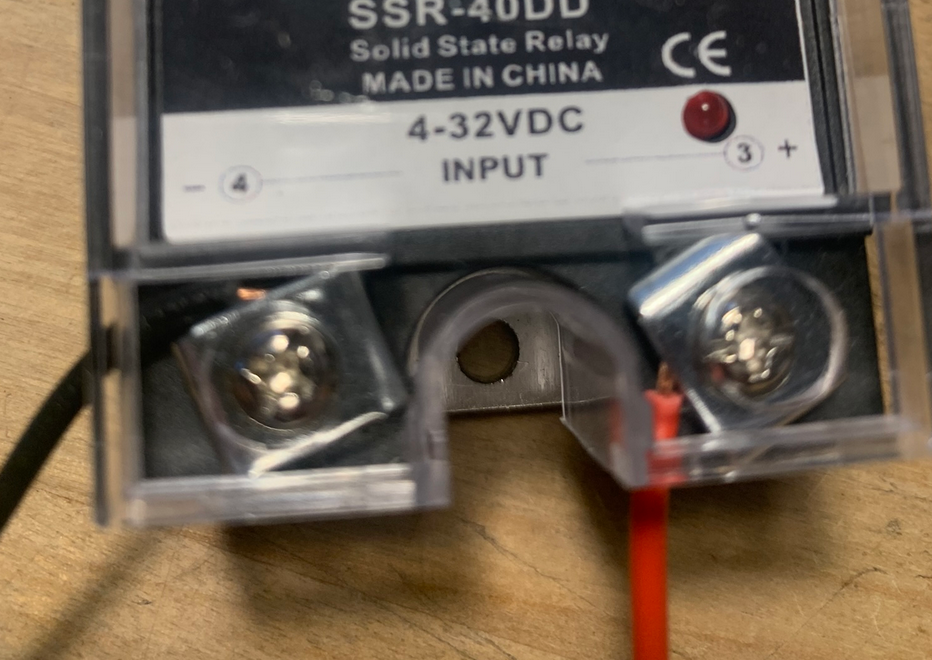
Find the 2 signal/input wires for the SSR. One black and one red - both are stripped in one end and have a heat crimped connector in the other.
![](https://openannealer.com/content/images/2024/01/nano_oled_kit_step8_5.png)
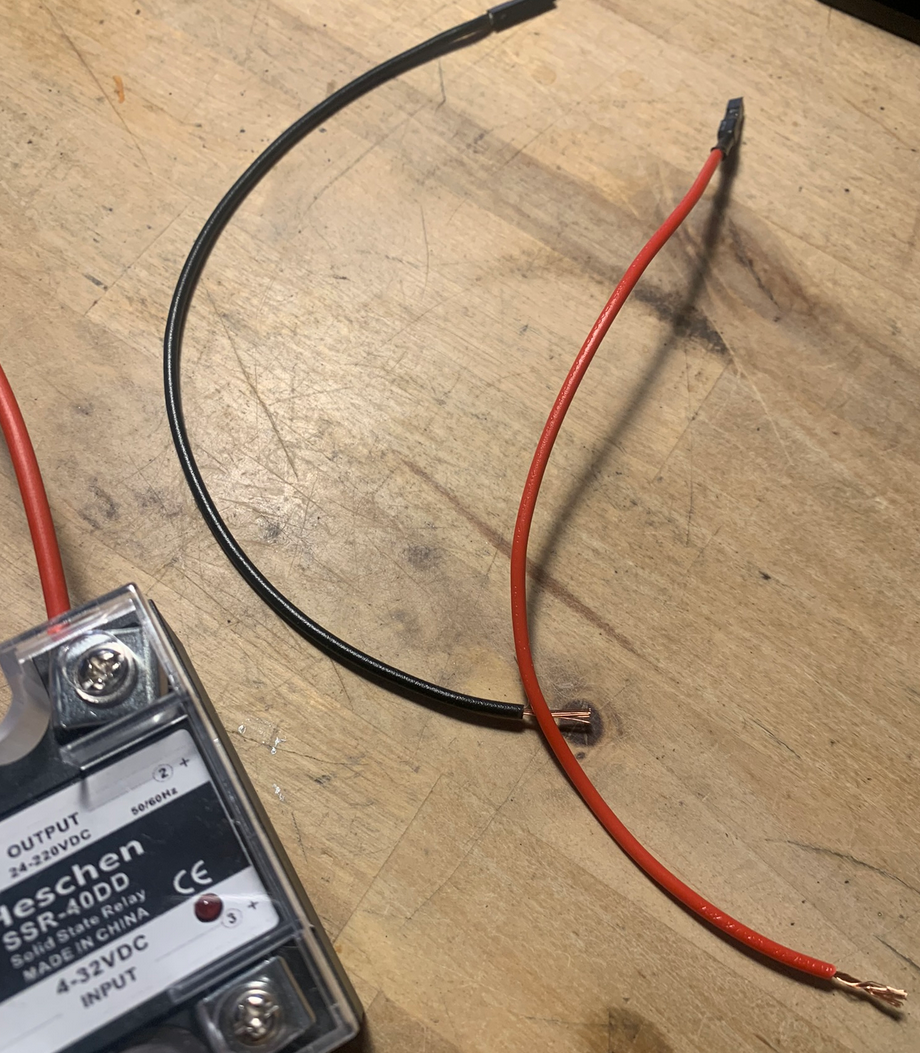
Attach the red wire to + on the input side of the SSR, and attach the black wire to - on the input side of the SSR.
![](https://openannealer.com/content/images/2024/01/nano_oled_kit_step8_6.png)
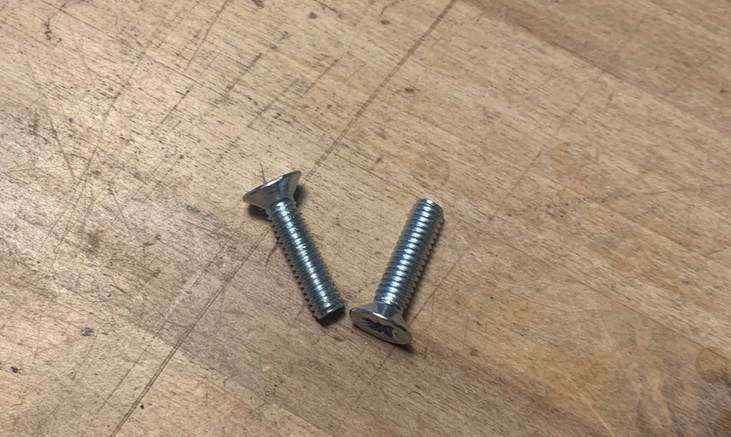
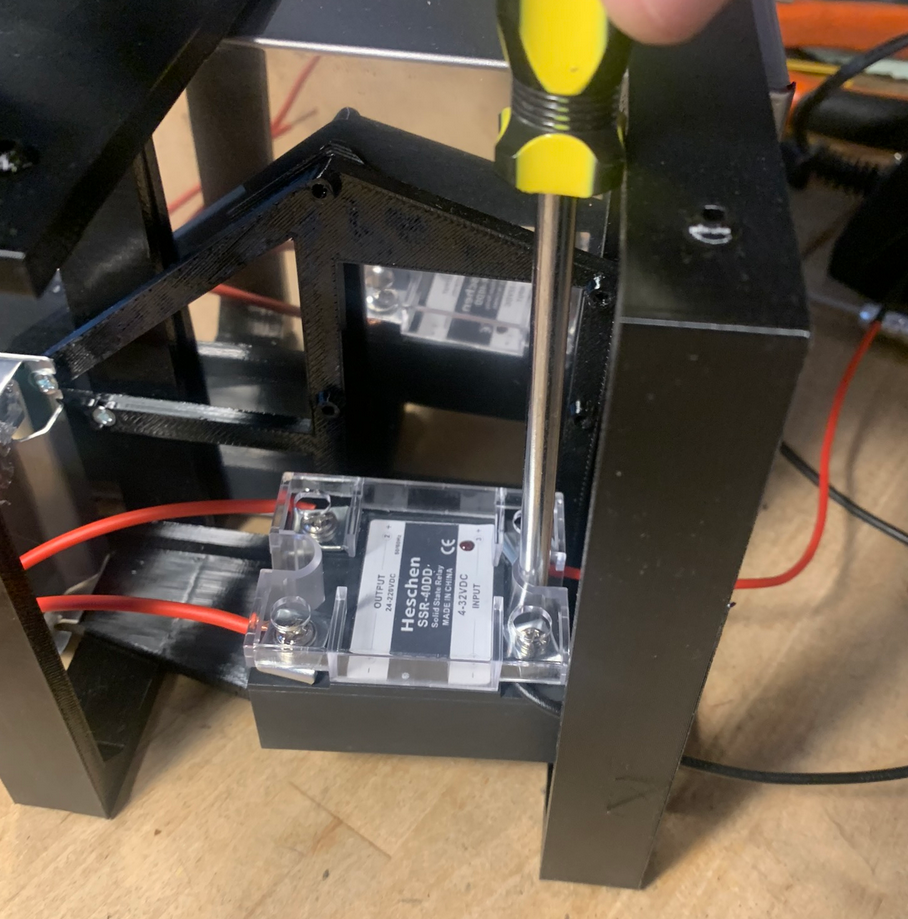
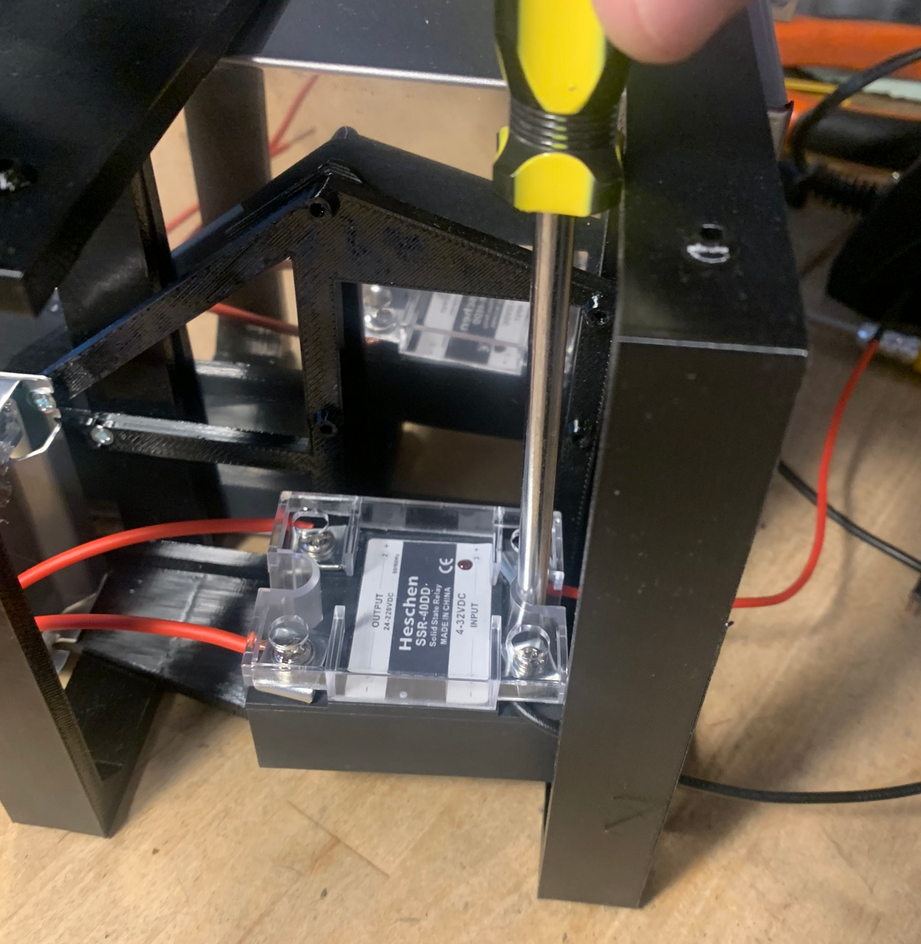
Find the 2 short M4 screws and mount the SSR to the frame brackets as shown below.
The output side of the SSR must face the rear.
![](https://openannealer.com/content/images/2024/01/nano_oled_kit_step8_7.png)
![](https://openannealer.com/content/images/2024/01/nano_oled_kit_step8_8.png)
![](https://openannealer.com/content/images/2024/01/nano_oled_kit_step8_9.png)